









You finish recording a 12-minute software demo, send it to the subject matter expert (SME) for approval, and hear that the interface changed last week. Now you need to rerecord three screens.
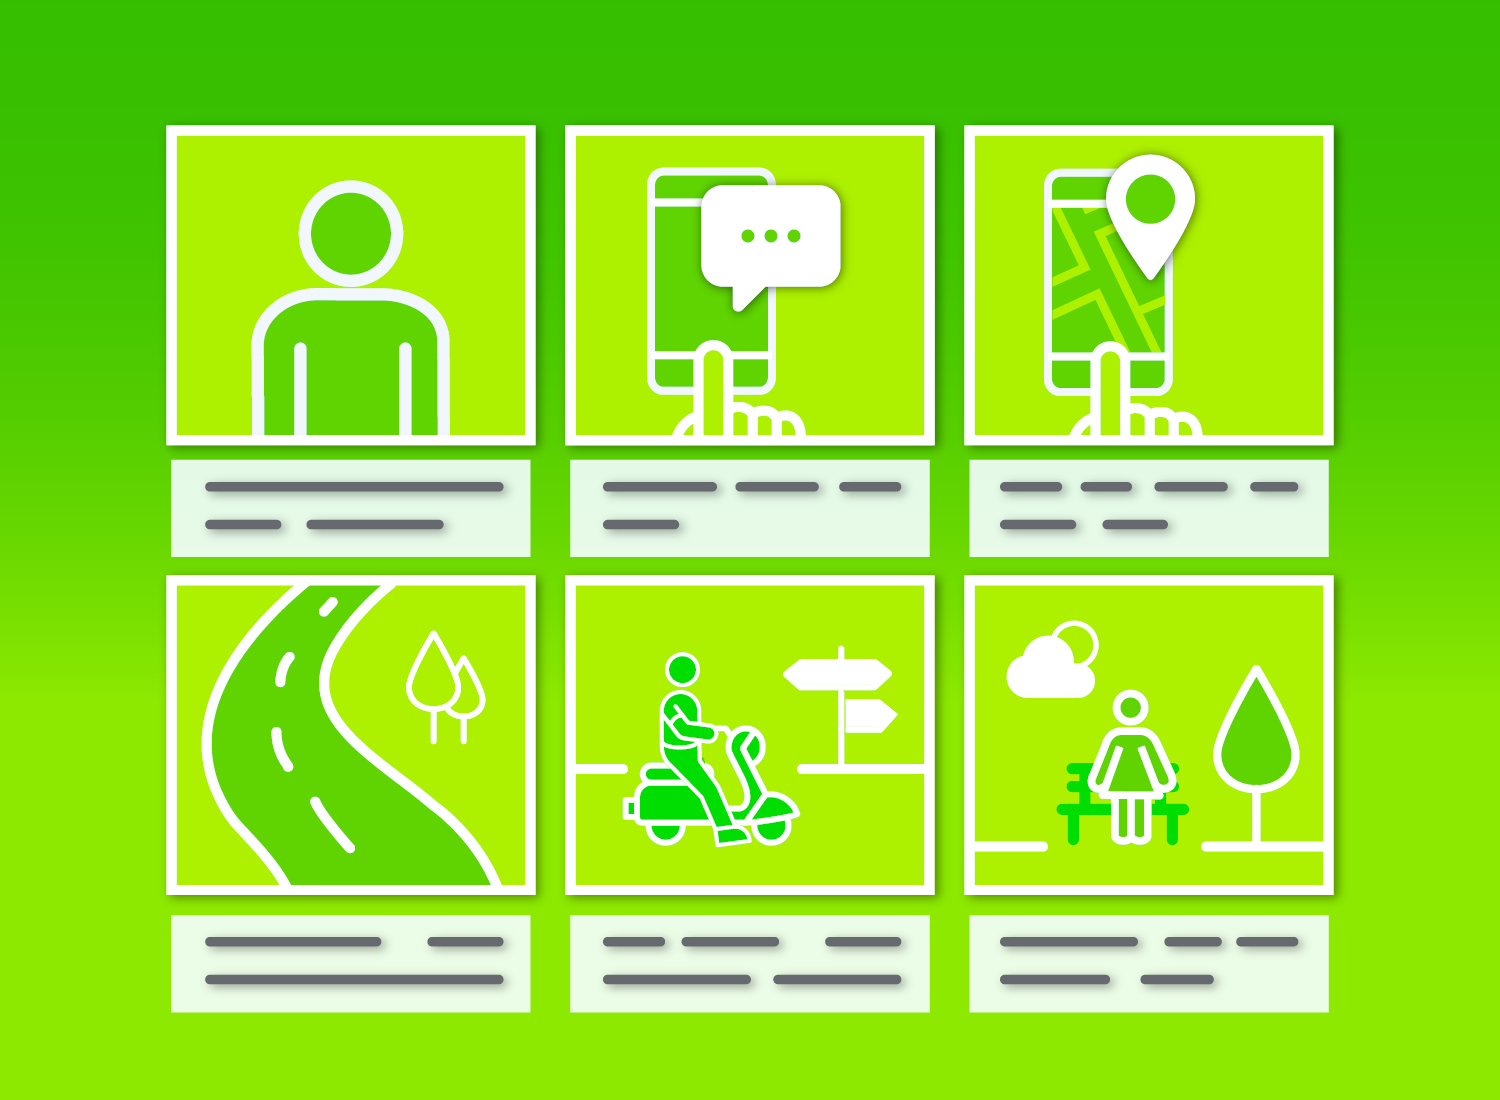
A storyboard helps you catch those problems before recording begins. It maps the visual sequence of your video in panels, with each panel showing a scene or screen alongside its narration, on-screen text, and annotation notes. Reviewers can confirm the training flow while changes are still easy to make.
You don’t need artistic talent or polished illustrations. You need a clear document that shows reviewers what learners will see and hear before you press record.
This guide walks through a five-step process for catching script problems, missing screens, and accessibility gaps before production.
Faster video creation with Rev
Make videos as easy as click, click, done! Camtasia Rev is so fast it’s like magic!
Learn More
Key takeaways
- A video storyboard maps visual flow and narration, while a shot list covers camera details and production timing.
- Storyboarding works best as a five-step process, from defining objectives to securing stakeholder approval before recording.
- Screen recordings and software demos need storyboard panels that account for cursor movement, user interface (UI) states, and callout placement.
- Sharing a draft storyboard with SMEs and other reviewers can reduce revisions after recording begins.
- You don’t need drawing skills to storyboard a training video — rough boxes, screenshots, and short notes work well.
What is a video storyboard?
A video storyboard lets workplace teams review the visual flow, narration, and on-screen guidance before recording, when changes are still quick and inexpensive to make. Each panel shows one screen or scene paired with its narration, any on-screen text, and notes on annotations such as callouts or highlights.
This applies directly to screen recordings, software demos, and onboarding videos, where an SME needs to confirm accuracy before you capture a single click. It works just as well for explainer videos and other video marketing projects that mix presenter footage with supporting visuals.
Starting a project from a script alone forces SMEs to imagine the finished video and approve blindly. Starting with panels lets them flag an incorrect screen state, missing disclaimer, or unclear transition before recording begins. Add a new panel whenever the viewer’s screen, focus, or instructional context shifts so reviewers can catch problems before editing starts.
@techsmith_camtasia Visual storyboarding can elevate your ideas to new heights! 🤩 Tim reminds us that if you can't clearly picture what you want to convey to your audience, it might be time to rewrite your vision. 📝 Didn't catch our live event? You can still watch the entire session with Tim Slade. Check it out: https://bit.ly/4gP7QbA #Camtasia #futureproof #videoeditor ♬ original sound – Camtasia
Storyboard vs. shot list
A storyboard maps the visual sequence and flow of a video. A shot list turns that approved sequence into a production plan with camera setup, numbering, and timing details.
For most workplace training projects, a storyboard is all you need to get SME and stakeholder sign-off. Once you’re preparing to record with a camera-based setup rather than screen capture alone, that’s your cue to move to a shot list.
Camera angles, shot numbering, and timing calculations belong in production planning, not visual planning. If your project needs that level of detail, our dedicated shot list guide walks through building one so your production team has what it needs to start recording.
A step-by-step storyboarding process
A reliable storyboarding process moves through five pre-production steps: define the goal, lock the script, divide the content into scenes, build annotated panels, and secure approval. Storyboarding belongs in pre-production, before recording begins.
- Define the objective and audience.
- Finalize the script.
- Break the content into scenes.
- Sketch panels with narration and annotations.
- Review and secure stakeholder approval.
Define your objective and audience
Start by defining one observable learning objective and the audience’s current skill level so every storyboard panel supports a specific training outcome. Write the objective as a single sentence describing what the viewer should be able to do after watching, not what the video will cover. “Reset a customer’s password using the admin console” is an objective. “Learn about the admin console” is not.
Imagine you’re an instructional designer planning training for a new employee. If the role only uses one advanced workflow, the objective should focus on that workflow, not a full interface tour. The audience’s starting skill level also tells you how much foundational context each panel needs.
Once you have the objective, use it as a filter for every panel you’re considering. Ask what the viewer must see, hear, and do to reach that outcome, and cut any scene that doesn’t move them toward it.
This filter also gives your SMEs something concrete to review. Share the objective alongside the draft storyboard, and their review becomes “Does this panel serve the goal?” rather than an open-ended request for opinions. That can help reduce revision cycles later.
Finalize your script before sketching
Lock your script and get SME sign-off before you sketch a single panel so your storyboard reflects final narration instead of a moving target. If you sketch from a draft, every wording change can force you to rebuild panels, renumber scenes, and recheck visual cues that no longer match the narration.
Work through the script in a fixed order. Draft the narration first, confirm accuracy with your SME, then read it aloud and revise anything that sounds stiff or unclear. This guide on how to write a script for a video walks through wording and pacing choices that make narration easier to follow.
As you finalize the wording, mark every point where the learner’s screen, focus, or task shifts. Each marked cue becomes a candidate for its own storyboard panel, making transitions easier to identify later.
If you need a starting draft, Camtasia Audiate’s Generate Script feature can produce AI-generated narration from an outline or prompt. Treat that output as a first pass, not final copy. It still requires SME review for accuracy before you lock the script. For a closer look at how scripting and storyboarding fit together for instructional screen recordings, watch the Storyboarding & Scripting Screen Recordings That Actually Teach webinar.
Break the content into scenes
Break a workplace training script into scenes whenever the learning objective, software state, task stage, or presenter context changes. Training content needs clear breaks that match how the learner’s focus shifts on screen, not the dramatic beats used in filmmaking.
A software workflow gives you a concrete pattern to follow. Mark a new scene for sign-in, another for navigation, another for task completion, another for the confirmation screen, and a final scene for the recap.
Each scene break should reflect a meaningful change: a new objective, screen state, task stage, or shift from presenter to demo. If nothing changes for the learner, keep the content in the same scene.
Once you’ve marked the breaks, check each scene against the objective you defined earlier. If a scene doesn’t move the learner closer to that outcome, cut it or fold it into a neighboring scene before you begin sketching.
Sketch panels with narration and annotations
Each storyboard panel should show one meaningful visual state paired with the narration, on-screen text, transitions, and annotations the learner will experience at that moment. Create a new panel whenever the screen changes, a new callout appears, or the narration shifts to a new idea. One scene from your outline might need three or four panels if the learner sees several distinct states.
Add a narration line under each panel, along with any on-screen text, the transition into the next panel, and notes on annotations like arrows, highlights, or zoom boxes. For a screen recording, mark cursor movement and callout placement directly on the sketch. Note any accessibility requirements here too, such as text that needs a caption or visuals that need a spoken description.
You don’t need drawing skills. A box with a rough screenshot, an arrow for the cursor, and a few lines of text are enough to communicate the plan.
Before moving to the next scene, check whether the panel makes sense without additional explanation. An unlabeled sketch with an arrow and a box forces a reviewer to ask what’s happening. A panel with a screenshot, narration line, cursor arrow pointing to the login button, callout note, and accessibility note gives the reviewer the context they need. If a colleague can’t explain the panel back to you, add more detail before moving on.
Review and get stakeholder approval
Routing the storyboard through SME, accessibility, and brand review before recording helps catch factual or visual errors while they’re still easy to fix. Once recording and editing begin, the same change can take much longer.
Send the draft to three groups, each checking a different aspect. SMEs verify that the steps, terminology, and screens are accurate. Accessibility reviewers check planned on-screen text, contrast, and visual guidance that needs an audio equivalent. Brand reviewers confirm that the tone, terminology, and visual style match your existing training library.
Keep every comment in one place instead of scattering feedback across emails and chat threads. Share the draft through Screencast so reviewers can leave feedback in one central location.
Resolve every open comment before you record. Note who approved the storyboard and when so you have a clear go-ahead and a record of what changed if questions come up later.
Storyboard formats for workplace video
The right storyboard depends on whether your learner is following an interface, a presenter, or both. A short single-screen tutorial needs fewer fields than a multi-module onboarding course, so match the storyboard’s depth to the video’s format and complexity rather than using the same template for every project.
Two practical formats follow: one for screen recordings and software demos, and one for presenter-led, multi-scene training. For more format ideas, browse these how-to video examples.
Screen recordings and software demos
A screen-recording storyboard maps each interface state, cursor action, and callout so the learner’s attention follows the software workflow clearly. Without that planning, you may need to rerecord clips because a menu looks different than expected or a callout appears over the wrong button.
For each panel, plan the starting screen state, the exact click or typed value that changes it, the resulting screen state, and where any callout or zoom will appear. Note anything that needs to be blurred, such as account numbers or internal URLs, before you record.
Camtasia Snagit’s Step Capture can speed up this process. Walk through the workflow once, and it turns your clicks into numbered screenshots that you can use in rough storyboard panels or keep as reference images while sketching.
Before moving on, check each panel against one rule: Does it ask the learner to follow only one primary action? A panel showing a menu opening, a field being completed, and a confirmation dialog appearing may need to become three separate panels.
Presenter-led and multi-scene training videos
Presenter-led training requires a new storyboard panel whenever the source of instruction or visual context changes, even when narration continues. A shift from the presenter to a slide, software demo, or supporting graphic counts as a new panel.
An onboarding module makes this easy to see. The presenter opens behind a desk and explains a company policy. The video cuts to a policy slide while the narration continues, then moves into a software walkthrough showing the task and closes on a recap screen summarizing the key points. That’s four panels for one continuous section of narration.
This structure also works for compliance modules and multi-module course libraries, where reviewers need to confirm accuracy at every context switch. Check out this guide to instructional videos for more on structuring multi-scene lessons.
Keep each panel focused on the learning flow. Note what the learner sees and hears, not camera framing or shot mechanics.
Go from screen recording to polished video
A screen recording is just the start. Camtasia’s editor helps you add the callouts, animations, and edits you need to create a truly professional video.
Free Download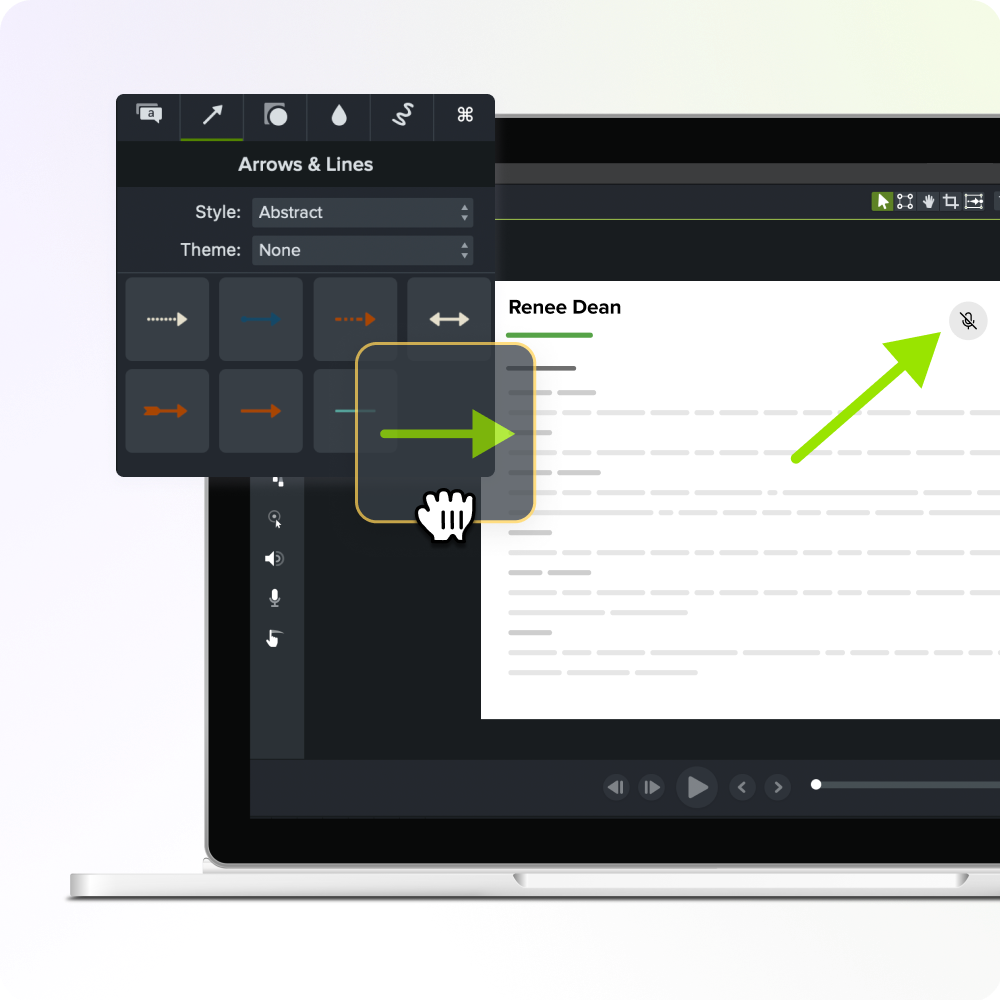
Tools for building your storyboard
Paper, slides, a structured template, and reference screenshots can all produce an effective storyboard, provided the tool pairs each visual with narration, annotations, and reviewer feedback. None of these options requires artistic skill.
Sketch on paper when you need to plan a short recording quickly and won’t share it widely. Move to a slide deck when multiple people need to edit panels and comment in one shared file.
Match the tool to your project’s complexity, not your drawing ability. A five-minute software walkthrough might only need paper. A multi-module onboarding course with several reviewers needs a repeatable, structured format.
For that repeatable workflow, use a downloadable Camtasia storyboard template with fields for visuals, narration, on-screen text, annotations, and reviewer comments.
For screen-based projects, Camtasia Snagit provides reference screenshots you can build panels around. Once the panels are approved, they can guide you as you make a demo video that follows the plan.
Bring your storyboard to life
Camtasia Snagit’s Step Capture creates a documented sequence of clicks and screens that can become your storyboard’s visual backbone before recording begins.
Once the storyboard is approved, Camtasia Editor’s multitrack timeline lets you arrange the visuals and layer in screen recordings, narration, annotations, and other media. Camtasia Audiate’s AI tools can also support captioning and audio cleanup as you move from planning to production.
Start your free trial of Camtasia Editor and turn your next storyboard into a polished training video.
Frequently asked questions
How do you storyboard a video step by step?
To storyboard a video step by step, first define the training objective and audience, then finalize the script before sketching anything. Next, break the content into scenes based on learning modules or workflow stages, create rough panels with narration and visual notes, and route the draft to stakeholders for review. This five-step sequence keeps the team aligned and reduces revisions after recording begins.
What is the difference between a storyboard and a shot list?
A storyboard maps the visual sequence of a video, including how scenes or screens flow with narration and on-screen text. A shot list adds production logistics to the approved plan, such as shot numbering, camera setup, and timing. The storyboard establishes what the viewer experiences, while the shot list provides the next level of production detail.
Do you need to know how to draw to make a storyboard?
You don’t need any artistic ability to storyboard a workplace video. A labeled screenshot with a quick note describing the action communicates the plan just as clearly as a polished illustration. What matters is whether a stakeholder can understand what the viewer will see and hear in each scene.
What should be included in a video storyboard?
Each storyboard panel should show one meaningful visual state and include notes for narration, on-screen text, annotations, and transitions. For screen recordings, add cursor movement, interface changes, and callout placement so reviewers can follow the planned workflow. A reviewer-comment field also helps the team resolve feedback before recording.
What tools work best for storyboarding a screen recording or training video?
The best tools for storyboarding a screen recording or training video are paper, slides, and a simple storyboard template, especially for early drafts. For software demonstrations, Camtasia Snagit’s Step Capture can collect numbered reference screenshots that double as rough storyboard panels. After approval, the free version of Camtasia Editor lets you turn the planned scenes into a recorded and edited training video, though trial exports include a watermark until you purchase.
Share