Manage Conversations & Reactions
Learn how to manage alerts and use the Comments pane to collaborate around your content.
Learn how to manage alerts and use the Comments pane to collaborate around your content.
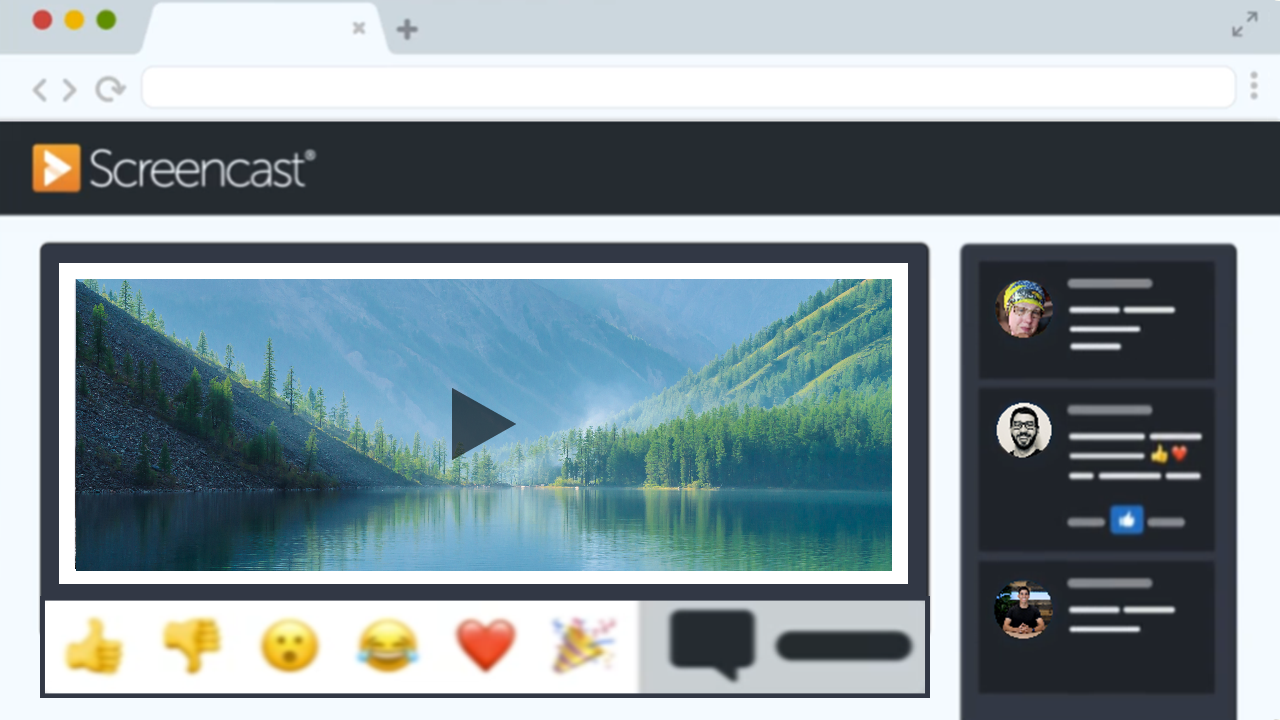
Screencast automatically adds a conversation to all content. Enter a prompt in the Comments pane to get feedback from your teammates or to start a discussion.
In conversations:
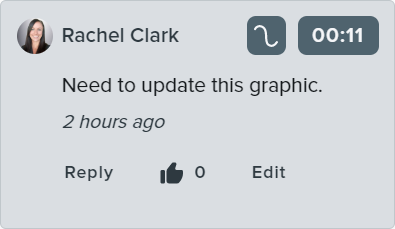
Post questions or comments to initiate a conversation.
Note: To add a comment or reply, viewers must sign in with a TechSmith account or enter a display name.
Note: Click the Edit option to edit or delete the comment. The content owner can also delete comments.
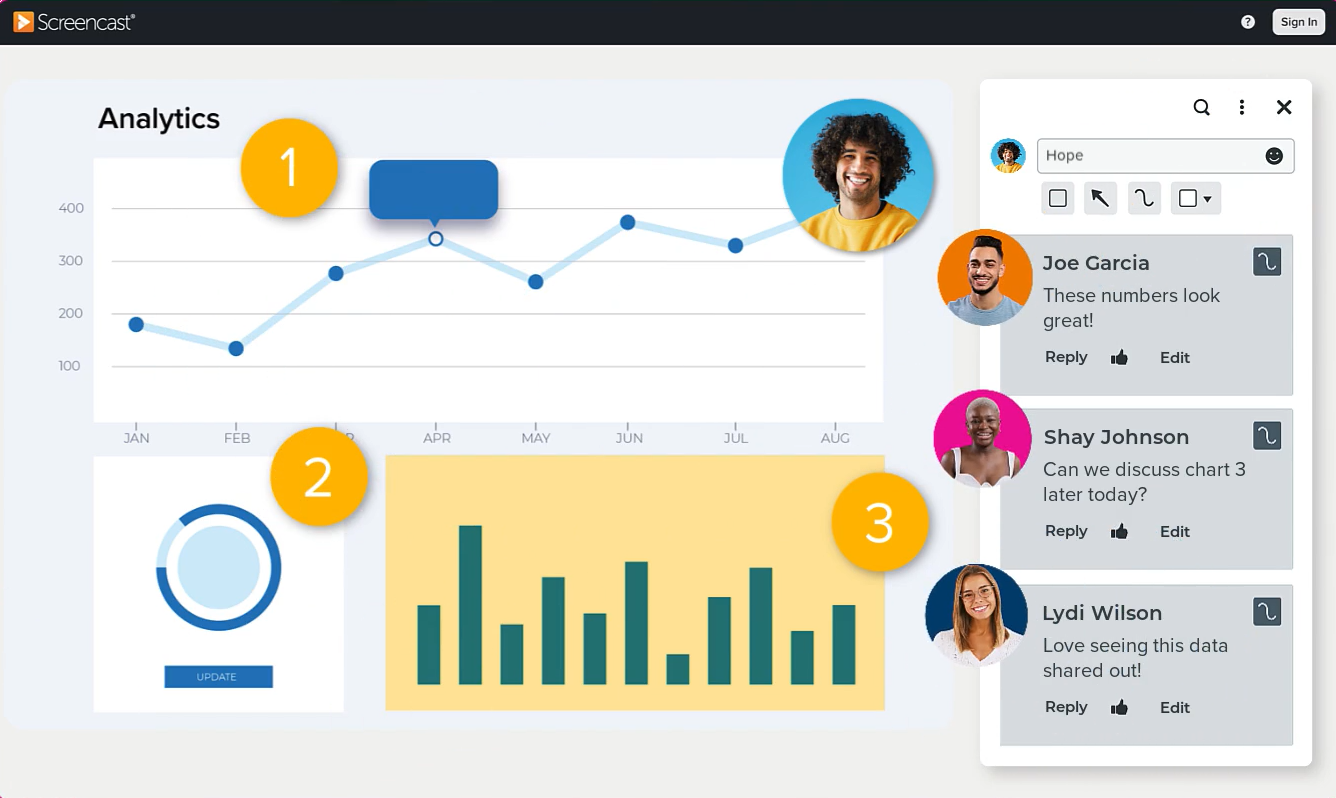
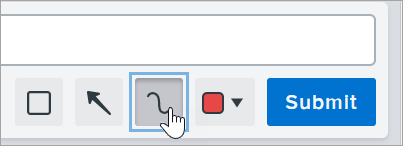
Mark up the content with a frame or arrow.

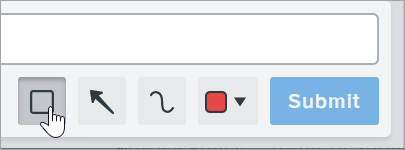
Add a freehand drawing on the content.
To add an emoji reaction while watching a video, click an emoji from the toolbar located below the video or image. 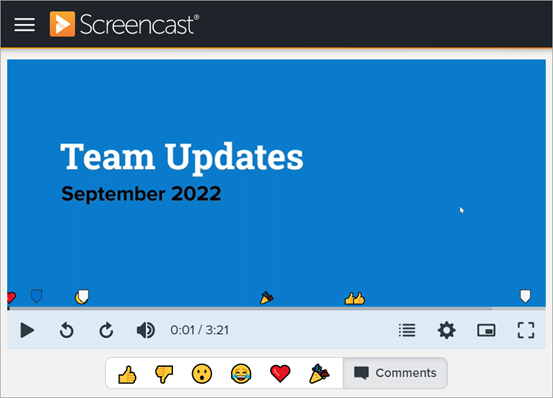
To view the reactions added, hover your cursor over the video or image. Click a reaction to show the reaction and viewer name. 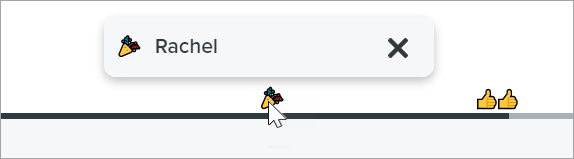
Note: Emoji reactions are a feature of conversations. If you would like to prevent emoji reactions on your media, follow the steps in the Delete a Conversation section below.
The content owner and any viewers can opt in to receive notifications of new activity posted in a conversation. Click the ![]() icon near the top of the Comments pane and select the Receive email notifications option.
icon near the top of the Comments pane and select the Receive email notifications option.
Click the ![]() icon in the top corner of the side pane.
icon in the top corner of the side pane.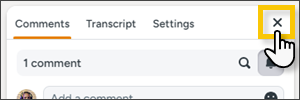
To reopen the side pane, click the Comments button in the upper-right corner of the media display area.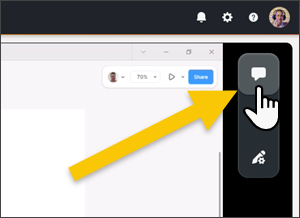
As the content owner, you can moderate and remove any comments. Individual participants can only edit and delete their own comments.
Media owners and commenters can resolve comments to hide them from view. Click the ![]() icon in the corner of the comment.
icon in the corner of the comment.
To show resolved comments, click the number of resolved comments at the top of the Comments pane.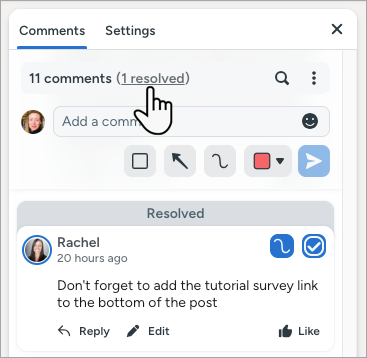
A conversation is added by default to all content uploaded to Screencast. If you do not want to include a conversation, or you want to reset the conversation, complete the following:
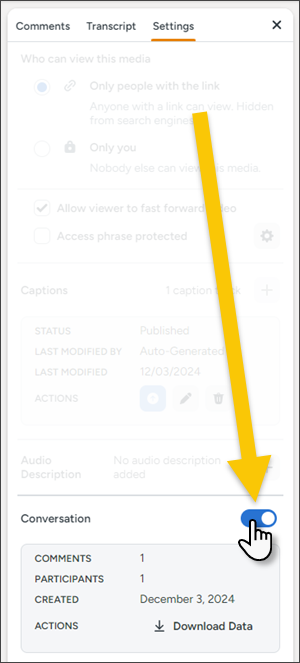
To add a new conversation, click the Conversation toggle on the Settings tab or the Enable Conversation button in the Comments tab.
As the content owner, you can view and download the conversation.
Screencast downloads a .csv file of the conversation onto your computer.
All Screencast Tutorials