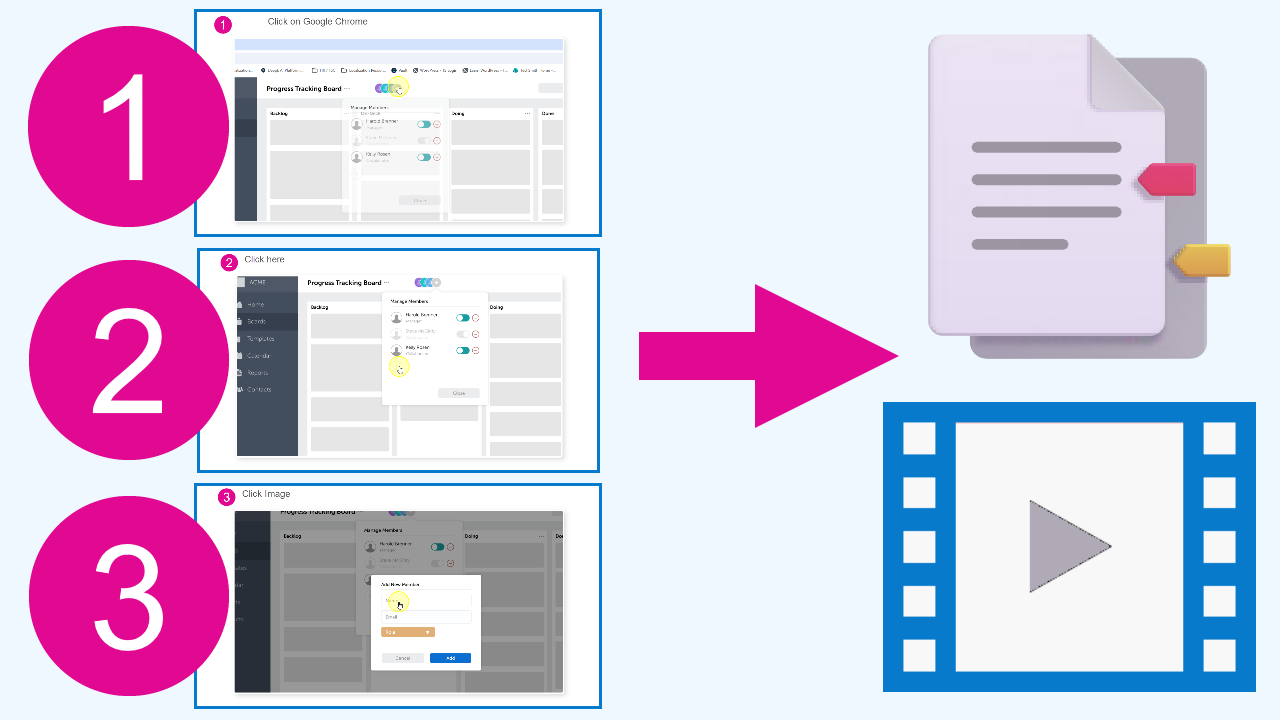
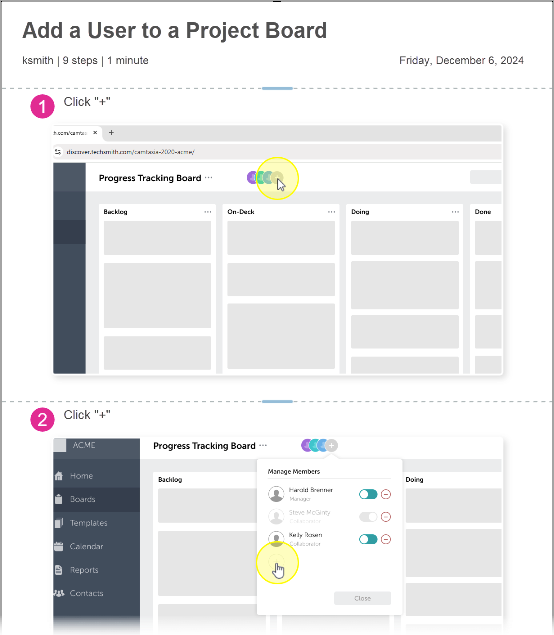
Snagit Step Capture automatically grabs screenshots as you click through a process, then turns them into a visual guide with numbered steps.
Share the visual guide to the app or platform of your choice, or quickly turn it into a training video:
- Help your staff get started with a new process or software.
- Show a customer how to submit a claim or make a change to their account.
- Provide informal training to address repeated questions.
- Document a software bug for developers to reproduce.
1. Capture Your Steps
- In the Snagit Capture window, click Presets.
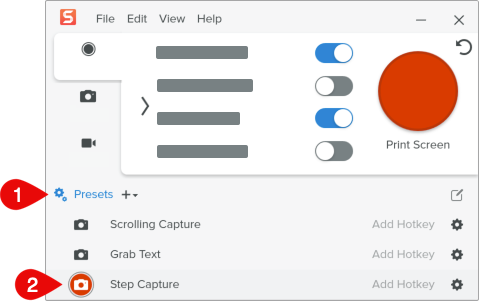
- In the Presets menu, click the capture button next to Step Capture.
- A message indicates that Snagit is now capturing your steps.

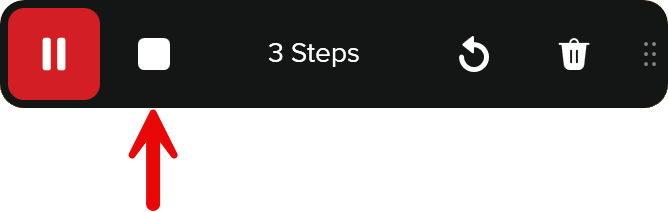
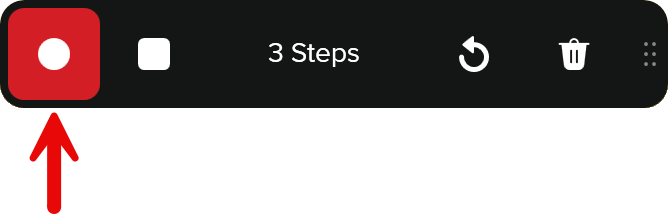
- Once the “Capturing steps” message disappears, complete the onscreen actions you want to document. As you click, the Step Capture toolbar shows the number of steps recorded.

Tip: Reposition the Step Capture toolbar
Drag the toolbar from the lower-left corner of your screen to reposition it elsewhere. Snagit does not capture clicks on the toolbar and does not include the toolbar in your captures.
- When you are finished with the actions, click the Stop button.
Capture Tips
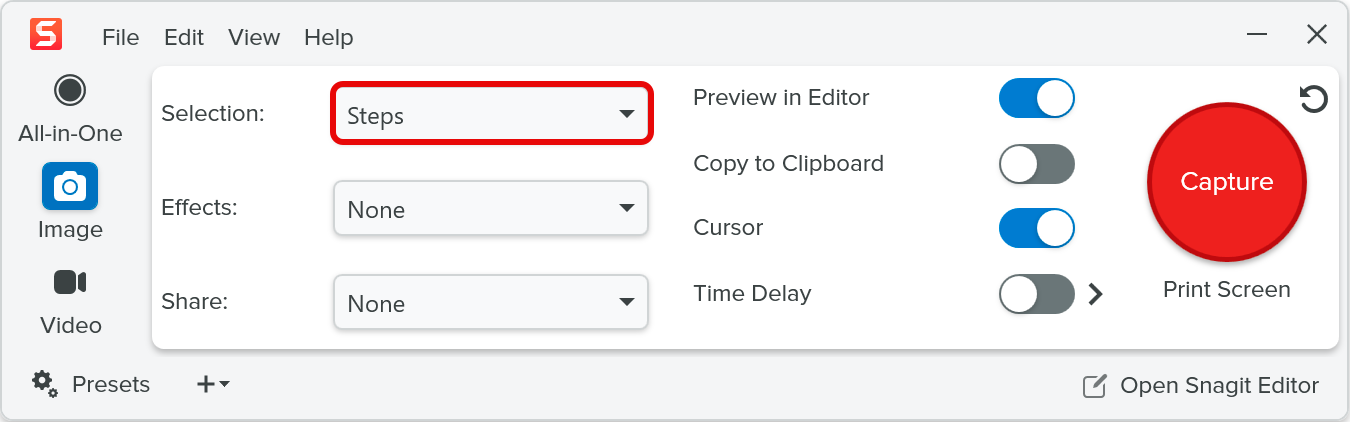
- You can also access Step Capture from the Image tab of the Capture window. Select Steps in the Selection dropdown.
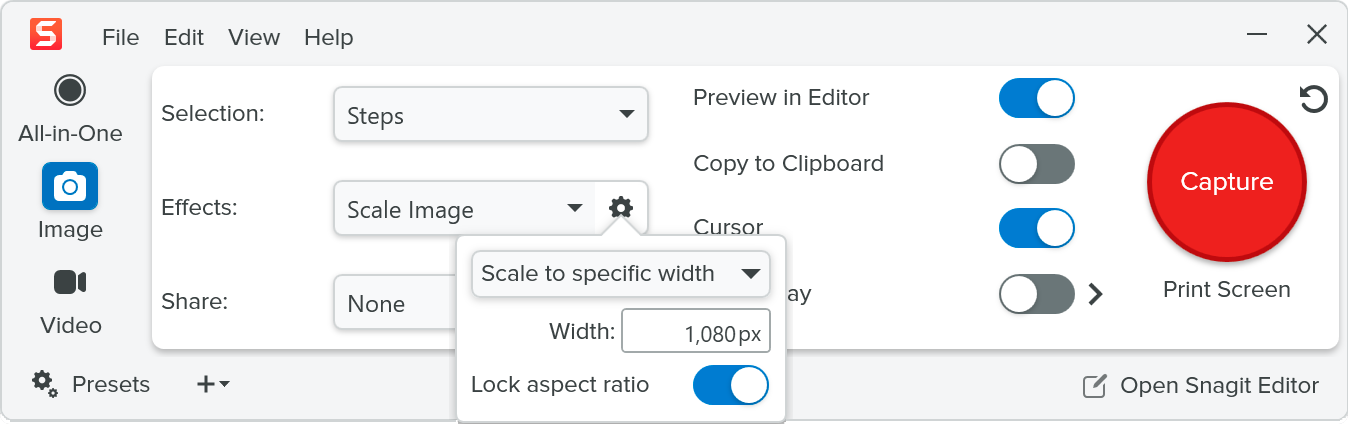
- If using a 4K monitor, consider scaling down the images to reduce capture and file size. In the Effects dropdown, select Scale Image (Windows only).
- If you need to pause recording, click the Pause button in the Step Capture toolbar and Record to restart.

- Step Capture records cursor clicks and drags, but does not capture non-click actions, such as text entry or keyboard shortcuts. To include missed steps or additional information, see Add a Step or Section.
- There is no limit to the number of steps that can be captured. However, captures over 50 steps on Windows or 100 steps on Mac may impact performance.
2. Edit the Step-by-Step Guide
After completing the Step Capture, the resulting guide opens in Snagit Editor.
Review the captured steps and edit the guide as desired:
Edit the Steps for Accuracy
Note: When you delete, add, or reorder steps in the guide, Snagit automatically renumbers the steps for you and updates the total step count at the top of the guide.
Delete a Step or Section
To remove a step or section, for example to remove misclicks or duplicate steps, click the Delete Section icon  .
.
Add a Step or Section
Step Capture records cursor clicks and drags, but does not capture non-click actions, such as text entry or keyboard shortcuts. Add steps or sections to include missed steps or additional information.
View details
Add a header, image section with a numbered step, text section, or footer to the guide. Click the Add Section icon  and select the type of section.
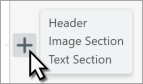
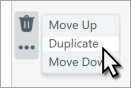
To duplicate an existing section, click the Section options icon  and select Duplicate.
Change the Step Order
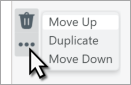
To change the order of a step in the guide, click the Section options icon and select the Move Up or Move Down option.
Edit Step Text
View details
- Click to select a text field.

- Complete any of the following:
- Edit text: Enter desired text in the text field.

- Delete text: Drag to highlight text, then press the Delete key.
- Delete the text field: Press the Delete key.
- When you are finished editing, click another location in the guide to deselect the text field.
Tip: Share now if you’re only making a video
If you are creating a video, share now to Camtasia Editor or Camtasia Online to complete the final edits. Click the Share dropdown and select Camtasia Editor or Camtasia Online.
To learn more about video edits, see:
Edit the Images
Adjust the Screenshots
Snagit automatically zooms in and centers the screenshots within the image frames, also called drop zones. To provide more context for where you clicked, resize and reposition the screenshot within the image frame.
Zoom in or out incrementally
- Hover over the image to show
 and
and  buttons in the bottom-right corner of the image frame.
- Click to zoom out.
- Click to zoom in.
Manually adjust zoom level and position
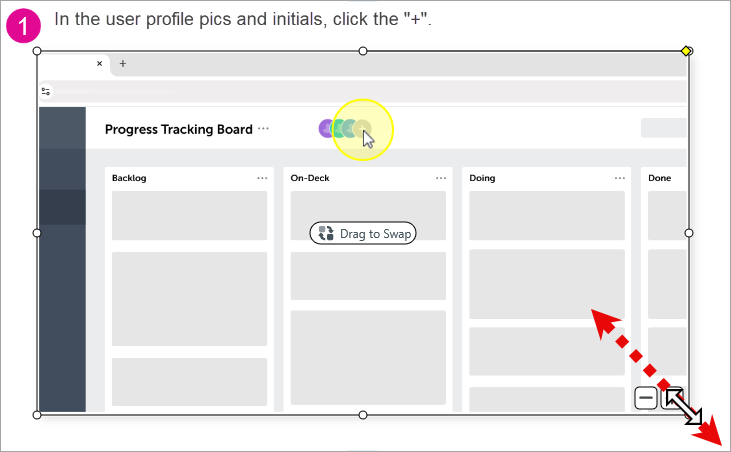
- Double-click a screenshot to select it. The entire capture appears. The blue image frame outlines the part of the capture that will be visible in the final visual guide.
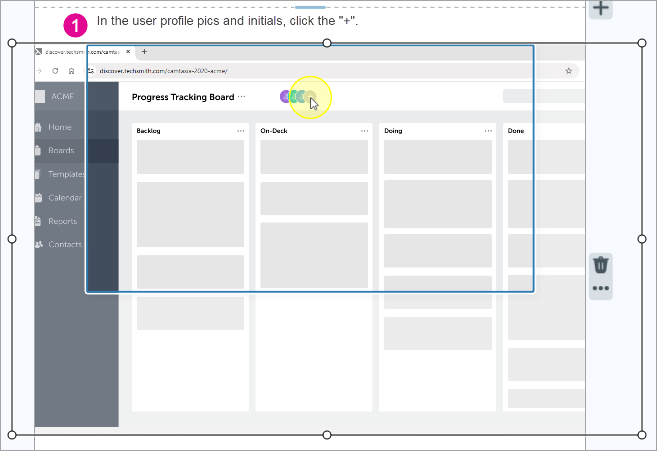
- Complete any of the following:
- Zoom in or out: Click and drag a corner handle of the screenshot to increase or decrease the size of the capture within the image frame.
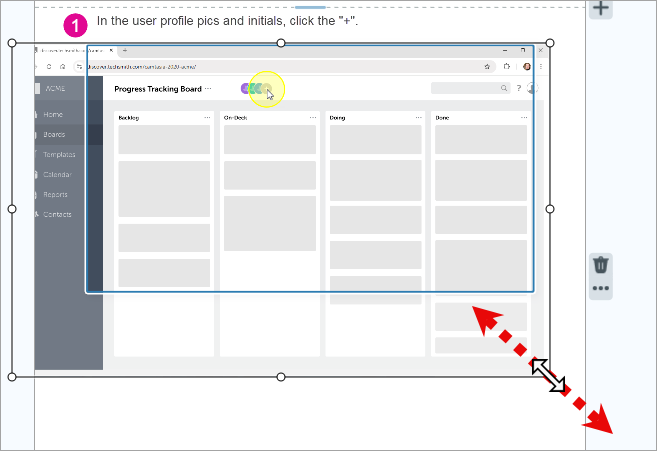
- Reposition: Click and drag on the screenshot to reposition it within the image frame.
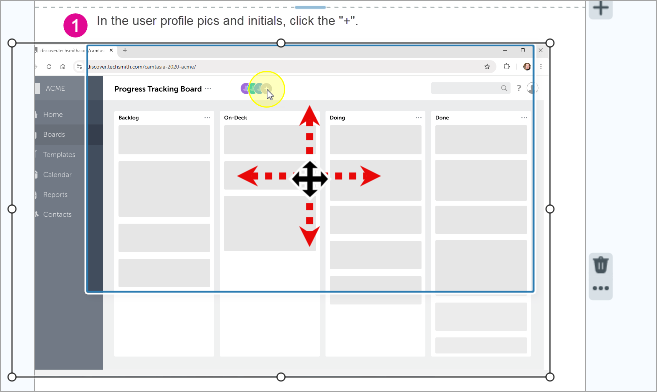
- When you are finished editing, click another location in the guide to deselect the screenshot.
Replace a Screenshot
If you clicked the wrong location on the screen, you may want to replace the image.
Drag a new image onto the guide
- Click and drag an image from the recent captures tray or from your computer onto the drop zone or image frame. Snagit replaces the old image with the new one.
- Adjust the new image within the image frame. See Manually adjust zoom level and position.
- Optional: Add a cursor to the new image. See Add a Cursor to a Replacement Image below.
- When you are finished editing the new image, click another location in the guide to deselect the image.
- Click the Move tool in the toolbar to continue editing the guide.

Delete and take a new capture (Mac only)
- Double-click to select a screenshot.
- Press Delete.
- Click New Capture.
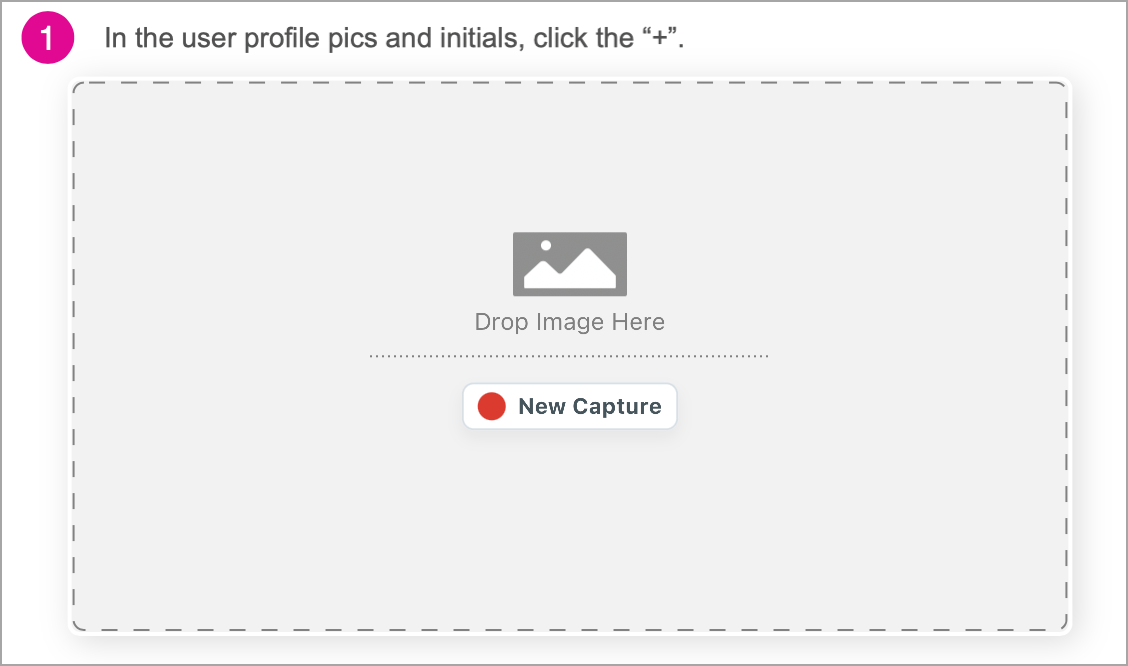
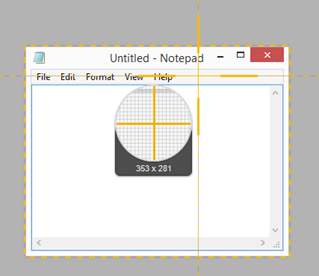
- The crosshairs appear. Complete one of the following to select the area to capture:
- Fullscreen: Click the Fullscreen button to capture the entire screen.

- Window: Move the cursor over the window to capture. When an orange dashed border appears around the window, click to select the highlighted area.
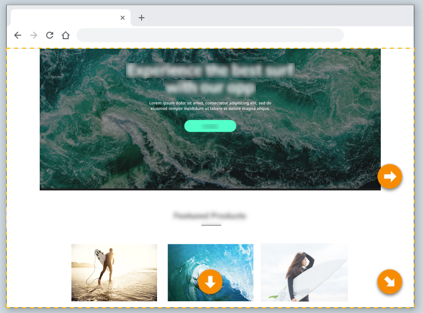
- Scrolling: If Snagit detects that it can scroll an app or web page, automatic scrolling arrows appear. Click an arrow to automatically scroll and capture.
Add a cursor to a replacement image
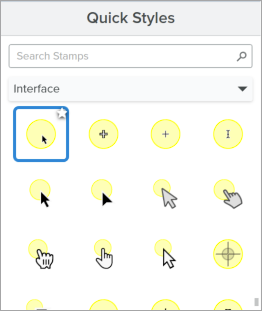
If the new image does not include a cursor to show where to click, add a cursor with the Stamp tool.
- Go to the Step Capture Cursors stamp pack on the Snagit Assets website.
- Make sure you are signed in with your TechSmith account.
- Click Send to Snagit.

- In the prompt, click Open Snagit Editor (Windows) or Open Snagit (Mac).
- The Stamp tool opens in Snagit Editor and shows the downloaded stamp pack. Click to select a cursor stamp.
- Click an image in the step-by-step guide to add the cursor stamp.
- Click and drag the stamp to reposition it.
- Click and drag a corner handle to resize the stamp.
Edit the Cursor
Adjust the position, remove the highlight, or delete the cursor from an image.
View details
- Click the Move tool in the Snagit Editor toolbar.
- Complete one of the following options:
- Move the cursor and highlight: Click and drag to the desired location.
- Delete the cursor and highlight: Click to select and press Delete.
- Delete the highlight: Right-click the cursor and highlight and select the Ungroup option. Click to select only the highlight and press Delete.
- Resize the cursor: Right-click the cursor and highlight and select the Ungroup option. Click to select only the cursor, then click and drag a resize handle.
- Resize the highlight (Mac only): Right-click the cursor and highlight and select the Ungroup option. Click to select only the highlight, then click and drag a resize handle.
Note: These options require Snagit for Windows version 2025.3.0 or later, or Snagit for Mac version 2025.2.0 or later.
Change the Step Color
Change the color of the numbered steps.
View details
- Click to select a step number.
- In Tool Properties, click Select All (Step) to select all step numbers in the image.
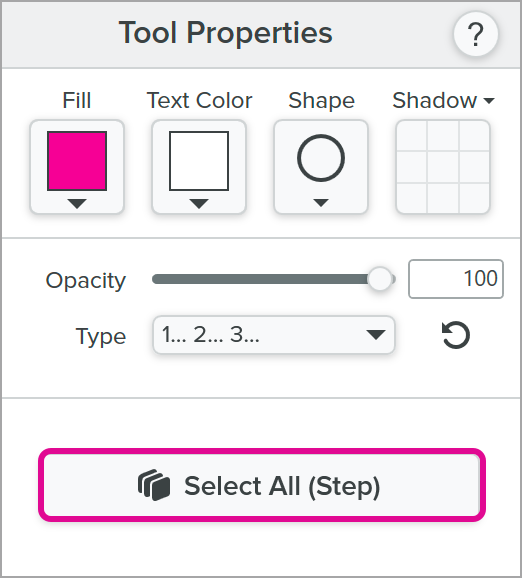
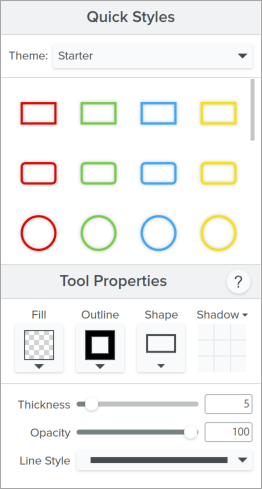
- Select a Quick Style or edit the tool properties.
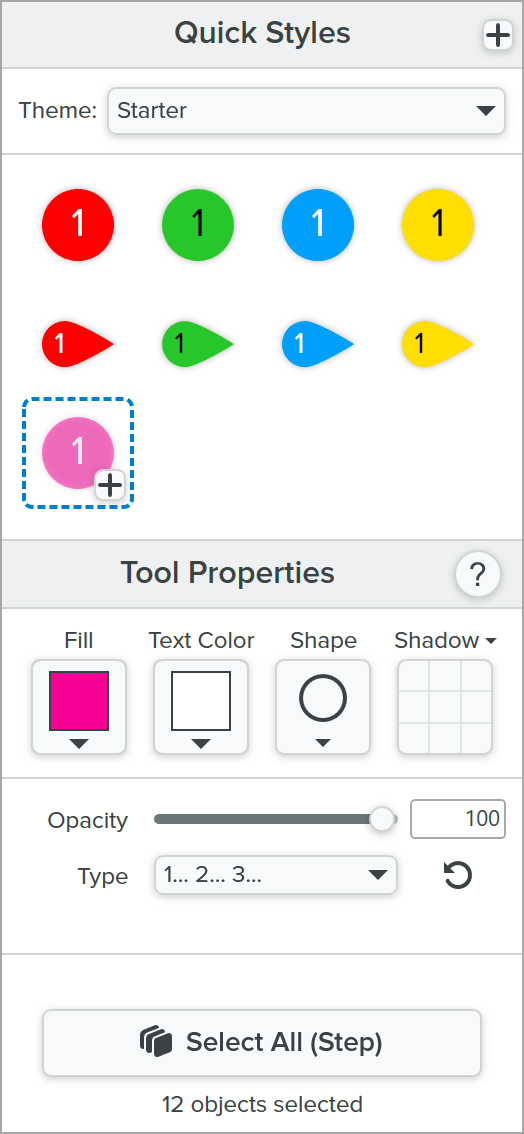
Note: You can also use this method to update all text, image borders, or other objects of the same type at once. You must have Snagit for Windows version 2026.1.0 or later, or Snagit for Mac version 2025.3.0 or later.
Format Text
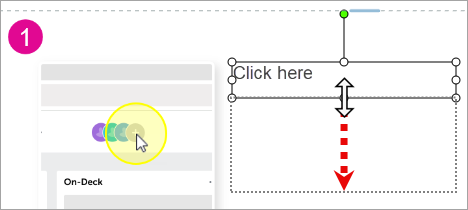
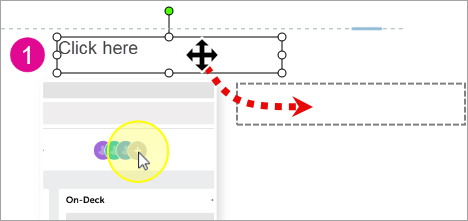
Edit the font, color, or text size. Or consider changing the size or position of the text field if you need to add more descriptive text to the step.
View details
- Click to select a text field.
- Complete any of the following:
- When you are finished editing, click another location in the guide to deselect the text field.
Edit the Image Frame
You can apply edits to the image frame, such as adding a border or resizing the frame to make space for longer text in a step.
View details
- Click to select the image.
- Complete any of the following:
- When you are finished editing, click another location in the guide to deselect the image.
Resize a Step or Section
To increase or decrease the size of a step or section, click and drag the blue section divider up or down.

3. Share or Export Your Guide
When you are finished editing, you are ready to share or export your guide or turn it into a video. See:
Get Snagit
The best screen capture software for professionals
All Snagit Tutorials










 icon in the upper-right corner of the field to allow editing.