Whether you’re a software developer who needs to create a how-to video, you need to record your screen for a presentation or simply want to make a helpful YouTube video, being able to capture a screen recording is essential in today’s world. However, knowing how to screen record on a laptop or PC with sound will make your videos even more impactful.
Regardless of who you are or what you do, there’s a good chance you’ll need to capture different types of screen recordings depending on your audience, the purpose of your video, and even the length of it.
For example, a how-to video (often referred to as a screencast) demonstrating a brand-new product will probably need to be longer and more polished than a simple video showing a colleague how to take screenshots on their computer.
These factors will also influence your decision when finding the best screen recording software. If the key purpose of your videos is knowledge sharing, you’ll want to make sure that the software you use can also record sound, as giving your viewers audio instructions will make it easier for you to convey information and for them to digest it.
In this article, we’ll look at how to record your screen with audio so that your viewers can hear what you’re saying and see what you’re doing. We’ll also discuss the difference between using built-in screen recording tools and third-party software such as Camtasia and Snagit.
By the end of this article, you’ll know exactly how to start a screen recording on your laptop, PC or Mac.
Record Your Screen Today! (For Free!)
Download Snagit (on Windows or Mac) to quickly and easily record your computer screen.
Download Now!
Should I use a free screen recorder?
Maybe. You can use free apps like QuickTime (on Mac) or Xbox App (Windows), but if you’re comparing different screen recording tools, make sure you get a screen recorder with sound recording and video editing options built-in. Not all software offers this level of functionality, but these ‘extra’ tools can have a significant impact on the screen recordings you create.
The problem with many built-in screen recorders that come as standard on your computer (and some third-party ones) is that they limit you to just recording. This could leave you needing extra tools and software just to edit and share your videos.
How to choose your desktop screen recorder
The first thing you’ll need to do is choose the screen recording software you’ll use.
Snagit is great for simple, short desktop recordings, while something like Camtasia might be better for longer, more complex jobs. However, recordings made with Snagit can be easily shared from your captures folder with Camtasia and assembled into longer, more complex videos there.
Today, we’ll show you how to screen record your full screen with Snagit for simple recordings and Camtasia for more polished videos.
Snagit is better for short, quick desktop screen recordings
Short, simple recordings that won’t require much editing can be done with something like Snagit.
Snagit is great for screenshots and quick and easy screen recordings. You can convey a complex idea or process — that’s too hard to explain via email — when you don’t have time to schedule a meeting.
Here’s how to do it.
Step 1: Choose what you want to record
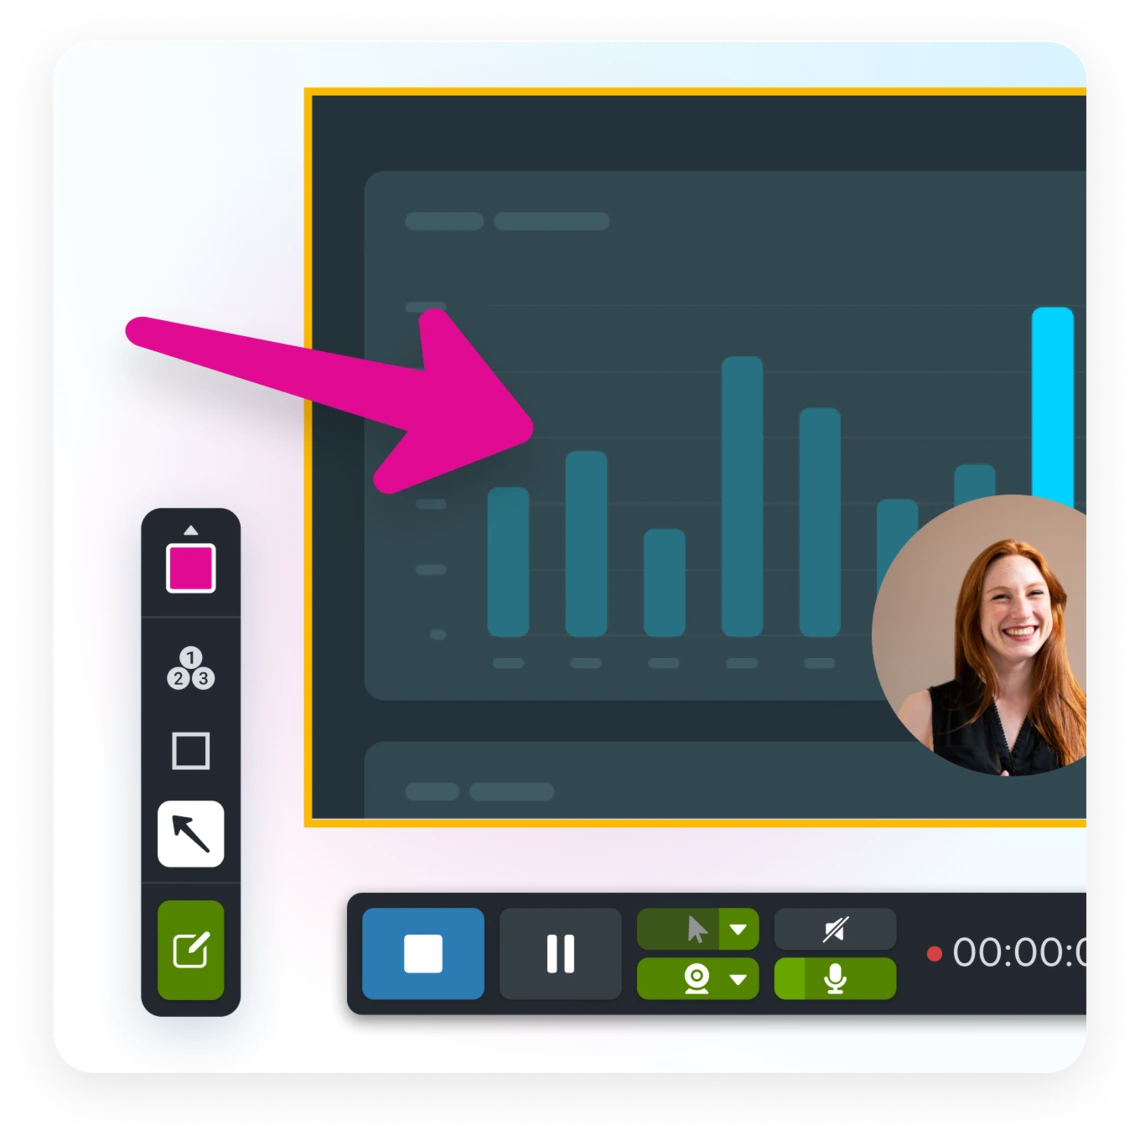
Step 2: Decide whether to record your webcam, microphone, and/or system audio (each one can be toggled on and off individually, so you can record all or none of them along with your screen)
Step 3: Trim your video
Step 4: Save or share
When your video is ready, use the Share menu to save the video or click “Share Link” and a URL will be automatically copied to your clipboard.
Snagit Screen Recording Hotkeys
Start Screen Recording
Windows: Shift+F9
Mac: Control+Shift+Spacebar
Pause/Resume Screen Recording
Click the start recording button or press:
Windows: Shift+F9
Mac: Control+Shift+Spacebar
Stop Screen Recording
Click the stop button or press:
Windows: Shift+F10
Mac: Control+Shift+V
To configure your keyboard shortcuts, see Customize the Snagit Hotkeys.
Record Your Screen Today! (For Free!)
Download Snagit (on Windows or Mac) to quickly and easily record your computer screen.
Download Now!
Camtasia is better for polished, professional-quality screen recordings
Longer or more complex recordings may need more editing. With Camtasia, you’ll have a built-in video editing suite full of advanced tools you can use to create stunning videos.
For example, Camtasia allows you to enhance the video by zooming in on areas of emphasis, changing the size and path of the cursor, and adding text or graphic call-outs. These are just some of the features that make Camtasia great for creating professional videos, such as training videos, product demos, and software marketing content.
Here’s how to do it:
Step 1: Choose your recording options
Step 2: Choose the region you want to record
Step 3: Record your desktop with audio (depending on your needs)
Step 4: Edit your video
Step 5: Produce and share
Camtasia Screen Recording Hotkeys
Start/Pause Screen Recording
Click the start recording button or press:
Windows: F9
Mac: Command+Shift+2
Stop The Recording
Click the stop button or press:
Windows: F10
Mac: Command+Option+2
To customize the shortcuts for your keyboard, see Customize Camtasia Shortcuts
How to record your screen with sound
Including audio with your screen recordings can enhance the viewer’s experience, and narrating what you’re doing on screen, or providing step-by-step instructions, can be especially helpful when creating how-to videos.
By using voice-over narration, you’ll provide additional context and support for your visuals, which will help viewers understand what’s happening on the screen and why. This also provides an opportunity to give viewers commentary and insight that may not be apparent from the visuals alone – no matter how crisp or clear your video is!
Sound is also useful for other screen recordings. For example, keeping the original audio in clips taken from webinars and virtual meetings will provide extra context and insight into the conversations that took place. Even if you were to provide a transcript of the conversation with the video, there are small nuances in speech that can often be missed without sound.
Whether you’re recording for professional or personal purposes, having the original audio can be critical for communicating your message effectively. By including both voice-over narration and original system audio, you can create more engaging and informative screen recordings that will better connect with your audience.
To record your voice, select the microphone from the start menu on Snagit. Select the system audio option when you need to record the sounds that come from your computer, like the beeps and boops you hear.
When you record your screen you can include typing the address into your browser and show all your mouse clicks and movements to let people see exactly where to go and how to get there.
You can include video and audio when you record your screen too. Use microphone audio to narrate your video from your computer’s built-in microphone or an external mic. You can also record your system audio (that’s the sound that comes out of your speakers).
Now you have all the information you need to create audio-enabled screencasts! Never again will you need to ask, “How do you record screens with sound?” or “How can I record my screen?”
Record Your Screen Today! (For Free!)
Download a Camtasia trial (on Windows or Mac) to quickly and easily record your computer screen.
Download Now!Computer screen recording FAQs
Yes, with the right software recording your computer screen with sound is easy. While some computers and operating systems come with built-in tools to record your screen, not all of them include features to record audio.
Depending on your computer, downloading software such as Snagit or Camtasia could be the easiest and most effective way to record your screen with sound just by clicking a button on the toolbar.
Depending on your computer and operating system, you may or may not have a built-in tool to record your screen. Either way, third-party software such as Camtasia and Snagit offer more advanced features than most built-in screen recorders.
You can use the built-in Quicktime Player to capture a screen recording on your Mac, or you can use third-party software such as Camtasia or Snagit which offer more advanced recording features. For example, with the Camtasia Recorder, you can record your screen and your webcam at the same time, as well as sound from both your microphone and system audio.
To record your screen on a Windows computer, you can use the built-in Xbox Game Bar, or third-party software like Camtasia or Snagit, which offer more versatile recording and editing tools. Not only does Camtasia let you record your screen, webcam, microphone, and system audio all at once, but you can also edit all mp4 files either separately or together.
To screen record on a Chromebook, you can use the built-in Screen Recorder, or third-party software such as Camtasia or Snagit to capture your screen, audio, and webcam footage. Camtasia and Snagit offer cutting-edge editing and recording tools to help you record and edit like a pro. With Camtasia, you can even create split screen videos and add a range of animations to your footage.


Share