You can upload content from Snagit version 2023 or later or from your computer to your Screencast Library. After uploading, you can:
Organize Content in Your Library
Add a Folder
Folders are for organizing media in your Screencast Library.
- In the Library, click the + icon next to My Library.
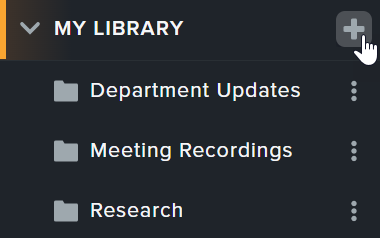
- Enter a folder name and click Create.
The folder is added to your Screencast Library. Continue with Add Media to a Folder or Collection.
Add a Subfolder
- In the Library, complete one of the following options:
- Click the
 icon next to the desired folder and select Create Subfolder.
- With a folder selected, click the + icon next to My Library.
- Enter a subfolder name and click Create.
The subfolder is added to your Screencast Library. Continue with Add Media to a Folder or Collection.
Add Media to a Folder or Collection
Tip: Folders vs. Collections
Folders are for organizing media in your Screencast Library. Collections are for sharing sets of media with your team or others. To learn about the benefits of collections and how to manage them, see Share in Collections.
- In the Library, click the checkboxes to select the desired media.
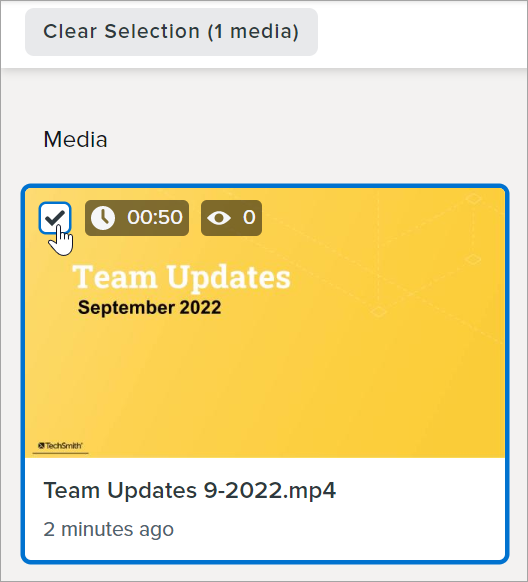
- Complete one of the following:
- To add to a folder or subfolder, click the Move button and select a location from the dropdown.
- To add to a collection, click the Share to Collection button and select a collection from the dropdown.
- Click the Move (for folders) or Submit (for collections) button.
Screencast adds the media to the selected folder or collection.
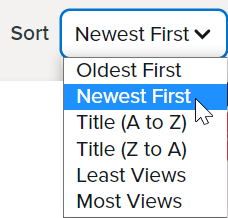
Sort Media
To set the order of your content in your Screencast Library, click the Sort dropdown in the Media section.
To view videos that count toward the limit for your Screencast tier, in your library click Videos and check the Show video usage checkbox.
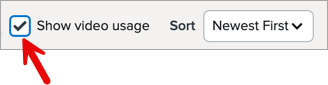
If you reach the limit or are getting close to the limit, delete media or upgrade to Screencast Pro.
Delete Media
To permanently delete media from your Screencast Library:
- In the Library, click the checkboxes to select the desired media.

- Click the Delete button.
- A prompt appears, click the Delete button to permanently delete the selected media.
Replace Media
Upload a new file when you have an update or fix to existing media in your Screencast Library.
- On the Library tab, click to open the media.
- Select More > Replace Media.
- The Upload New Media dialog appears. Drag a file onto the dialog or click browse for file. See Supported File Formats.
Manage Media Settings
Complete any of the following to manage your media settings:
Media details provide more context about the content you share to your audience. To learn how to increase conversations and collaboration on your media, see Tips for Content Engagement.
- In the Library, click to select the media.
- Click the Edit Details button.
- The Edit Details dialog appears. Edit any of the following:
- Title: Screencast automatically creates a title based on the file name, capture date, or captured website, file, or app name. Click to enter a new title.
- Description: Add a description to provide more information such as a summary of the content or links to other resources. Click to enter a description.
- Chapters (video only): Add a table of contents to highlight important sections in your video and allow users to jump to the content most relevant to them. Enter the start time and description for each chapter.
- Location: Select a folder, subfolder, or collection from the dropdown.
- Click Save.