Manage Content in Your Library
Learn how to manage and organize content in your Screencast Library.
Learn how to manage and organize content in your Screencast Library.
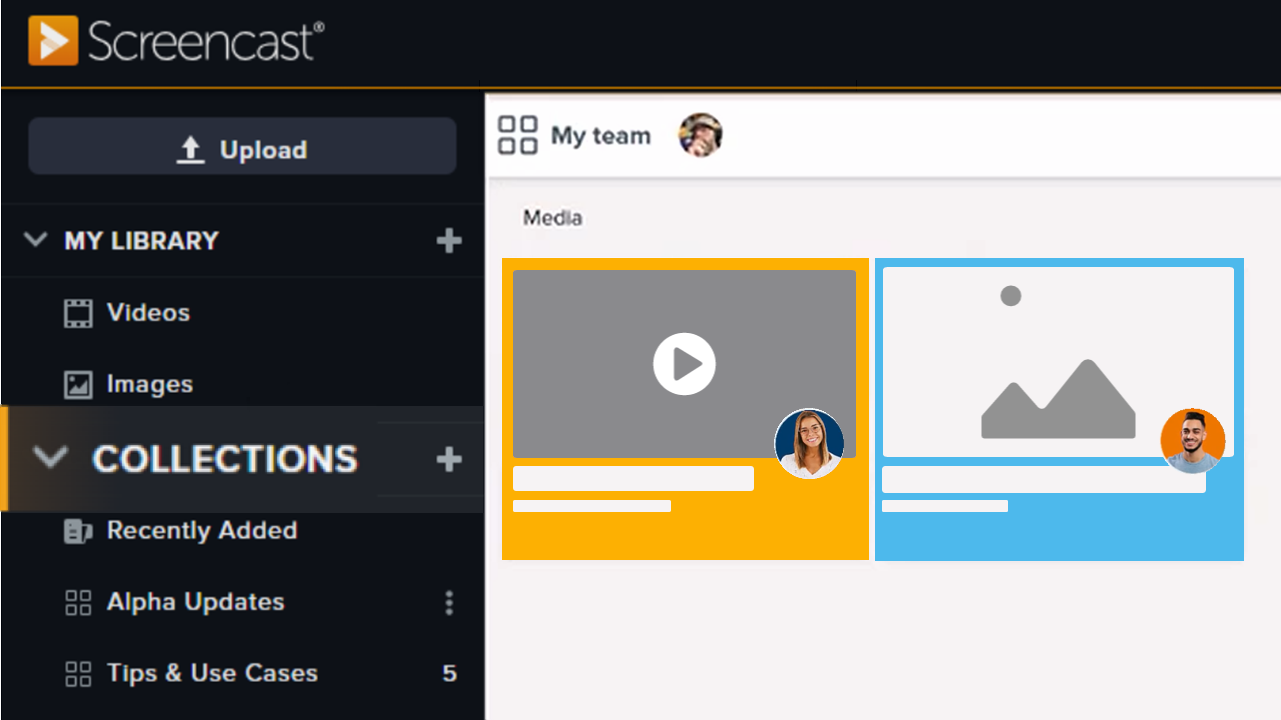
You can upload videos and images to Screencast from your computer, or from Camtasia Snagit and Camtasia Editor. As you build your content library, here are a few simple ways to stay organized.
Folders are for organizing media in your Screencast Library.
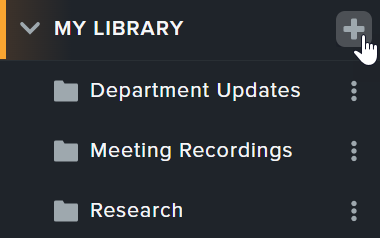
Tip: Folders vs. Collections
Folders are for organizing media in your Screencast Library. Collections are for sharing sets of media with your team or others. To learn about the benefits of collections and how to manage them, see Share in Collections.

To set the order of your content in your Screencast Library, click the Sort dropdown in the Media section. 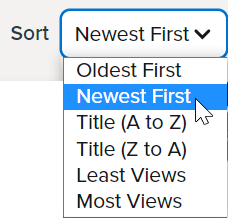
To view videos that count toward the limit for your Screencast tier, in your library click Videos and check the Show video usage checkbox.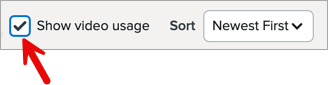
If you reach the limit or are getting close to the limit, delete media or upgrade to Screencast Pro.
Upload a new file when you have an update or fix to existing media in your Screencast Library.
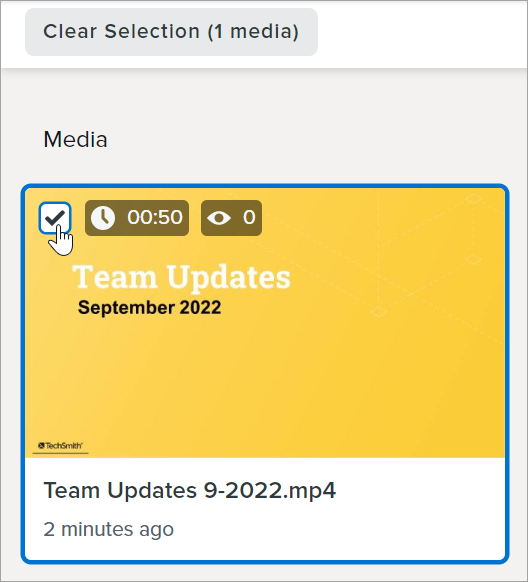
Move media from your personal Screencast Library or from a Team Library to the Trash:

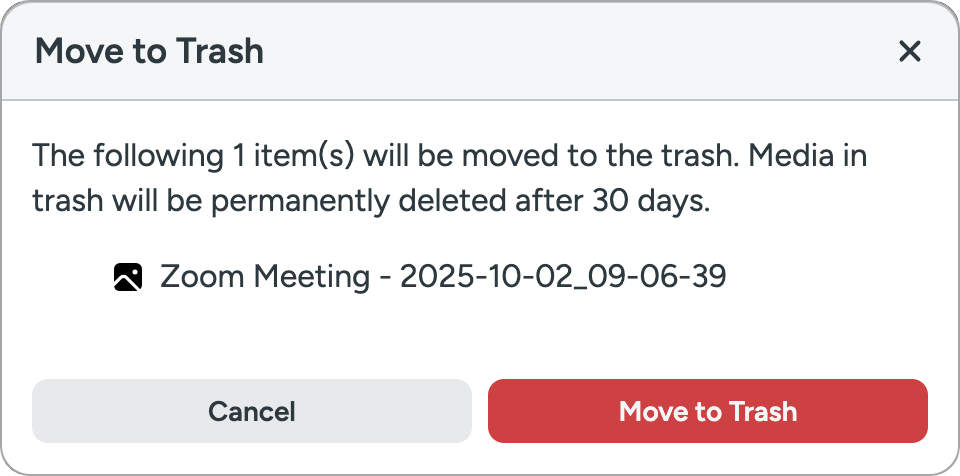
Media in the Trash is permanently deleted after 30 days.
Note: For free Screencast accounts, videos in the Trash are included in the 25 video storage limit.
Note: If you choose to delete a Team Library, the Team Library and all of its content is deleted immediately rather than moving to the Trash. A warning appears for you to confirm this action. See Manage Content as a Team.
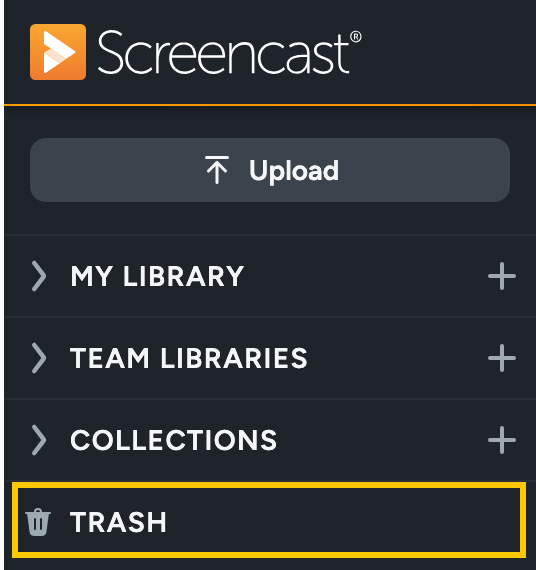
To restore media from the Trash before it is deleted permanently:
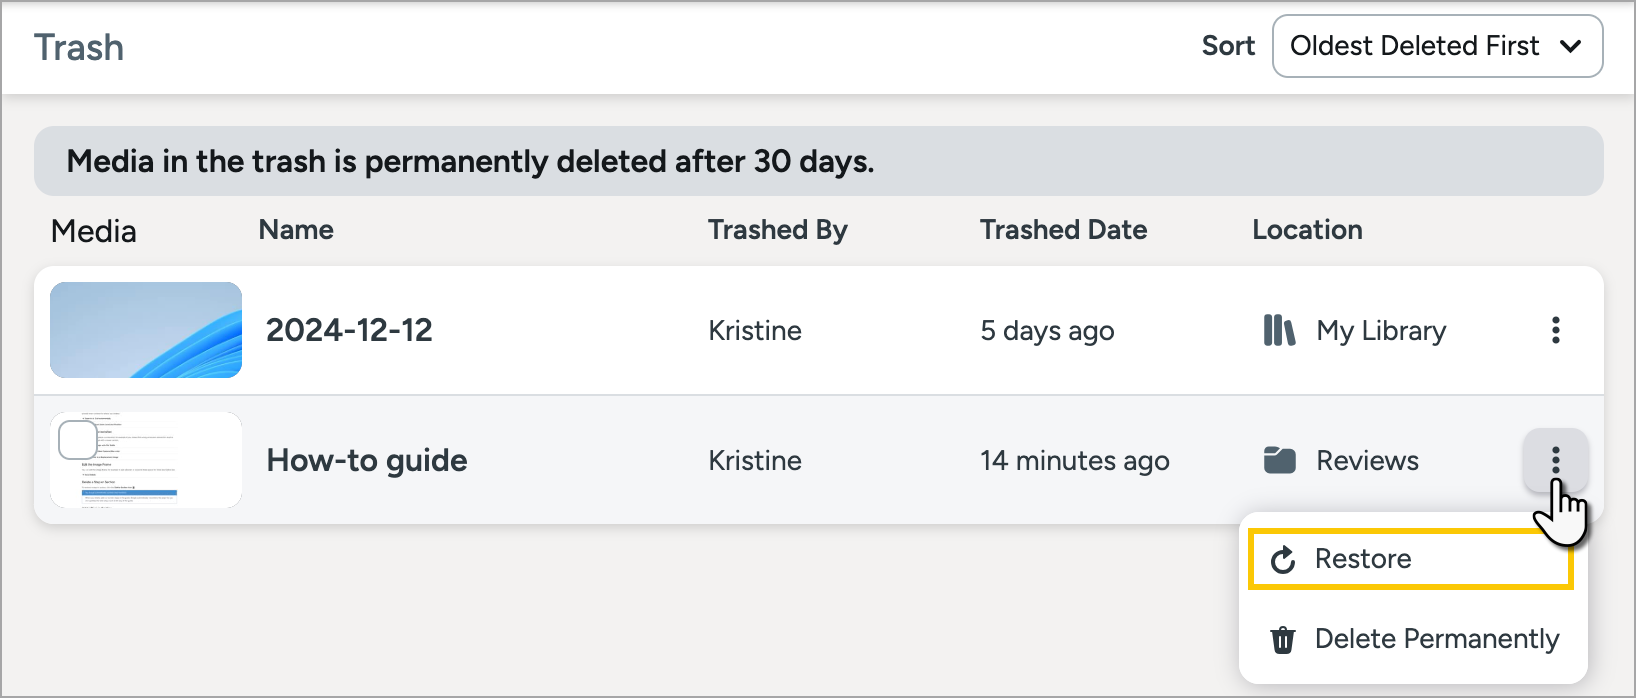
Media is returned to the personal Screencast Library, Team Library, or folder from which it was deleted.
Complete any of the following to manage your media settings:
Media details provide more context about the content you share to your audience. To learn how to increase conversations and collaboration on your media, see Tips for Content Engagement.
Tip: Screencast Pro users can auto-generate details for videos.
If you have a Screencast Pro account, you can auto-generate title, description, and/or chapters for your videos using AI. Learn about Screencast pro tiers.