Visual Effects Overview
Apply effects to visually enhance your videos and engage your viewers.
Apply effects to visually enhance your videos and engage your viewers.
Apply visual effects, for example to adjust color or change how media moves across the screen, without altering the original media. Effects can be applied to video clips and images, as well as objects such as text, callouts, and shapes.
To apply a visual effect:
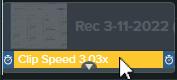
Click the Effects tray on the media and click to select the effect. The effect turns yellow.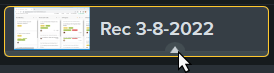
| Option | Description |
|---|---|
| Adjust the Properties | Click the Properties button to view and adjust the effect settings in the properties panel. |
| Turn Off and On | Click the toggle in the properties panel.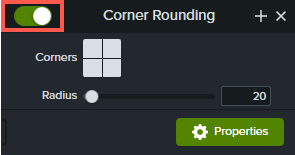 |
| Adjust the Duration | Drag the effect handles to adjust when the effect starts and ends during the clip.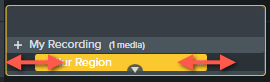 |
| Delete the Effect | Press the Delete key or click the X icon in the properties panel.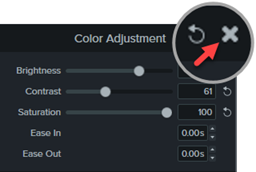 |
| Effect | Details |
|---|---|
| Color Adjustment | Adjust the brightness, contrast, and saturation settings of an image or video in the properties panel.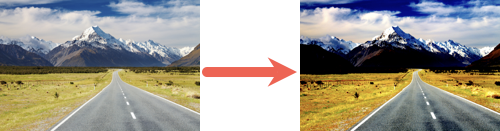 |
| Color Filters | Preview and apply a unique Color LUTs to an image or video. See Edit Video Colors and Shading (Filters). |
| Color Tint | Apply one color to light tones and a second color to dark tones in a video or image.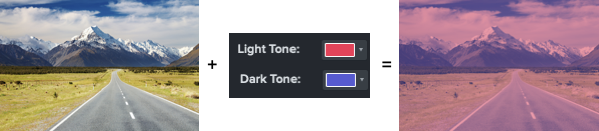 |
| Colorize | Apply a single color overlay to media.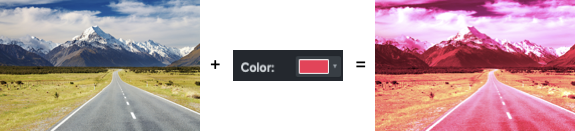 |
| Glow | Apply a glowing effect to light areas of media. |
| Remove a Color | Remove a single-color background to substitute a different background image or video.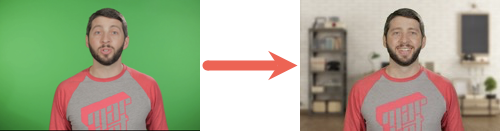 See Remove a Color (Green Screen). |
| Sepia (Mac) | Apply a sepia tone to media.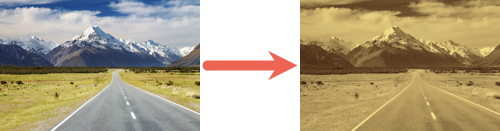 |
| Effect | Details |
|---|---|
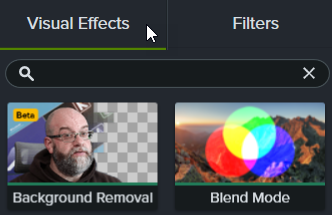
| Background Removal | Remove your background, even complex or multi-color backgrounds, without needing to use green screen. This visual effect works best when there is a single person or primary object on the screen. See Remove a Background from Your Video. |
| Blur Region | Add a rectangular or oval blur to obscure distracting content, to make a title screen, or to create new effects. See Blur or Mask a Video. |
| Border | Add a color border around the media.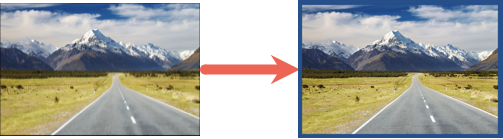 |
| Corner Rounding | Round one or more corners.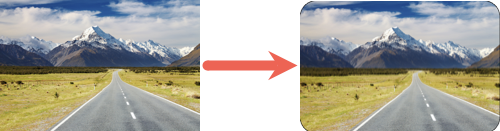 |
| CRT Monitor | Emulate the nostalgic appearance of a retro CRT display, complete with scanlines and a curved appearance.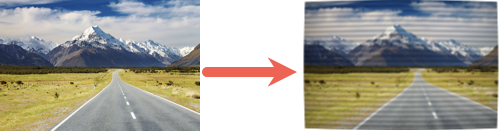 |
| Cursor Path Creator | Add a cursor path to images or to video not recorded with Camtasia.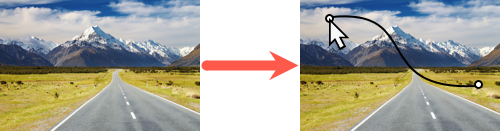 See Customize Your Cursor and Path. |
| Device Frame | Display media within the frame of a laptop, mobile device, or computer display. 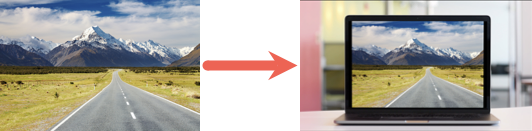 See Provide Context with Device Frames. |
| Drop Shadow | Apply a drop shadow to give media a 3D effect on the canvas. Specify the shadow color and angle. |
| Keystroke (Mac) | Automatically display key combinations pressed during recording that included the Command, Option, or Control modifier key. 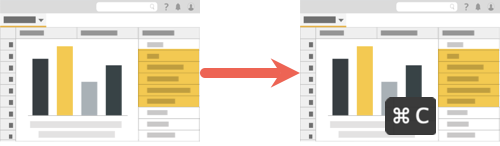 Note: This effect can only be applied to screen recordings captured with Camtasia (TREC files). Tip: On Windows, manually add keystrokes as annotations. Select Annotations tab > Keystroke Callouts subtab |
| Mask | Reveal only an oval or rectangular portion of media, or invert the mask to hide a portion of the media. |
| Interactive Hotspot | Add a clickable call-to-action to link to a webpage, automatically pause video, or direct users to replay or jump to a different section of your video. See Add Hotspots (Interactive Videos). |
| Mosaic (Mac) | Pixelates media to create a mosaic effect.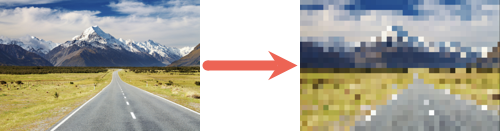 |
| Outline Edges | Automatically apply the effect of a line drawing to a video or image.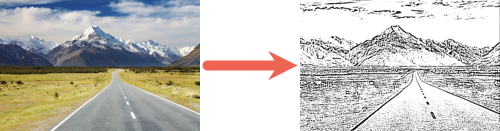 |
| Reflection | Add a reflection to media that does not take up the entire canvas.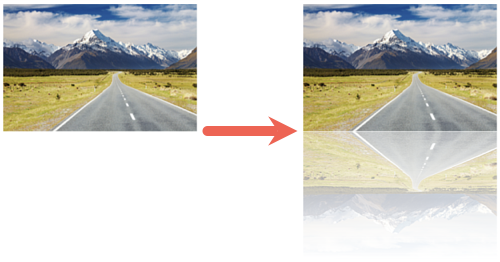 Note: To reflect grouped objects individually, ungroup the objects first and then apply the Reflection effect. |
| Spotlight | Create the appearance of a spotlight shining on the media.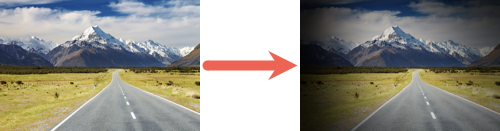 |
| Static Noise | Add classic static interference reminiscent of disrupted TV signals or poor analog connections.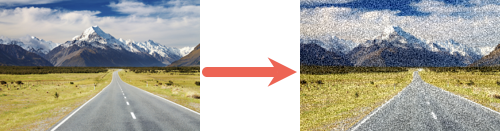 |
| Tiling | Repeat a logo, image, or video in a pattern across the screen to create a custom animated background.  To customize the Tiling effect, complete any of the following:
 |
| Torn Edge | Add a torn paper edge with controls for jaggedness, margin, and more.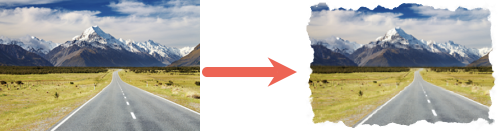 |
| Window Spotlight (Mac) | Automatically dim all inactive windows in a screen recording to draw attention to the active window. Note: This effect can only be applied to screen recordings captured with Camtasia (TREC files). |
| Vignette | Add a fade to an image or video without a defined border. |
| Effect | Details |
|---|---|
| Clip Speed | Play a video clip faster or slower than its original pace. See Speed Up & Slow Down Video Clips. |
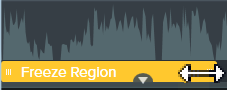
| Freeze Region | Fix one area of a video on the canvas while the remaining area continues to play. See Freeze a Region. |
| Motion Blur | Blurs objects that have animation applied to them. Note: Motion Blur does not affect movement in video clips. |
| Motion Path | Add movement to objects such as annotations, images, and clips, to make them arc, swoop, or glide across the screen. See Add Movement to Any Object (Motion Path). |
Freeze screen content in the selected area while the video continues to play to remove mistakes such as a notification.

| Effect | Details |
|---|---|
| Blend Mode | Choose from dozens of modes to custom blend an image or video with media on the track(s) below.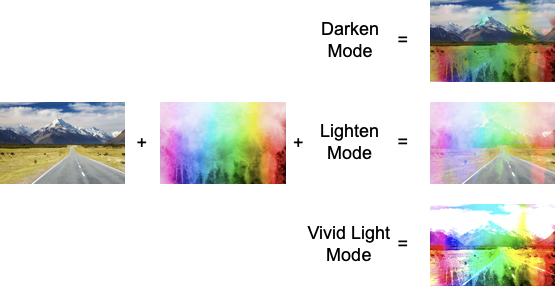 |
| Media Matte | Simplifies adding a track matte or “masking” to display or hide media on the tracks below.  See Create Stunning Animations with Media Mattes. |
Unleash the world’s most powerful screen recorder and video editor.
* Already a Camtasia Editor user? Learn how to update to the latest version.