









A snipping tool for Mac is the built-in macOS Screenshot toolbar, which lets you capture and save all or part of your screen without installing extra software.
Maybe you just switched from Windows to Mac, and the first time you need a quick screenshot, your fingers reach for a Snipping Tool shortcut that doesn’t exist on your new machine.
The term “snipping tool Mac” usually points people to the built-in macOS Screenshot toolbar. That covers a quick grab, but it falls short when you’re documenting a multi-step process, protecting sensitive account details, or sending a capture to a teammate for review.
If you’re standardizing how your team documents work on Mac, you need to know where the native tool stops and where a purpose-built option picks up.
The best snipping tool for Windows and Mac
Don’t let clumsy built-in tools hold you back. Take and edit screenshots with Snagit!
Get Snagit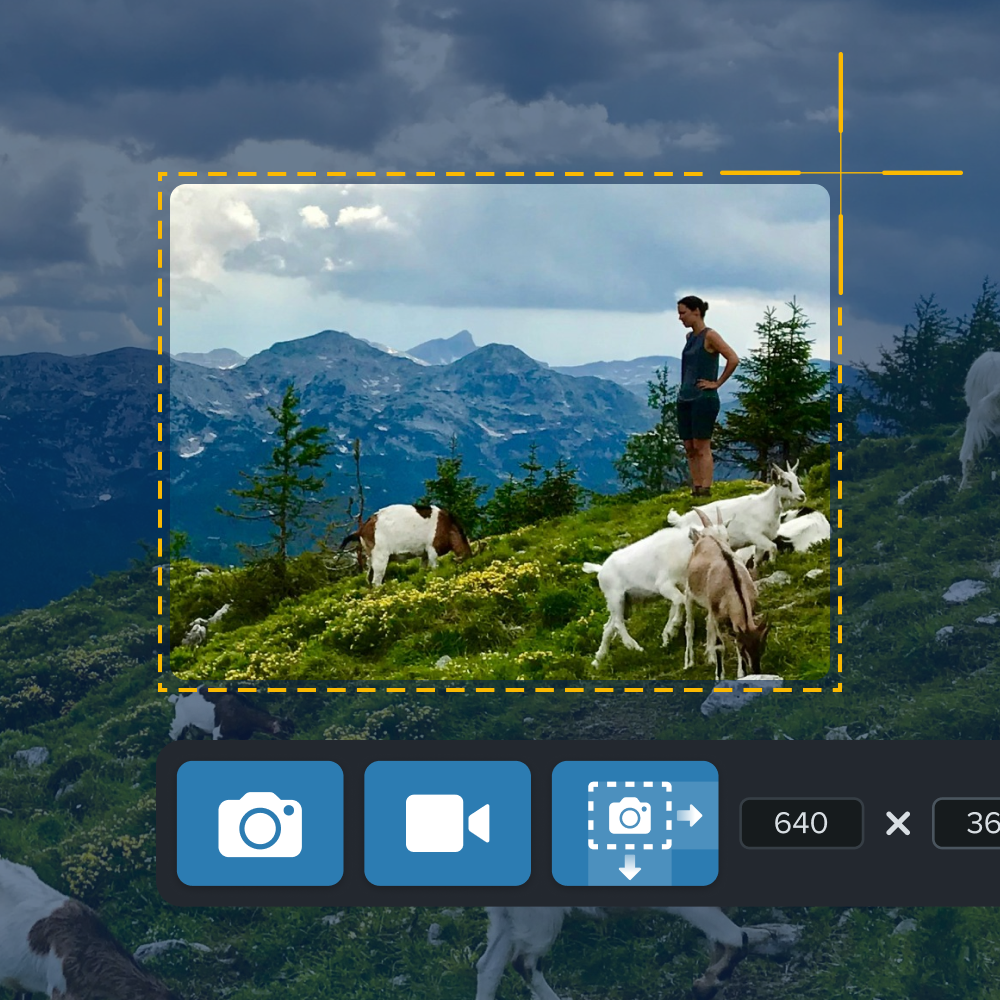
Key takeaways
- Mac’s snipping tool equivalent is the built-in Screenshot toolbar, opened with Shift-Command-5.
- The built-in Mac screenshot tool lacks scrolling capture, text recognition, and advanced redaction for frequent documentation work.
- Casual screenshot needs can rely on macOS’s native tool, while teams documenting processes often need Camtasia Snagit’s added features.
- Screenshots captured on Mac can feed directly into Camtasia Editor when a walkthrough needs more than a static image.
- Shared captures still need a review step, which makes structured feedback tools like Screencast valuable for team documentation.
What is Mac’s Snipping Tool equivalent?
The built-in Screenshot toolbar is Mac’s native equivalent to the Windows Snipping Tool. macOS has no app called Snipping Tool; the two operating systems use different names for their capture tools.
Open the Screenshot toolbar with Shift-Command-5 to see all your capture options in one place.
If you’re moving from Windows to Mac, drop your muscle memory for the Snipping Tool shortcut and learn this one instead.
Native Mac screenshot shortcuts to know
Three keyboard shortcuts cover most Mac screenshot needs:
- Shift-Command-3 captures the full screen.
- Shift-Command-4 captures a selected area.
- Shift-Command-5 opens the full Screenshot toolbar.
Press Shift-Command-3, and macOS captures everything on your display and saves it to your desktop as a PNG file. That works fine when you need the whole screen, but most documentation only needs one window or one section of it.
That’s when you’d use Shift-Command-4. Press it, and your pointer turns into a crosshair that you drag across the exact area you want to capture. Release, and macOS saves just that selection, already cropped to size.
Shift-Command-5 opens the Screenshot toolbar, which gives you options for full screen, window, or selected-area capture, plus screen recording, all from one panel with a timer delay if you need it.
If you’re used to the Windows Snipping Tool’s keyboard shortcuts, this guide to Snipping Tool shortcuts shows what maps across and what doesn’t. For the full rundown on Mac capture options, including window-specific shortcuts, check out our resource on how to take a screenshot on a Mac. Captured more than you meant to? Here’s how to crop a screenshot on a Mac to help you fix it after the fact.
Camtasia Snagit: Features built for documentation work
Camtasia Snagit turns a basic screenshot into a documentation asset with capture, annotation, and step-by-step tools built in. Snagit can also capture the cursor independently, making it easy for users to move, delete, change, or enlarge it if needed.
Documenting a process for coworkers means more than grabbing pixels: the result has to explain each step clearly, protect sensitive details, and hold up as a useful visual someone can follow. For technical writers and IT teams, that’s a different job than the one native tools handle. AI Step Capture, Smart Redact, and scrolling capture are what make that job easier.
AI Step Capture creates instant guides
AI Step Capture automatically captures each click and turns the sequence into a numbered, static step-by-step guide as you move through a process on screen. Camtasia Snagit tracks the actions you take, then arranges the corresponding screenshots in order, with each step numbered and ready to caption.
Building a process guide by hand usually means capturing each screen individually, cropping it, and pasting it into a document in the right order. AI Step Capture removes that assembly work, which matters more now that Windows has retired its own Steps Recorder tool, leaving technical writers and IT teams without a built-in equivalent.
The result is a static guide rather than a video. Once you have those numbered screenshots, you can send them directly to Camtasia Editor, which uses them as source material and applies titles, transitions, and cursor enhancements to build a video from that same process.
Smart Redact hides sensitive information fast
Smart Redact identifies sensitive details in a still image, such as email addresses, phone numbers, full names, faces, and more, and blurs or blacks them out before you share the screenshot.
IT professionals, support teams, and technical writers rely on this when documentation includes a real customer record, a login screen, or an internal system that shows more than it should.
A raw screenshot might capture a support ticket with a customer’s email and phone number in plain view. After Smart Redact, that same image shows the ticket layout and workflow with the private fields covered, ready for a training guide or a shared knowledge base article.
Smart Redact works on screenshots and other still images. It doesn’t remove sensitive details from screen recordings, so you’ll still need to review and edit any video footage before you share it.
Scrolling capture grabs full web pages
Scrolling capture stitches an entire webpage or document into one continuous image, including everything below what fits on your screen.
Open the long page or document you need to capture, then trigger a scrolling capture instead of a standard region capture. Camtasia Snagit captures the page as you scroll and combines each section into a single image, so you end up with one file instead of five or six separate screenshots to line up and merge.
That matters for documentation covering a long support article, a lengthy settings page, or a multi-section policy document.
macOS’s native Screenshot tool only captures what’s visible on screen. It has no scrolling capture option, so documenting anything longer than one screen still means stitching multiple images together by hand.
Sharing captures without extra software
Camtasia Snagit lets you share a capture through a link that opens the image or recording directly in the recipient’s browser. Sending a link instead of a large attachment also avoids file size limits.
One-click sharing sends your capture directly to services like OneDrive or Google Drive, where it lives as a single link rather than a file that gets forwarded, re-saved, and re-attached across email threads. That matters for IT and support teams documenting a process: the recipient clicks, views the capture in their browser, and you avoid the version confusion that comes from multiple copies floating around different inboxes.
This works well for quick handoffs. When a reviewer needs to leave specific, actionable feedback on a shared capture, that structured review process runs through Screencast.
Comparison at a glance
Camtasia Snagit is a strong choice for repeatable documentation that needs contextual annotation, privacy protection, scrolling capture, and easy sharing, while macOS Screenshot handles basic, one-off captures well.
A single screenshot for a quick reference doesn’t ask much of a tool. A documentation asset that gets reused, reviewed, and shared across a team asks for more: clear annotation, protected sensitive data, and a format that holds up over time. The table below compares the two tools on the criteria that matter most for that kind of work.
| Criteria | macOS Screenshot | Camtasia Snagit |
| Capture modes | Full screen, window, or selected area via the Screenshot toolbar, useful for capturing screen images on the fly | Full screen, region, and AI Step Capture for multi-step processes |
| Annotation | Basic markup only, no callouts or step numbering | Callouts, arrows, and numbered steps for context |
| Privacy protection | None built in; sensitive details often require manual blurring or masking in a separate app | Smart Redact automatically conceals sensitive information in still images |
| Scrolling capture | Not supported; only the visible area is captured | Stitches an entire page into one continuous image |
If you capture screens occasionally, the native tool is enough. If a screenshot becomes a reusable team asset, Camtasia Snagit closes the gaps native capture leaves open.
From screenshots to video workflows
Escalate beyond static screenshots once a process needs motion, narration, editing, or reviewer feedback to make sense. A single image works for one step. A multi-step process, a spoken explanation, or a piece that needs sign-off calls for a different tool.
Camtasia offers a clear path forward:
- Camtasia Online for quick recordings
- Camtasia Editor for full production
- Camtasia Screencast for structured review
Camtasia Online for quick browser recordings
Use Camtasia Online when a walkthrough needs screen, camera, and microphone recording instead of a static image. Open it, choose your sources, and start recording in the same session. One-click AI layout automatically arranges your camera and screen into a finished recording, no manual editing required.
That setup works better for short demos and explanations than a static screenshot. To show a process in motion and talk through it at the same time, this is the faster path.
Camtasia Online isn’t a stripped-down Camtasia Editor. It’s built for speed for a specific job: recording a quick, personal walkthrough and sharing it instantly.
When a walkthrough grows into something that needs trimming, branding, or a full editing timeline, Camtasia Editor is the right next step.
Camtasia Editor for polished video production
Camtasia Editor is the right choice when a walkthrough needs trimming, consistent branding, or full timeline control. If a review flagged awkward pauses, missing captions, or background noise, Camtasia Editor gives you the editing suite to fix all three in one project.
Those AI Step Capture screenshots can fill the same role here, giving you a starting point instead of a blank timeline and saving you from re-recording a process just to turn it into video.
Camtasia Editor records screen, camera, system audio, and microphone in one session, then splits each source onto its own editable track. That separation is what makes branded, repeatable training possible: you can swap out a title card, adjust narration levels, or apply a saved Library style while leaving the rest of the project untouched.
For output compression on Mac, Apple’s Compressor documentation covers similar export settings, though Camtasia Editor keeps that step built into the same project.
For teams standardizing documentation across a company, that consistency matters as much as the content itself.
Screencast for feedback and approval
Screencast is where finished captures or videos go for time-stamped, frame-specific feedback from reviewers. Once a walkthrough or documentation asset is ready, it needs a structured place for people to weigh in before it ships.
Reviewers open the shared link in Screencast and drop comments directly on the exact second of a video or the exact spot on a screenshot that needs a change. A manager can flag a confusing transition at the 0:42 mark. A subject matter expert can point to one incorrect field in a static guide. Each comment stays attached to that location, making it clear where the problem is.
Compare that with email. Feedback arrives as scattered replies, forwarded threads, and file attachments with names like “final_v3.mp4,” and someone has to guess which comment applies to which moment. Generic file-sharing links have the same problem: they show the content, but reviewers still have to describe the frame or moment they mean in writing.
Screencast keeps every comment tied to the content it describes, making revisions faster and approvals trackable.
Annotate and edit screenshots with Snagit
Professional mark-up tools and powerful features make it easy to create helpful images.
Try it Free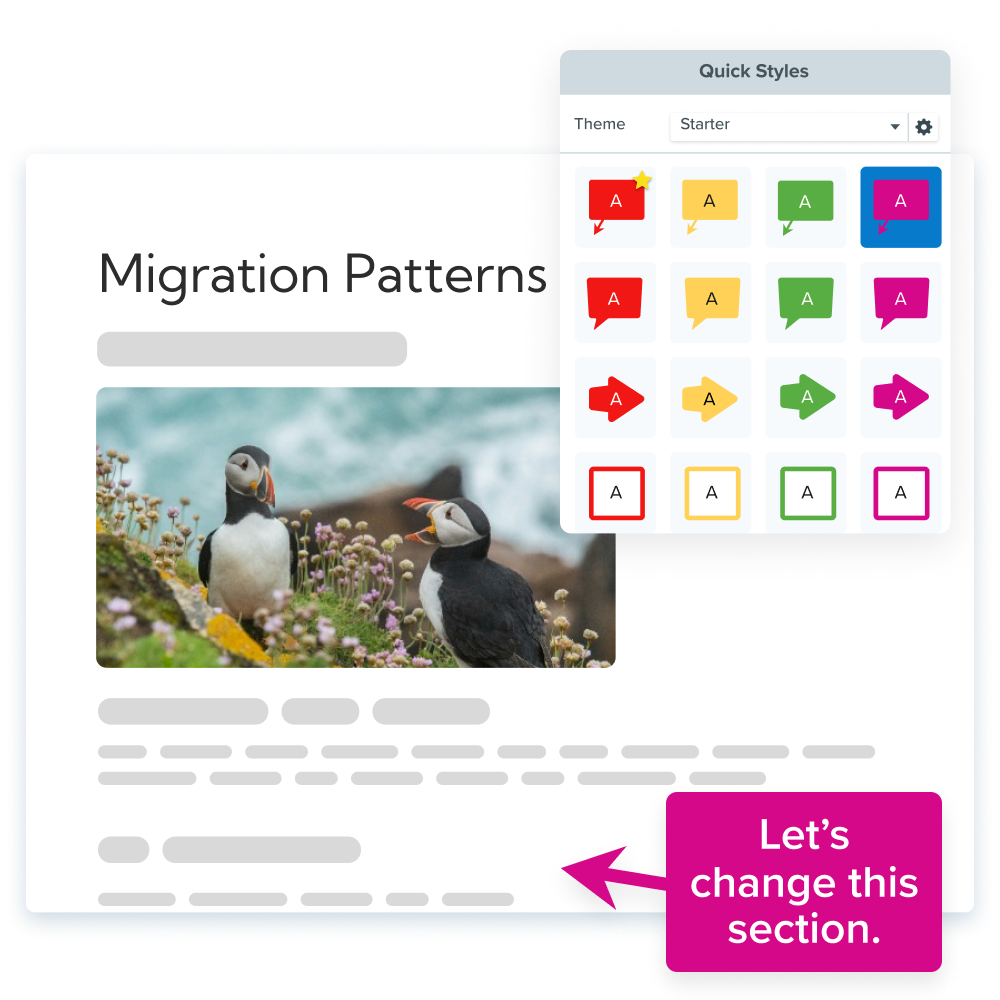
Choose the right Mac capture tool for the job
Choosing the right Mac capture tool comes down to whether it can redact sensitive or personal details, capture a scrolling settings page, or hand off a finished screenshot without forcing three extra steps in Preview. That gap between a quick grab and a documented process is exactly where most teams get stuck, and it’s rarely about talent.
If you just spent 10 minutes manually blurring a customer’s email address before sending a bug report, that’s your sign. Camtasia Snagit handles redaction, scrolling capture, and sharing in one pass.
Once your documentation grows past static images into full walkthroughs or peer review, the Camtasia suite picks up right where Camtasia Snagit leaves off, extending the same workflow.
The best way to know which tier fits your work is to run it against a real document you’re building right now: See how Camtasia Snagit fits your workflow.
Frequently asked questions
Can I copy text directly out of a Mac screenshot without retyping it?
macOS can pull text out of a screenshot using Live Text: open the image in Preview or Quick Look, then select and copy the text directly. This works well for a one-off screenshot, but Camtasia Snagit builds text recognition into the capture and library workflow itself, so you can search and copy text across many saved screenshots without opening each one individually. That difference matters most for technical writers and support teams who often capture error messages or interface text.
How do I capture just one open window instead of the whole screen or a custom area on Mac?
To capture just one open window, press Shift-Command-4, then press the space bar to change the crosshair into a camera icon. Move the camera over the open window you want to capture and click it. This captures only the selected window, leaving the rest of the desktop out of the image.
Is Camtasia Snagit worth the cost if I only take a few screenshots a week?
The built-in macOS Screenshot tool is likely sufficient if you only take a few simple screenshots each week. Camtasia Snagit becomes more relevant when those captures are part of repeatable documentation, privacy protection, process-guide creation, annotation, or team-sharing workflows. Evaluate it based on the work surrounding each screenshot instead of how many screenshots you take.
Does switching to Camtasia Snagit mean I have to stop using Mac’s built-in Screenshot tool?
You can continue using the built-in macOS Screenshot tool alongside Camtasia Snagit. Native shortcuts remain convenient for quick, one-off captures, while Camtasia Snagit handles documentation tasks that need additional context, privacy protection, scrolling capture, or structured sharing. The two tools can serve different levels of the same workflow.
Can I turn a series of Mac screenshots into a training video without recording again?
You can use existing screenshots as source assets for a training video instead of re-recording the entire process. Camtasia Snagit’s AI Step Capture can create a static process guide, and those images can then provide the visual foundation for a video you assemble and refine in Camtasia Editor.
Share