


You recorded a solid training session last Tuesday. Good content, clear walkthrough, real value for your learners. Then you exported the file and viewed it as a new employee or external customer would: no logo, no speaker ID, no intro, nothing to signal that this is official content from your organization. It looks like a screen capture, because that’s exactly what it is.
Knowing how to add branding to a recorded video turns that raw file into something you can share with confidence. A logo in the corner, a short branded intro, and a lower third with the presenter’s name each serve a specific purpose. Together, they make the difference between a recording that feels provisional and one that feels finished.
This post walks you through the practical steps for doing that in Camtasia Editor, from placing a logo overlay to creating templates your whole team can reuse. If you have a Zoom or Teams recording sitting in your downloads folder right now, you’ll have a clear path forward by the time you finish reading.
Key takeaways
- Adding branding to a recorded video helps viewers recognize official training content faster and trust what they are watching.
- A watermark shows ownership, but active branding uses logos, lower thirds, intros, and brand colors to make recorded videos feel complete.
- In Camtasia Editor, you can add branding after recording by placing logo overlays, intro and outro clips, lower thirds, and styled callouts on the timeline.
- Branding a Zoom or Teams recording before sharing it externally can make a raw meeting feel more polished and easier to follow.
- Reusable templates and brand kits help teams apply the brand consistently to recorded videos while keeping captions and on-screen elements clear and accessible.
Why branding your recorded videos matters more than you think
Viewers decide within seconds whether a video feels official or informal. A consistent logo, color palette, and title layout signal that the content comes from a trusted source before a single word plays.
Open an unbranded Zoom replay next to a branded course module. The branded version is immediately identifiable as the authoritative source.
That difference matters at scale. A trainer repurposing a Teams product walkthrough for a learning management system (LMS) needs viewers to recognize it as approved content rather than a random screen recording. Formal brand standards help organizations maintain a consistent visual identity across videos, courses, and other communications.
Go from screen recording to polished video
A screen recording is just the start. Camtasia’s editor helps you add the callouts, animations, and edits you need to create a truly professional video.
Free Download
Watermark vs. active branding: Knowing the difference
A watermark signals ownership. Active branding shapes how a video looks, feels, and gets remembered.
Use a simple watermark when you need to identify or protect a raw recording. Use a fuller branded edit when the video represents your organization publicly.
A LinkedIn webinar replay may need speaker lower thirds, branded callouts, and color-matched titles, not just a corner logo. A customer training module without those elements can feel unfinished. Camtasia Editor helps you manage those elements together on one timeline.
The five layers of a professionally branded training video
Professional video branding works best in layers. Each element serves a different purpose:
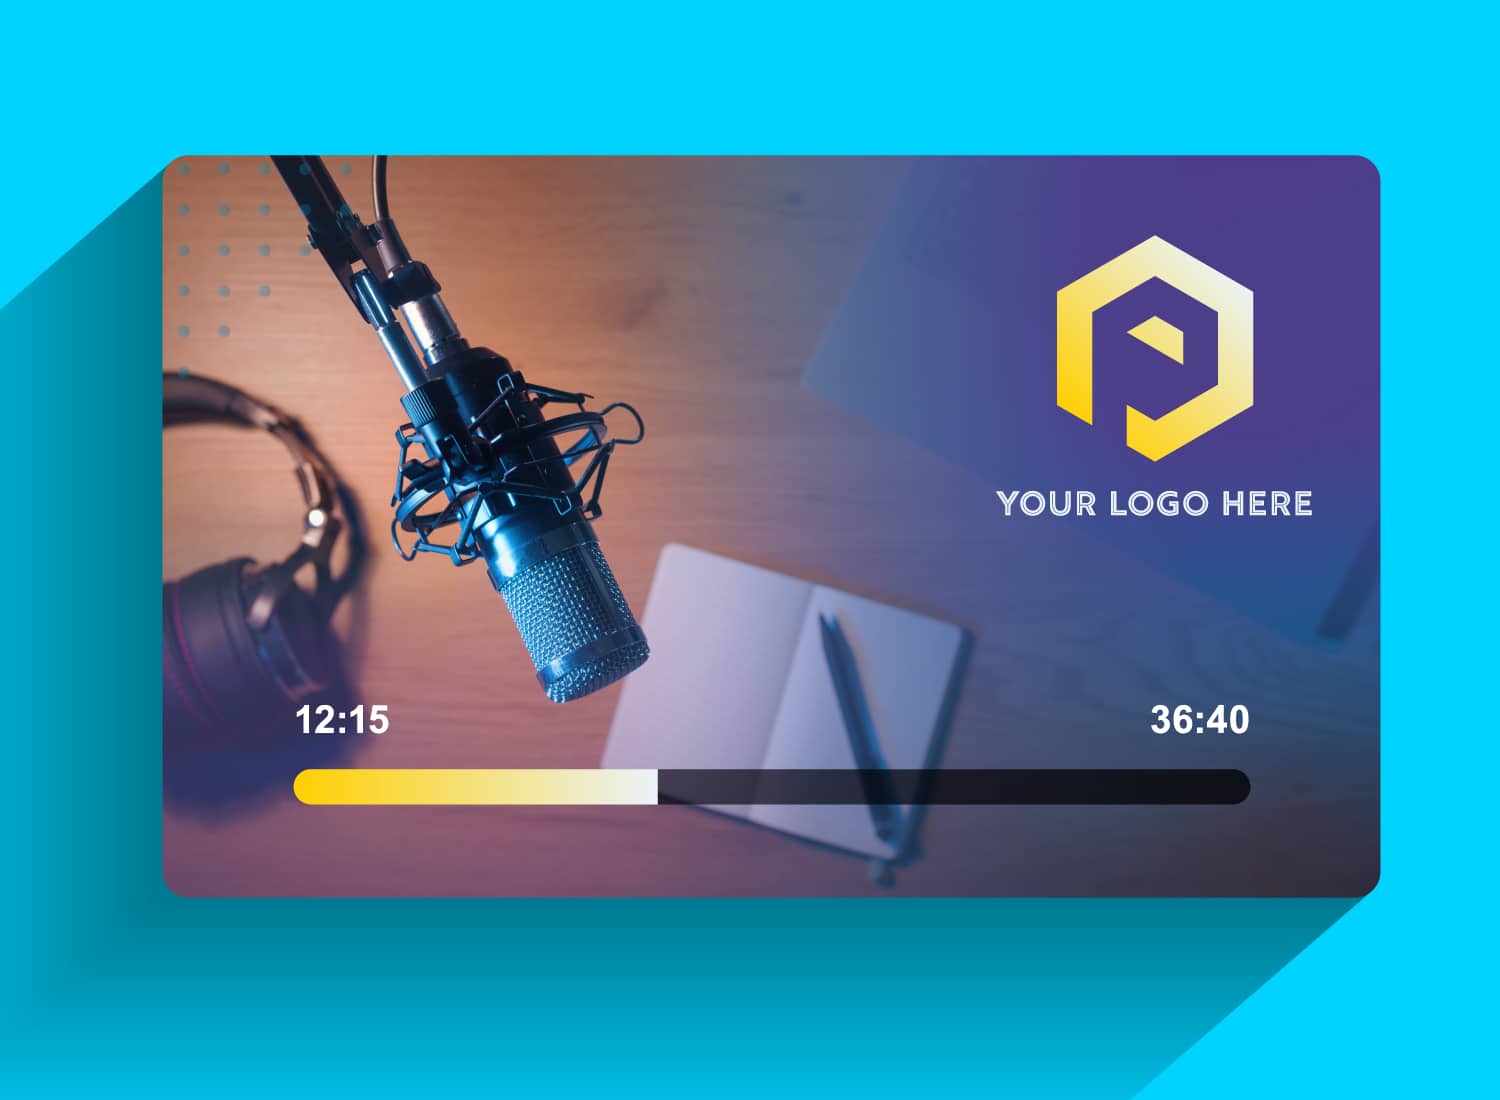
- Logo overlay: Identifies the source instantly
- Intro and outro: Frames the video at the beginning and end
- Lower thirds: Introduces presenters without interrupting flow
- Brand-matched callouts: Directs attention using your colors and style
- Consistent fonts and colors: Ties every element together
In a recorded software demo, the logo confirms ownership, lower thirds introduce the presenter, and branded callouts highlight the exact button to click. Use this list as a pre-export checklist before you publish.
How to add branding to a recorded video in Camtasia Editor
Camtasia Editor gives you timeline control for post-recording branding. Start with your raw webinar, meeting, or training video, then add logo, titles, lower-third, and color overlay assets on separate timeline tracks above your recording.
Import your recording and set up your timeline
Before adding branding, clean up your recording. In Camtasia Editor, trim dead air from the start and cut any waiting-room chatter or side conversation.
Set your canvas size early. For many LMS exports, 1920×1080 is the right default. This helps keep logos, lower thirds, and intro cards aligned across exports and future template reuse.
Place video, audio, and branding assets on separate tracks. That way, you can swap a logo or update a lower third without disturbing your core footage.
Add and position your logo overlay
Before placing your logo, consider setting up a theme in Camtasia Editor. Themes carry your brand colors, fonts, and logo through callouts, titles, and lower thirds, so you configure those choices once instead of restyling each element manually.
Place your logo in a corner where it won’t compete with captions, faces, or important on-screen content. In a software training video with captions along the bottom and a webcam bubble in the lower-left, the upper-right corner may be the clearest option.
Consider reducing the logo’s opacity, so it identifies the video without competing with the interface learners need to see.
Insert a branded intro and outro
A short branded opener and a closing slide can turn a raw Microsoft Teams recording into a polished customer-facing recap. Camtasia’s asset library includes free, customizable templates you can download and edit directly in Camtasia Editor. Swap in your colors, logo, and fonts to create a more polished opener without having to build one from scratch.
Keep intros under ten seconds. Use the outro for next steps, course context, or a follow-up call to action (CTA) that points learners to the next lesson.
Place lower thirds for speaker names and context
Lower thirds orient viewers quickly. They identify who’s speaking and what segment is playing without interrupting the recording. In a compliance video, a lower third reading “Dana Reyes, HR Compliance” helps learners understand who is guiding the lesson.
Keep the text short and limit display time to a few seconds. In Camtasia Editor, add a lower third from the Annotations panel, then trim its duration on the timeline.
Style callouts to match your brand colors and fonts
Default callouts can look out of place in a branded training video. Branded callouts make annotations look intentional. In Camtasia Editor, select an annotation, open the Properties panel, and update the fill color, border, and font to match your brand guidelines.
In a product tutorial, a branded arrow and callout box pointing to a settings menu can improve clarity while keeping the video visually consistent. Restyle one annotation, then save the style for reuse across your series.
Make great educational videos
Create engaging videos that drive student success with Camtasia’s easy drag-and-drop editing.
Free Download
Branding a Zoom or Teams recording before you share it
Most training video libraries start as meeting recordings, and raw Zoom or Teams exports rarely look ready for an LMS, customer education portal, or public webinar replay
Before you upload that onboarding session externally, run this quick cleanup sequence in Camtasia Editor:
- Trim waiting-room chatter from the start
- Cut off-topic side conversation
- Add a branded intro and outro
- Drop in your logo and lower-third name tags
Those steps turn a functional recording into a credible asset. A polished replay can make a stronger impression on new hires and customers than a raw export.
For a repeatable framework, see how others develop a video onboarding program around this kind of workflow.
Save time with brand kits and reusable templates
Manually adding logos, fonts, and lower thirds to every video wastes time and invites inconsistency. Build a reusable template once instead.
In Camtasia Editor, create a starter project with your approved colors, intro card, lower-third style, and logo placement. Save it as a template, then reuse it for future recordings.
An L&D team producing monthly onboarding modules can open the template, drop in new footage, and publish without having to rebuild branding from scratch each time.
See how brand kit tools in Camtasia keep every video consistent at scale.
Accessibility considerations when adding visual branding
Branding should support your viewer’s experience, not compete with it. Keep logos out of caption zones, ensure lower-third text has sufficient contrast, and avoid fast-moving animations that distract or overwhelm viewers.
Before export, run a quick accessibility checklist covering caption overlap, text contrast, and motion. In a captioned software training video, your corner logo, lower third, and callouts must all coexist without crowding the frame or making the lesson harder to follow.
Start branding your recorded videos the right way
Building a branded training asset that holds up in a learner’s inbox or a client’s LMS takes more than adding a logo to the corner. A stronger workflow includes lower thirds, intro and outro sequences, color-matched callouts, consistent typography, and an accessible audio track. That’s what separates a polished publish from a rushed screen capture.
The gap shows up most clearly with Zoom or Teams recordings. With a reusable Camtasia Editor template, the same recording you finished this morning can look polished and on-brand before lunch.
Open one existing recorded training video and apply your organization’s lower third and outro sequence to it. That single pass will show you where your current template gaps are and give you a repeatable starting point for every recording that follows.
Consistent branding, built-in captions, and a reusable template library can reduce stakeholder back-and-forth, protect your team from one-off requests, and help you publish faster without sacrificing quality.
Camtasia Editor makes editing Zoom recordings simple by connecting directly to your Zoom cloud recordings from within the app. Instead of working from one flat file, you get separate tracks for key meeting elements, so it’s faster to refine the content and add the branded touches that make training videos feel clear, polished, and ready to share.
If you are ready to put this workflow into practice on a real recording, try Camtasia free.
Frequently asked questions
How do I add branding to a recorded video?
Start by importing your recording into Camtasia Editor, then place your logo, intro, outro, and lower thirds on separate timeline tracks. This workflow helps you time each brand element precisely, keep screen content readable, and reuse the same structure across training videos, webinars, and product demos.
How do I insert a logo into a video?
Add your PNG or SVG logo above the main footage, then resize it and place it in a corner with enough padding. A small logo with reduced opacity often works better than a large mark because it identifies the video without blocking captions or demos.
What is the difference between a watermark and a brand overlay on a video?
A watermark is usually a subtle, semi-transparent mark that signals ownership, while active branding adds context through intros, lower thirds, colors, and typography. For training teams, active branding helps viewers recognize official content faster and reduces confusion when recordings circulate across channels.
How do I add my company logo and name as a graphic on a video?
Use a lower third that combines your logo, company name, speaker name, or department, then align its colors and font with your brand guide. Save that graphic as a template in Camtasia Editor so every trainer can drop it into future recordings and keep the series consistent.
How should I brand a Zoom or Teams recording before sharing it?
Trim the dead time first, then add an intro, logo, speaker labels, and branded callouts before exporting to your LMS or external channel. If your team publishes recordings often, reusable templates in Camtasia Editor can save setup time and make each share-ready video feel consistent.
Where can I get intros, outros, and other video assets for Camtasia?
Camtasia’s asset library includes free, customizable intros, outros, titles, and lower thirds you can use directly in Camtasia Editor. Browse and download from the Assets for Camtasia library at library.techsmith.com, then adjust colors, fonts, and text to match your brand.
How do I create brand consistency across my video elements in Camtasia?
Use Camtasia Editor’s Themes feature to define your brand colors, fonts, and logo in one place. Once you set your theme, those styles apply consistently across callouts, lower thirds, titles, and other on-screen elements, so you’re not manually matching settings video by video.
Can I share brand kits and assets with my team in Camtasia?
Yes. Camtasia’s package and share feature lets you bundle themes, templates, and assets and distribute them to teammates. That keeps everyone working from the same branded starting point, without rebuilding elements from scratch.
Share