









You’re a support agent about to paste a screenshot into a customer ticket when you notice it still shows the customer’s Social Security number in plain view.
That split-second catch is exactly why you edit a screenshot before it leaves your screen. To edit a screenshot means changing a captured image before sharing it. This may include cropping out distractions, adding annotations, correcting or extracting text, and covering anything sensitive. The goal is a screenshot that’s clearer and safer for whoever opens it next.
Technical writers, support teams, and marketers all hit this moment differently, but the fix is the same: a repeatable process instead of a last-second scramble.
Key takeaways
- Redacting sensitive information before sharing a screenshot can permanently protect customer data or internal details.
- Optical character recognition (OCR) lets you edit or extract text directly from a screenshot without retyping it.
- Scrolling capture lets you grab an entire webpage or spreadsheet as one continuous image, so you avoid stitching multiple screenshots together.
- AI-powered tools can speed up screenshot editing tasks like redaction, object movement, and step-by-step guide creation.
- The right screenshot editing workflow depends on your role, since technical writers, support teams, and marketers need different features.
- Adding alt text and contrast-safe annotations to an edited screenshot makes it accessible to screen reader users and search engines.
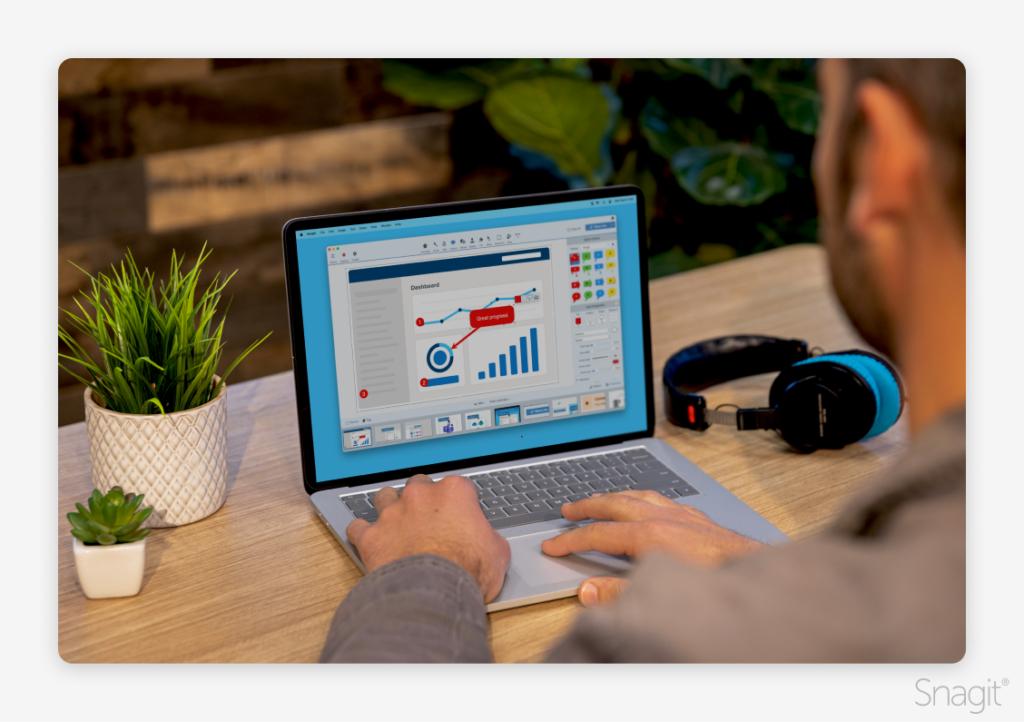
Why screenshot editing matters now
Editing a screenshot before you share it makes the visual easier to understand and keeps unrelated or sensitive information from going out with it. A raw capture often includes open tabs, notifications, or account details that have nothing to do with the point you’re making, and they distract from the one thing you want a reader to notice.
Purposeful markup fixes that. Empirical visualization research found that annotations like text, shapes, and highlights can improve comprehension and memorability, which means a well-marked screenshot does more than look tidy. It helps the reader understand and retain what they’re looking at.
Starting with a complete capture also makes editing easier. Camtasia Snagit’s scrolling capture saves an entire scrollable area as one continuous image, giving you a single file to crop, annotate, and redact.
Capturing the image is quick: grab the screenshot, then open it in an editor. If you need help, follow the general capture steps, the single-monitor guide, or the Mac-specific instructions for your device. Mac users can also consult Apple’s screenshot instructions.
Annotate and edit screenshots with Snagit
Professional mark-up tools and powerful features make it easy to create helpful images.
Try it Free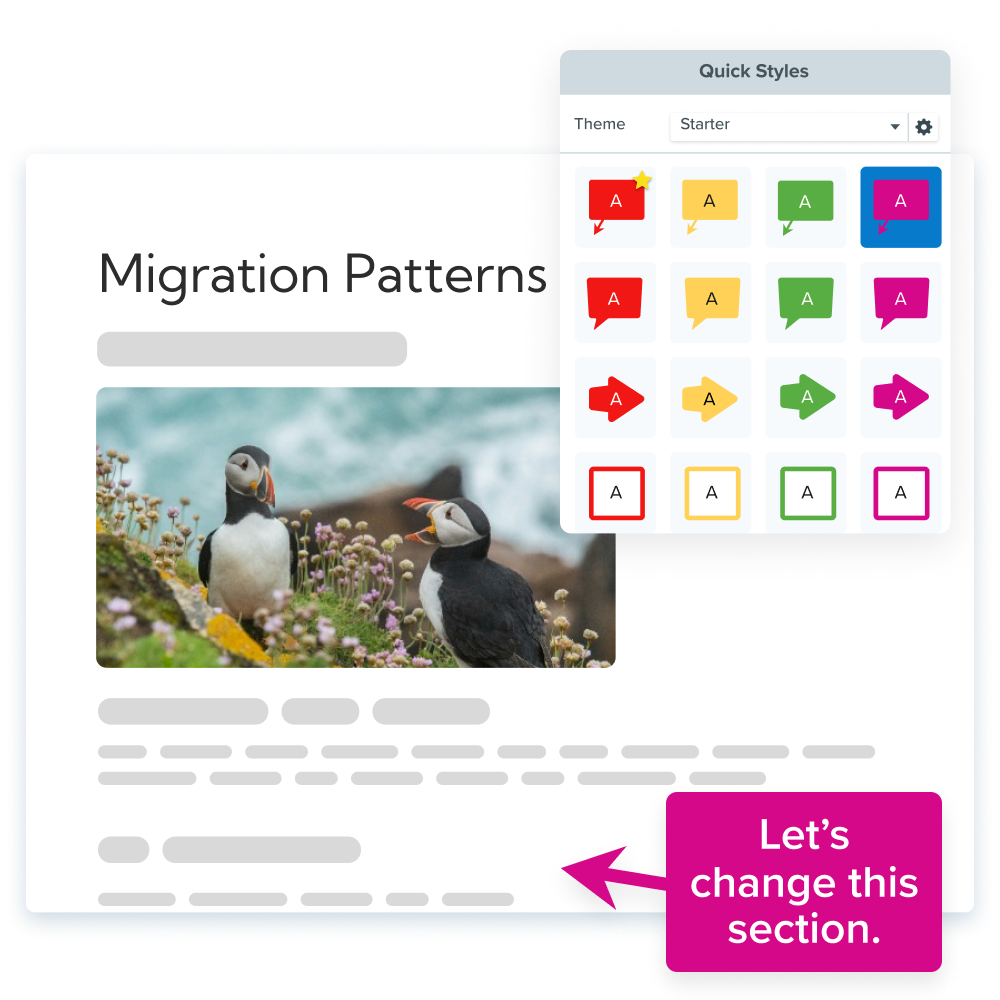
Make precise edits that add clarity
The two edits that make the biggest difference are precision markup and redaction, which turn a raw capture into a clear, shareable visual ready for professional use.
A focused version crops away the clutter, marks up the one detail that matters, and covers anything sensitive before it leaves your hands.
Crop, resize, and annotate with precision
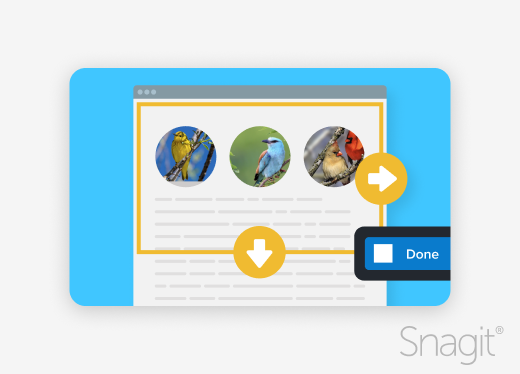
Precise cropping and resizing sharpen focus by removing everything that doesn’t belong in the frame. Start by cutting away unrelated toolbars, browser tabs, or desktop clutter, then resize the image to fit its destination, whether that’s a documentation page, a support ticket, or a slide.
Once the frame is clean, add arrows, callouts, and shapes to establish a clear viewing order for the reader’s eye. Keep the text on each callout to a few words that name the action rather than a full sentence explaining it. On a Mac, the built-in Preview Markup toolbar provides shapes, text boxes, sketch tools, color adjustment, and cropping, which covers the basics for a one-off screenshot.

Consistency is as important as clarity. If your documentation set uses red boxes for warnings and blue arrows for next steps, apply that pattern across every screenshot in the guide. A reader who sees the same visual language on screenshot 12 as screenshot 1 doesn’t have to relearn how to read your material.
Some workflows call for more than markup. Use the Cut-out tool to remove an unwanted horizontal or vertical section from a screenshot, or Smart Move to reposition an element before you annotate it.
Redact sensitive information before sharing
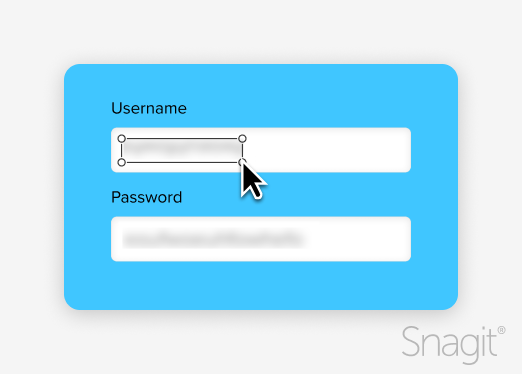
Safe redaction obscures sensitive details like names, email addresses, and credit card numbers, then requires checking the final exported or shared image to confirm that information is no longer visible. An editable overlay sitting on top of a screenshot is still just a shape on a layer. If someone opens the source file in an editor and moves that shape, the information underneath can resurface.
Work through the image in a fixed order before anything leaves your hands.
- Scan the full screenshot for sensitive or private information: names, email addresses, Social Security numbers, notification banners, open browser tabs, or internal system labels.
- Apply a redaction treatment rather than leaving a movable shape over the information.
- Export the finished image as a flattened file.
- Open the exported copy and zoom in on each covered area to confirm the information stays hidden.
Camtasia Snagit’s Smart Redact automates that first scanning step for still images, flagging likely sensitive fields in a screenshot so you spend less time hunting and more time verifying. It’s built for screenshots, not video, so treat it as one part of your image workflow.
For more ways to speed up that workflow, see this roundup of Camtasia Snagit features worth knowing.
Edit and extract text with OCR
OCR (optical character recognition) enables features like grab text by detecting text embedding in a screenshot’s pixels, so you can copy, search, or edit that text instead of retyping it by hand.
The tool scans the image, recognizes letterforms, and converts them into text you can select and paste elsewhere. That means a screenshot of an error message, a customer’s chat log, or a set of instructions doesn’t have to become a manual transcription job.
Windows already builds this in. According to Microsoft’s documentation, Snipping Tool lets you capture a screenshot and pull the text it contains without any additional software.
OCR gets text out of an image, but it doesn’t replace the rest of your editing workflow.
A screenshot with extracted text may still need:
- Cropping to remove unrelated interface details before you archive or share it
- Redaction over any sensitive information the extracted text reveals, like a bank card number or email address
- Annotation, such as an arrow or callout, to show where that text came from in context
Treat OCR as one step in a larger sequence rather than a standalone fix. Extract the text you need, then finish the image the same way you would any other screenshot headed for documentation or a support ticket: cropped, marked up, and checked for anything that shouldn’t be visible.
Speed up editing with AI tools
AI-assisted tools such as Smart Redact and Smart Move can reduce repetitive screenshot-editing work. Together, they help teams protect sensitive information and reposition screen elements without handling every adjustment manually. And, this AI technology is on-device, so there’s no data sharing or cloud involvement.
Step Capture works similarly for documentation. As you move through a process, it automatically numbers each screenshot and organizes them into a clear sequence, saving you from manually labeling and reordering images afterward. The output is a static, numbered guide, not a video.
That static output isn’t a dead end. You can send a Step Capture guide directly into Camtasia Editor, where it becomes the foundation for a video walkthrough. For the full process, follow this tutorial on turning a Step Capture guide into a video.
Save and share your edited screenshot

A screenshot is ready to publish only after its file format and sharing method match how the audience will view, reuse, or review it. You’ve finished cropping, annotating, and redacting, but the job isn’t done until you decide how crisp the interface text needs to stay and whether the image is final or still needs a reviewer’s sign-off.
Those two decisions, export format and sharing method, shape everything that happens next.

Choose the right export format
Format choice depends on end use: PNG for crisp text, JPEG for compressed photos, PDF for documents. If your screenshot shows an interface, a dialog box, or any small text that needs to remain clear, export it as a PNG so labels, menus, and fine lines stay sharp.
Switch to JPEG when the screenshot is photo-heavy, like a product photo or a marketing image, and file size matters more than pixel-level detail. JPEG compression shrinks the file, but it also softens hard edges and text, so save it for images without much fine print.
When one or more screenshots need to become a document-style handoff, such as a signed-off spec or a client deliverable, export them as a PDF.
Before you export, match the image dimensions and compression level to where it’s published. If you’re producing a documentation set, use the same export settings every time so every screenshot in the guide looks consistent.
Share through Screencast for feedback
A screenshot that needs comments or approval should go out as a structured review link, not an email attachment. Email and chat systems can compress, resize, or block large images. A link avoids those issues and gives the reviewer access to the image you edited.
Link sharing also keeps the conversation attached to the visual instead of scattered across reply threads and screenshots of screenshots.
Screencast is built for this. It hosts images created in Camtasia Snagit and lets reviewers leave comments tied directly to specific spots on the image, so feedback like “fix this label” or “blur this field” stays attached to the exact area it refers to.
That structure matters for a support agent confirming a redaction or a marketer collecting sign-off on a campaign asset. For sharing options across different channels, such as Slack, email, or a client portal, see this guide to sending a screenshot.
Match your workflow to your role
Editing needs shift by role. Technical writers need consistency, support teams need redaction, and marketers need visual polish. The highest priority depends on what happens if the screenshot goes out wrong.
A technical writer building a documentation set has to consider consistency across dozens of screenshots. Every image needs the same dimensions, annotation style for buttons and menus, and an export format that keeps interface text sharp when it lands in a help article.
A support agent attaching a screenshot to a customer ticket faces a different risk: sensitive details left visible on the screen. Missing that field means customer data could be exposed, so the priority is a fast, reliable privacy check before the image gets attached.
A marketer collecting feedback on a campaign asset cares less about redaction and more about clarity during review. The screenshot needs brand-consistent markup and a way for stakeholders to leave comments in one place instead of across multiple email threads.
Once you know which consequence you’re protecting against, the rest of your editing process follows naturally.
Annotate and edit screenshots with Snagit
Professional mark-up tools and powerful features make it easy to create helpful images.
Try it Free
Build accessibility into every screenshot
Accessible screenshots need useful text alternatives and annotations that stay clear without relying on color alone. Section 508 guidance notes that alt text makes visual content accessible to screen reader users and usable by search engines, digital assistants, and AI applications. If a screenshot conveys information that the surrounding text doesn’t already cover, it needs a written description beyond a simple caption.
Write that description around the screenshot’s purpose rather than listing everything visible. If a screenshot functions as a link, its alt text should describe the destination or action, such as “Go to the free trial signup page,” rather than “Screenshot of a blue button,” according to accessibility guidance on linked images.
Purely decorative screenshots, like background images with no informational value, should be marked as empty or “null” so screen readers skip them. Any meaningful annotation, arrow, or callout still needs enough contrast to remain legible, and it can’t depend on color alone to make its point.
Before publishing, check the screenshot’s purpose, alt text, linked-image action, annotation contrast, and whether decorative images are marked appropriately.
Choose the right screenshot editing tool for your workflow
A dedicated screenshot tool brings reliable redaction, step-by-step guides, and structured reviewer feedback into one professional workflow.
OS-native tools work well for occasional cropping and annotation, while more complex documentation workflows often require multiple tools for redaction, process guides, and review.
Camtasia Snagit brings those steps together. Smart Redact surfaces sensitive fields, Step Capture turns a process into a numbered guide without manual assembly, and Screencast gives reviewers a place to leave feedback tied directly to the image instead of across an email thread. The result is a workflow that scales from one screenshot to a full documentation library without rebuilding the process each time.
If recurring documentation, bug reports, or training visuals are part of your job, start building standardized screenshots with Camtasia today.
Frequently asked questions
Can I edit a screenshot without installing any software?
Built-in options such as Mac’s Markup tools and Windows Snipping Tool let you crop, annotate, and save screenshots without installing another application. Windows Snipping Tool also supports text extraction through OCR, although native capabilities vary by operating system. A dedicated editor becomes more useful when your workflow requires consistent annotations, privacy-focused redaction, reusable styles, or structured team review.
Will redacting a screenshot permanently remove the sensitive information, or can it be recovered later?
Properly applied redaction protects the covered information in the final exported or shared image, but an editable overlay alone may not be sufficient. Use a solid redaction treatment, export or share the finished screenshot, and inspect that final version before distributing it. Keep the editable source private because it may still contain the original information.
Can I still edit a screenshot after I’ve already sent or shared it with someone?
Editing the original file doesn’t update a copy that has already been sent, downloaded, or posted. You must correct the screenshot and send or publish the new version, then remove the earlier version wherever possible. A structured review workflow can reduce version confusion by keeping comments and approvals connected to the current visual.
Does cropping or annotating a screenshot reduce its image quality?
Cropping doesn’t reduce the resolution of the pixels you keep. It only removes pixels outside the selected area. You can add arrows, text, and callouts without lowering the original capture’s resolution, although resizing or exporting with strong compression can soften fine details. PNG is usually the safer format when interface text must remain crisp.
What’s the difference between annotating a screenshot and redacting one?
Annotation and redaction serve different purposes. Annotation adds guidance such as arrows, callouts, shapes, or text so viewers know where to look and what to do. Redaction covers sensitive information so it isn’t visible in the final shared image. A professional workflow often uses both: annotation explains the task, while redaction protects names, credit card numbers, or internal details.
Share