









To use the Snipping Tool shortcut on Windows, press Windows key + Shift + S. Your screen will dim, and the snipping toolbar will open so you can choose a rectangular, free-form, window, or full-screen capture. After you take the screenshot, select the notification to open it in Snipping Tool for editing.
In this article, you will learn how to use Snipping Tool shortcuts, choose the right capture mode, change the Print Screen key, and decide when Camtasia or Snagit is a better fit for frequent screenshot work.
The best snipping tool for Windows and Mac
Don’t let clumsy built-in tools hold you back. Take and edit screenshots with Snagit!
Get Snagit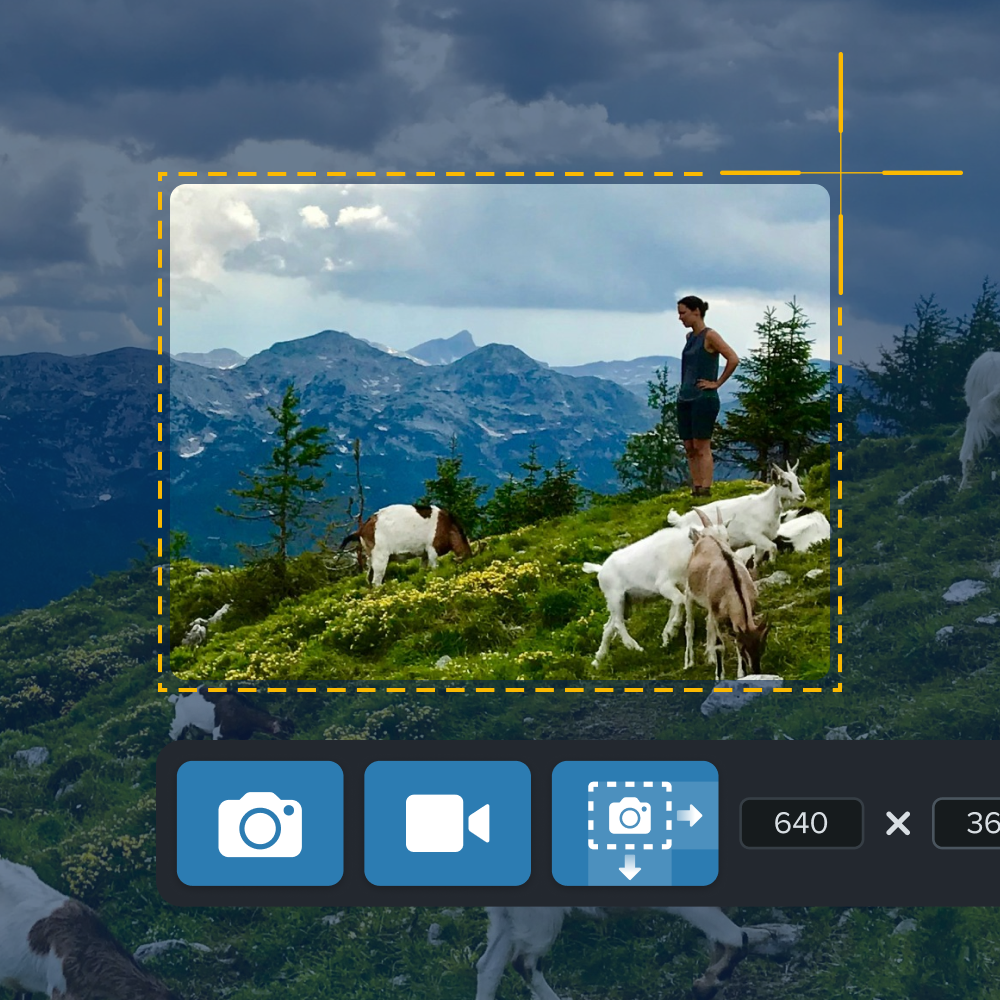
Key takeaways
- Press Windows key + Shift + S to open the Windows Snipping Tool toolbar.
- Use a rectangular snip for most screenshots, a window snip for one app window, and a full-screen snip when you need everything on your display.
- You can set the Print Screen key to open screen snipping from Windows keyboard settings.
- Camtasia Snagit is worth considering if you take screenshots often and need scrolling capture, annotations, quick videos, or an organized capture library.
The best snipping tool for Windows
Don’t let clumsy built-in tools hold you back. Take and edit screenshots with Camtasia Snagit! Get Camtasia Snagit
Why use a shortcut key for Snipping Tool?
Snipping Tool shortcuts save time because they open the capture controls without searching menus or switching apps. Copy and paste are two of the most common keyboard shortcuts. Imagine how much slower you’d be without them.
That old right-click-and-scroll method adds small delays throughout the day. Every second you save adds up over the course of a workday.
The primary benefit of keyboard shortcuts is saving time, so why not invest time in learning them? Since you are reading this article, you are on the right track.
Fun Fact: The first-ever screenshot was taken in 1960, over 60 years ago! Humans have always sought ways to share visual information.
How do you open the Snipping Tool with a shortcut?
Open the Windows Snipping Tool by pressing Windows key + Shift + S. The full screen will dim.
From there, you’ll see four snipping options at the top of your screen:
| Shortcut | What it does |
| Windows key + Shift + S | Opens the snipping toolbar so you can choose a capture mode. |
| Print Screen | Can be changed in Windows settings to open screen snipping instead of using the default Print Screen behavior. |
| Alt + M | Selects a snipping mode in the Snipping Tool app when supported by your Windows version, per Microsoft’s official Snipping Tool guide. |
| Alt + N | Creates a new snip in the same mode you used last, per Microsoft’s guidance. |
| Shift + arrow keys | Moves the cursor to select a rectangular snip area when using keyboard controls. |
What is a rectangular snip?
A rectangular snip captures a box-shaped area that you drag around the content you need. This is generally used for most captures.
What is a free-form snip?
A free-form snip captures an area in any shape you draw by hand. Many people prefer this option when they need to capture a shape that isn’t rectangular.
What is a window snip?
A window snip captures one open window, such as a browser or app. This is helpful when you need to show a coworker exactly what’s on your screen.
What is a full-screen snip?
A full-screen snip captures everything visible on your screen. This option will capture all of your monitors simultaneously. If the information spans multiple screens, this is an effective way to capture it all.
A notification will pop up in the bottom-right corner of your screen. Click on this to open and edit your screenshot.
How can you capture your screen faster with Camtasia Snagit?
Camtasia Snagit lets you set a capture shortcut that works for your workflow and sends screenshots directly to the editor. That is helpful when you take screenshots often and want fewer steps between capture and sharing.
If you haven’t already, give Camtasia Snagit a try by downloading it from the Camtasia Snagit download page. Open up Camtasia Snagit Capture. Under the big red Capture button, click the shortcut listed below it to set a custom capture shortcut.
Camtasia Snagit’s capture options are extensive. You can screenshot a scrolling website as a single image, capture drop-down menus, and even adjust your capture down to individual pixels with the arrow keys on your keyboard.
You might find that the Snipping Tool’s editing tools are limited compared to Camtasia Snagit. Instead of dragging a screenshot from platform to platform to edit, you can do everything in Camtasia Snagit.
Once you capture your screenshot, it will go straight to Camtasia Snagit’s Editor, where you can edit your screenshot with arrows, callouts, annotations, and more! Look at this before and after:
How does Camtasia Snagit compare with Snipping Tool?
Camtasia Snagit compares favorably to Snipping Tool for frequent screenshot work because it adds deeper editing, capture, and organization options that Snipping Tool does not include. The Snipping Tool is a great built-in tool for quick, simple screen captures, but it doesn’t go much further than that. However, Camtasia Snagit has a variety of features that can spruce up a simple screenshot and take complex ones.
Use this table to compare the basic workflow differences before you choose a tool.
| Criteria | Snipping Tool | Camtasia Snagit |
| Availability | Free with the Windows computer | A dedicated screen capture and editing tool |
| Ease of use | Easy-to-use for basic captures | Easy-to-use interface with no steep learning curve |
| Editing | Basic editor | Multi-faceted editor for arrows, callouts, annotations, and clarity |
| Capture options | Simple screen captures | Scrolling capture, drop-down menu capture, and pixel-level adjustment |
| Text and video | Best for screenshots | Grab text from images and PDFs, and screen record quick videos |
| Organization | Manual file management | Organized library for past content |
What tool is right for me?
If you take an occasional screenshot, the Snipping Tool is a good fit; if you rely on screen capture every day, it’s worth considering Camtasia Snagit.
Snipping Tool benefits:
- Free with the Windows computer
- Easy-to-use
- Basic editor
Camtasia Snagit benefits:
- Scrolling capture so you can screenshot beyond what you can see on your screen.
- Grab text from images and PDFs to copy and paste anywhere.
- Screen record quick videos like tutorials, product demos, and team updates.
- A multi-faceted editor to add clarity and information to your captures.
- Organized library so you can always refer back to your past content.
- Easy-to-use interface with no steep learning curve.
Want to learn more about what tool is right for you? Check out our Camtasia Snagit vs. Snipping Tool comparison.
Create how-to guides in seconds with Snagit
Document any internal process as you do it. Step capture organizes the screenshots, numbers, and steps into a clear, shareable visual.
Learn More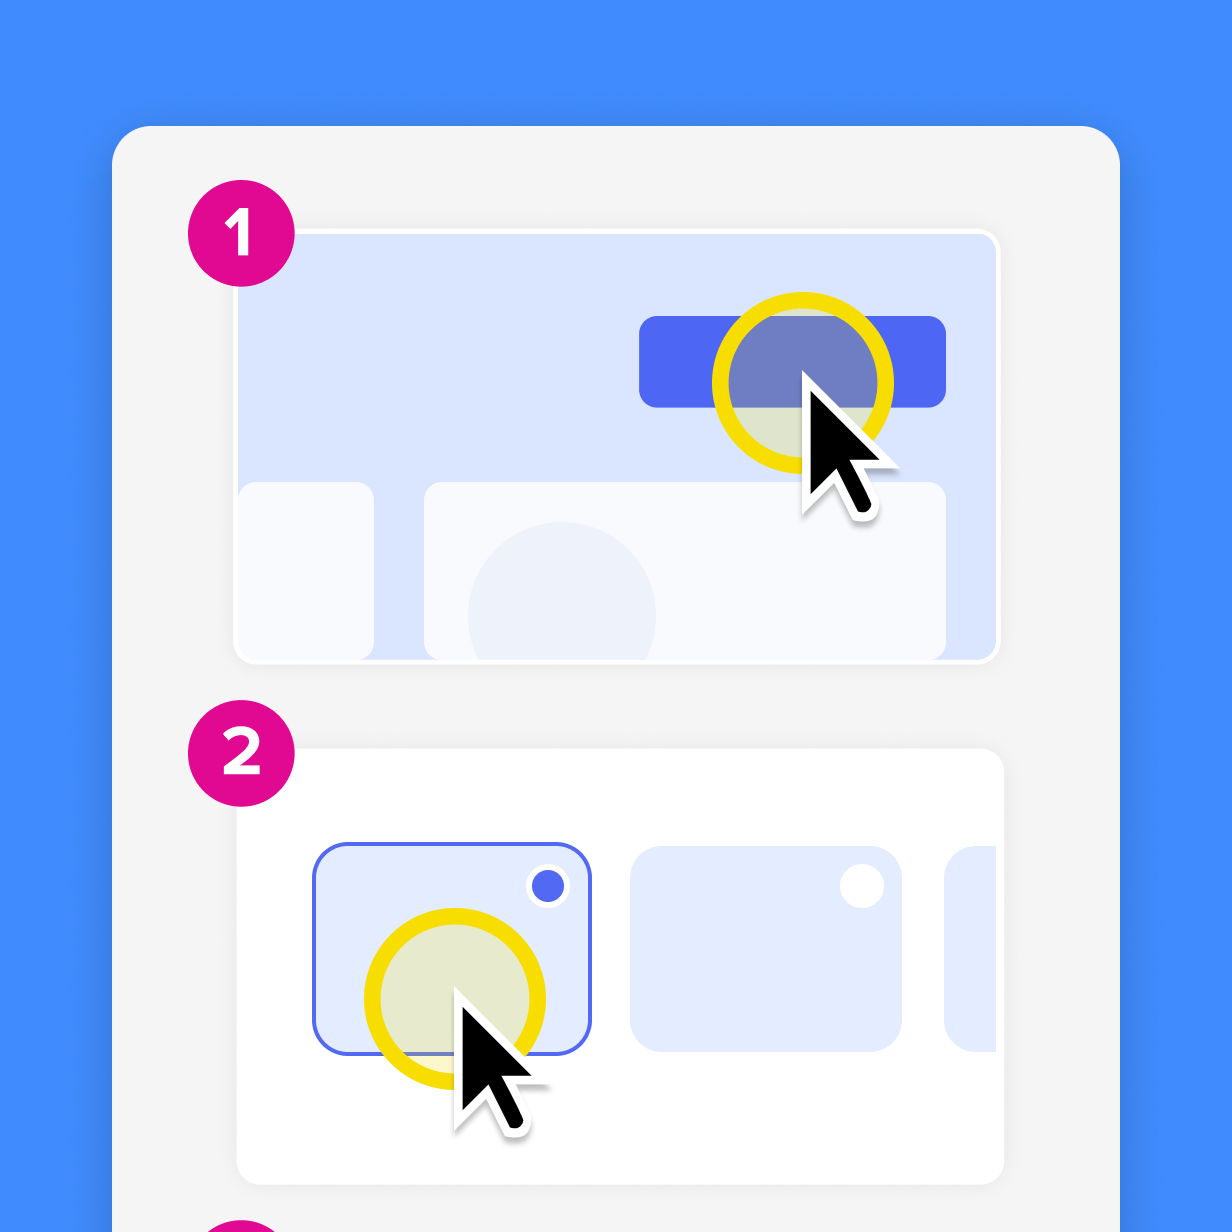
How can Camtasia Snagit help create how-to guides?
Camtasia Snagit can help you document an internal process as you do it. Step capture organizes the screenshots, numbers, and steps into a clear, shareable visual. Learn more about Step Capture
Start with the shortcut, then choose the right tool
Windows key + Shift + S is the fastest way to start when you need a quick screenshot. For simple one-off captures, Snipping Tool may be enough. For frequent screenshots, scrolling captures, annotations, and repeatable documentation, Camtasia Snagit gives you more room to work.
Try Camtasia Snagit free trial today.
Frequently asked questions
What is the shortcut for the Snipping Tool?
The main Snipping Tool shortcut is Windows key + Shift + S. Pressing those keys opens the snipping toolbar so you can choose a rectangular, free-form, window, or full-screen snip. After you capture the screenshot, select the notification to open it in Snipping Tool for basic editing.
How do I overwrite the Snipping Tool hotkey?
You can change the Print Screen key so it opens the screen snipping tool. Go to Settings by pressing Windows key + I. Select Accessibility, choose Keyboard, and turn on the Print Screen shortcut option.
Can I edit in the Snipping Tool?
Yes, you can edit a screenshot in the Snipping Tool after you take it. The built-in editor includes basic tools such as the highlighter, pencil, and pen. For more detailed annotations, callouts, and organized screenshot workflows, Camtasia Snagit gives you more editing options.
What does Ctrl + Shift + S do?
Ctrl + Shift + S is not the main Windows Snipping Tool shortcut. In many apps, Ctrl + Shift + S is used for a “Save as” action, but behavior can vary by program. Press Windows key + Shift + S to open the Snipping Tool capture toolbar.
How do you cut and paste with the Snipping Tool?
To cut and paste with the Snipping Tool, press Windows key + Shift + S and select the area you want to capture. The screenshot is copied to your clipboard, so you can paste it into an email, chat, document, or presentation with Ctrl + V. If you need to edit it first, select the screenshot notification and make your changes before sharing.
Is there a better Snipping Tool?
If you only take occasional screenshots, the Windows Snipping Tool may be all you need. If you want more advanced capturing and editing options, it is worth giving Camtasia Snagit a try. Camtasia Snagit is especially helpful when you need scrolling capture, annotations, short screen recordings, and a library for past captures.
Share