Stamp Tool
Annotate your image with stamps from a variety of categories.
Annotate your image with stamps from a variety of categories.
Note: Stamp and other tools in the Snagit Editor toolbar are available to annotate images. To draw your viewer’s attention while you record video, try Screen Draw. To enhance video you have already recorded, share your video to Camtasia Editor.
Note: If the tool is not visible in the toolbar, click the More dropdown. To customize your toolbar, see Customize the Snagit Toolbar.
Note: Stamps from previous versions of Snagit are available to download for free from the Snagit Assets website. See Download Stamps.
Snagit Assets has hundreds of free stamps to add a fun, polished, professional touch to your content.
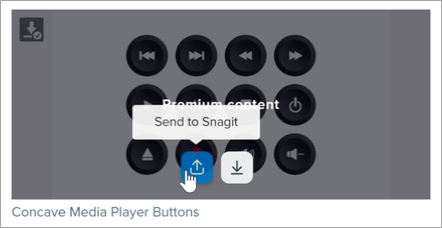
To learn more about downloading assets, see Download Snagit Assets.
Import image files such as JPGs, PNGs, and GIFs to use as stamps, or save an image captured or created with Snagit as a custom stamp (Mac only).
Edit the properties to customize the tool.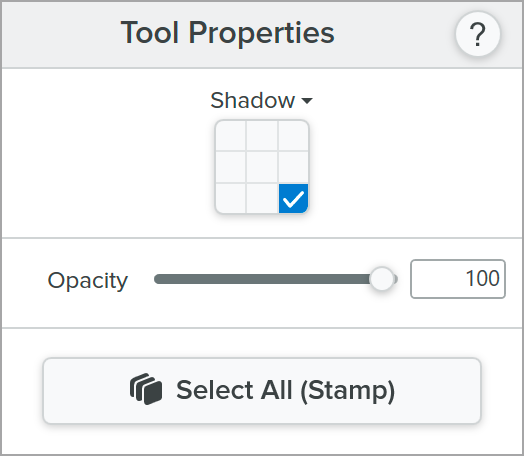
Tip: Edit all stamps at the same time.
In Tool Properties, click Select All (Stamp), then edit the tool properties as needed. You must have Snagit for Windows version 2026.1.0 or later, or Snagit for Mac version 2025.3.0 or later.
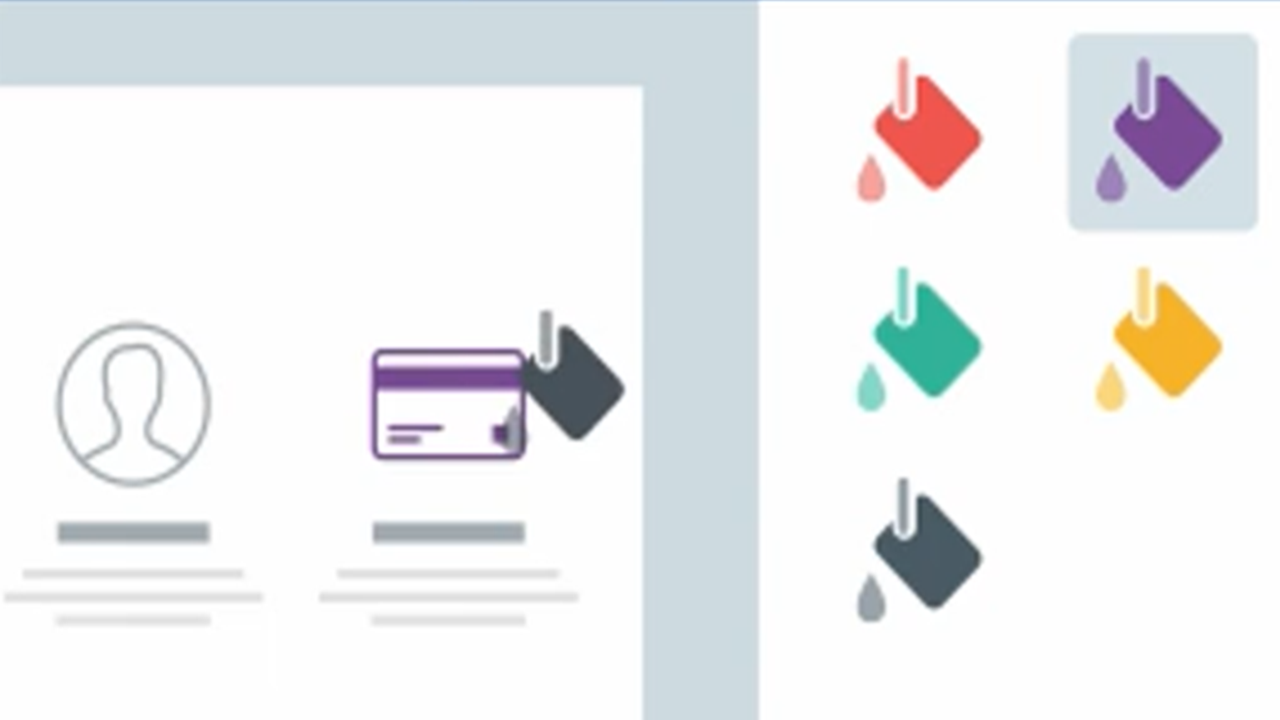
Shadow
Click to select a shadow direction. To turn off the shadow, click to deselect the shadow direction.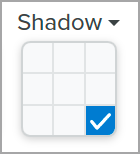
Advanced Shadow Properties
Click the dropdown arrow to access additional Shadow properties: 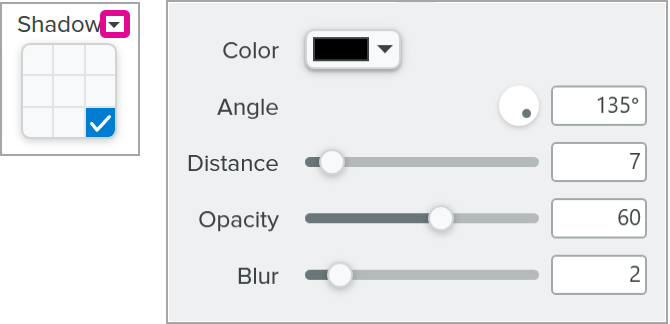
Opacity
Drag the slider to adjust the transparency level.![]()
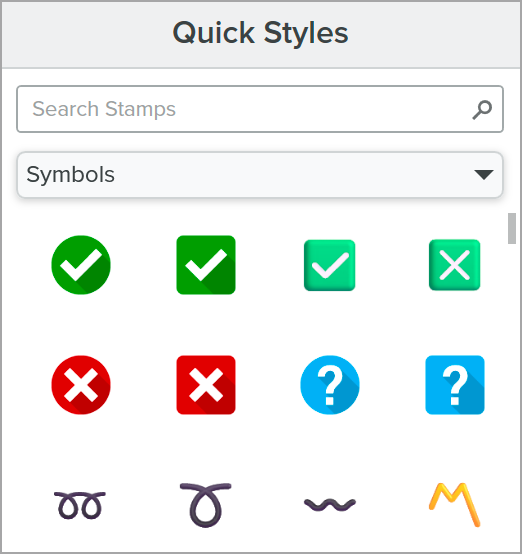
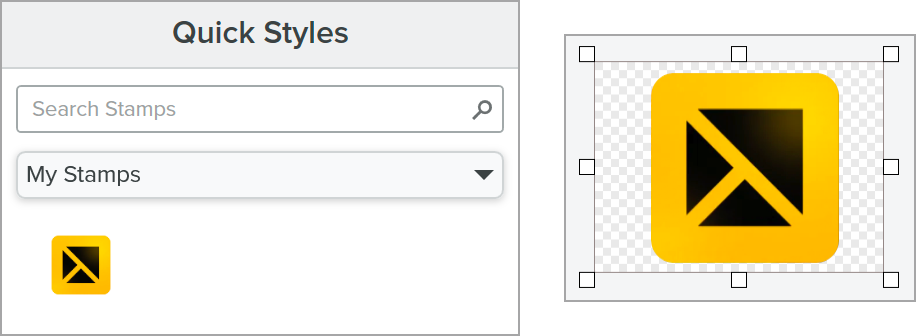
Tip: Save tool customizations as Quick Styles.
After you edit tool properties, save your customization as a Quick Style for future use. See Quickly Access Favorite Styles and Tools.
The best screen capture software for professionals
* Have Snagit 2024 or earlier? Check out our previous version help.