









You press Print Screen to capture an error message on your left monitor, only to find that the screenshot also includes the email inbox or confidential dashboard open on your right screen, too.
A single-monitor screenshot captures only one display’s contents on a computer connected to two or more screens, excluding every other connected display instead of combining the full extended desktop into one image.
For IT professionals filing bug reports, technical writers building documentation, and support teams sending fixes to customers, that extra content is messy and a privacy risk.
You need a shortcut that isolates exactly what you meant to show, every time.
Key takeaways
- On Windows, Print Screen often captures both monitors because the operating system treats multiple displays as one extended desktop.
- Alt+Print Screen and Windows+Shift+S let Windows users isolate a window or region on one monitor without capturing the whole desktop.
- Shift-Command-4 lets Mac users select a region, while adding the Space bar lets them capture a specific window.
- Camtasia Snagit lets users choose a specific monitor, window, or region, removing the guesswork built-in shortcuts can create.
- Combining reliable capture with annotation, redaction, and sharing tools turns single-monitor screenshots into a repeatable documentation workflow.
How do you screenshot one monitor with built-in tools?
Windows and Mac both include shortcuts that isolate a window or region on a single display. The core options are Print Screen, Alt+Print Screen, Windows+Shift+S, and Shift-Command-4.
Each one behaves differently in a multi-monitor setup, and picking the wrong one can leave a second screen’s content in your capture. For the full breakdown of when to use each, see the sections below or check how to capture screen images and the complete screenshot guide.
Windows shortcuts: Print Screen, Alt+Print Screen, and Windows+Shift+S
Use Windows+Shift+S to select an area confined to one monitor, or Alt+Print Screen when the active window alone contains everything you need. Plain Print Screen captures the extended desktop, which means it can pull in content from every connected monitor at once instead of only the one you’re looking at.
Alt+Print Screen works differently. It captures only the active window, so if the window you need is fully contained on one screen, that shortcut keeps the second monitor out of the shot entirely.
For anything larger than a single window, press Windows+Shift+S to open the Snipping Tool overlay. According to Microsoft’s Snipping Tool documentation, you can choose Rectangle mode to drag a boundary around an area on one display, Window mode to grab a full window, Full screen to capture everything, or Freeform mode to select an irregular shape.
Once you make a selection, the capture is copied to Snipping Tool, where you can mark it up, save it, or share it. On Windows 11, captures are also automatically saved to the Screenshots folder unless you change that setting.
For more on using Print Screen effectively or a deeper walkthrough of Windows capture options, see the full Windows screenshot guide.
The best snipping tool for Windows and Mac
Don’t let clumsy built-in tools hold you back. Take and edit screenshots with Snagit!
Get Snagit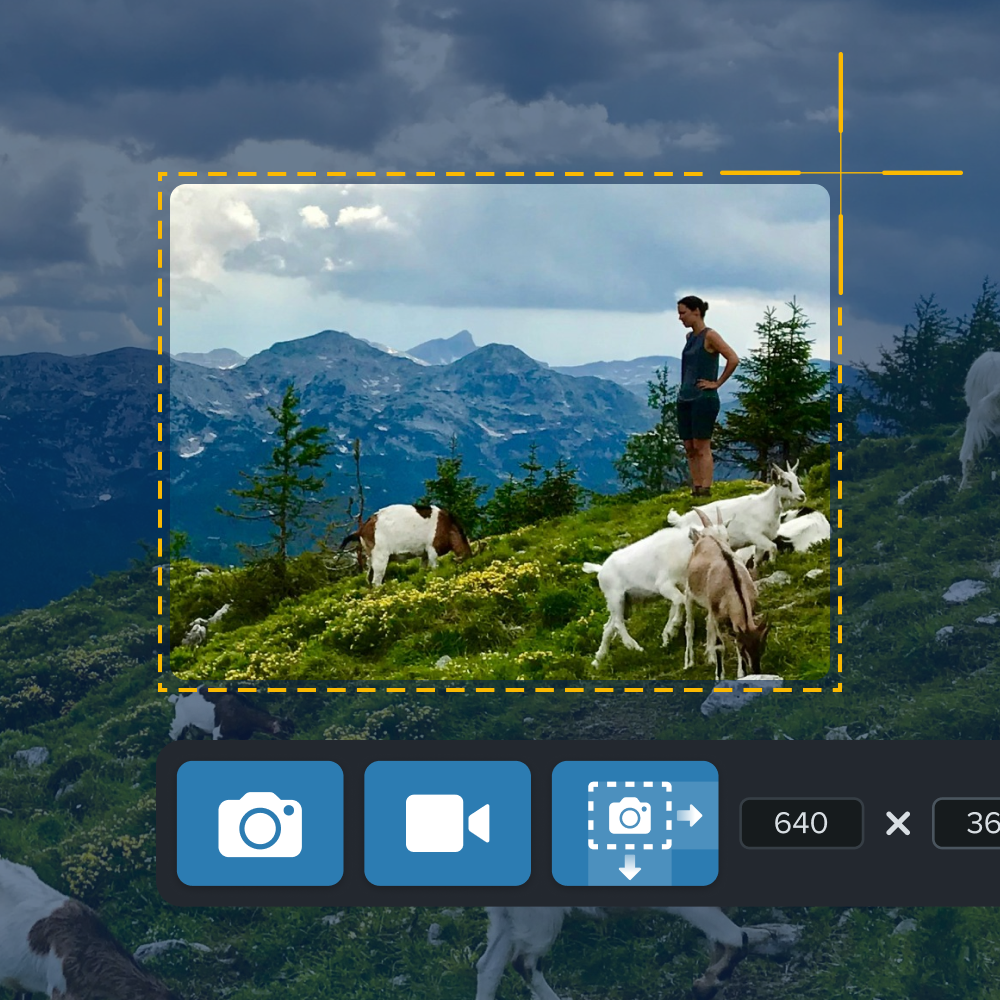
Mac shortcut: Shift-Command-4 for one screen
Press Shift-Command-4 and your pointer turns into a crosshair you can drag across a chosen region on the active screen. Keep the drag entirely inside the boundaries of the display you want to capture. If the crosshair crosses onto the second monitor, it pulls that content into the shot too.
To capture a specific window instead of a dragged region, press the Space bar after triggering the shortcut. The crosshair turns into a camera icon you can hover over any open window, and clicking captures just that window directly.
Mac saves the result to your desktop as a PNG file by default. This matches the screen, portion, and window capture options Apple documents for macOS. For editing, organizing, and sharing these captures, see the full guide to screenshotting on Mac.
How do you isolate one monitor with multiple displays?
On Windows, a full-screen capture can grab every connected display because the operating system treats multiple monitors as one extended desktop. That’s why plain Print Screen so often hands you a stitched image instead of the one screen you needed.
Multi-monitor capture can get more complicated in specialized contexts like remote desktop protocol (RDP) sessions configured to display across multiple monitors.
Multi-monitor setups are standard for professional work. In a survey of 101 developers, 78.8% believed being forced to switch from multiple monitors would harm their productivity, which is exactly why getting the capture right matters.
The best approach depends on your operating system.
Targeting one display on Windows
Use Alt+Print Screen to capture only the active window, or press Windows+Shift+S to drag a region that stays inside one monitor. Both shortcuts give you control that a full-screen capture doesn’t.
Before using Alt+Print Screen, click the window you want so it’s active. For Windows+Shift+S, keep the selection boundary inside the target display.
Plain Print Screen still grabs everything for the reason covered above: it treats your monitors as one combined desktop instead of separate capture zones.
If your capture starts on the wrong display, crop the image in Paint or Snipping Tool, or repeat the capture with a more precise selection.
Targeting one display on Mac
Check your display arrangement in System Settings first. That arrangement determines how the pointer and crosshair move between screens when you use Shift-Command-4.
Press Space after triggering the shortcut to turn the crosshair into a camera icon, then click the window you want. This avoids pulling in content from the second display.
If you skip the Space modifier, keep your drag fully inside the target screen’s boundary so the selection doesn’t slide onto the second monitor.
A dragged region captures whatever falls inside the boundary you draw, while the Space-modified click grabs one complete window regardless of size, so choose based on whether you need the whole window or just part of it.
Annotate and edit screenshots with Snagit
Professional mark-up tools and powerful features make it easy to create helpful images.
Try it Free
Screenshot shortcuts at a glance
The right shortcut depends on whether you need the full desktop, just the active window, or a specific region on one screen. This table lines up the core shortcuts so you can pick the right one without retracing earlier steps.
| Shortcut | Platform | Capture type | Multi-monitor behavior |
| PrtScn | Windows | Full desktop | Captures every connected display as one image |
| Alt+PrtScn | Windows | Active window | Captures only the active window, regardless of monitor |
| Windows+Shift+S | Windows | Selected region or window | Captures only the region or window you select |
| Shift-Command-3 | Mac | Full Screen | Creates a separate image for each connected display |
| Shift-Command-4 | Mac | Selected region | Captures only the area you select |
| Shift-Command-4 then Space | Mac | Window or menu | Captures the window or menu you click |
Plain PrtScn is the least flexible Windows option here. It grabs the full extended desktop, so it’s a poor fit whenever a second monitor holds something you don’t want visible.
Capturing one monitor in Camtasia Snagit
Camtasia Snagit lets you pick a specific monitor, window, or region before you capture, so you’re not relying on operating system (OS) shortcuts and hoping the result stays inside the right display. If you prefer shortcuts, Snagit lets you set custom shortcuts that make sense to you.
This precision matters when you’re an IT professional documenting an error on one screen while a second monitor displays a customer record, an internal dashboard, or another sensitive system you can’t include in the report.
The next steps walk through choosing your target and configuring options before you capture.
Choosing a monitor, window, or region
Camtasia Snagit’s capture selection identifies available screens and windows on a multi-display setup, so you can target one display without including what’s showing on the other. The capture menu also lets you select a window or dragged region, so only the content you need enters the screenshot.
Getting there takes four steps:
- Open Camtasia Snagit.
- Choose the image capture type.
- Configure the capture options, including any delay or panel settings you need.
- Start the capture and select the intended monitor, window, or region.
When you start the capture, Camtasia Snagit outlines your available options directly on screen. For a full display, click the intended monitor. For a single application, click its window instead of dragging across the desktop. For anything in between, drag a region and release when the selection covers exactly what you need.
Before you finish, check the preview against the display you meant to capture. If the second monitor shows up in the frame, cancel and reselect rather than editing it out later. The common capture types tutorial walks through each option in more detail if you want to see the menu in action.
Capturing scrolling and step-by-step content
Scrolling capture records content that extends beyond the visible screen, and Step Capture turns a multi-click process into a static, numbered guide. Use scrolling capture when the page or document you need runs longer than your monitor can display at once, like a full webpage, a long email thread, or a lengthy spreadsheet.
Instead of stitching together several disconnected screenshots to show the whole thing, you get one continuous image that captures the entire page in a single pass.
Use Step Capture when the goal is a process, not a page. As you click through a workflow, Camtasia Snagit records each step and organizes the screenshots into a numbered, shareable guide automatically, replacing what would otherwise be a manual sequence of individual captures and callouts.
Step Capture produces a static guide rather than a video. If your process needs motion or narration, treat the captured steps as a starting point you can bring into a video project instead.
For full scrolling capture instructions, see this guide to scrolling screenshots.
Editing, redacting, and sharing screenshots
Prepare a single-monitor screenshot by redacting sensitive details first, adding only the annotations that clarify the issue, and writing useful alt text before you share it. Built-in tools provide basic editing and sharing options, while Camtasia Snagit adds Smart Redact and a broader set of annotation and sharing tools that turn a raw image into something a reader can act on.
Run Smart Redact before anything else. This feature works on still images, so use it right after capture to detect and obscure details such as contact information, account numbers, or internal URLs before the screenshot goes anywhere.
Add annotations after redaction. A single arrow pointing at an error message or a callout box around the field that needs attention does more than a screenshot full of boxes and text.
Write a short, descriptive alt text line once you’re done. This habit keeps your documentation usable for screen reader users and improves searchability inside knowledge bases.
For guidance on choosing the right format and delivery method for your audience, see how to send a screenshot.
Capture the right screen, every time
Capturing the right monitor is only the first step. The screenshot may also need to be cropped, checked for sensitive information, annotated so the reader knows where to look, and shared in a format they can use.
Built-in tools can handle many of these tweaks individually. But if you regularly document multi-monitor workflows, Camtasia Snagit connects capture, redaction, annotation, and sharing in one repeatable process. Step Capture turns a click-through into an editable visual guide, while Smart Redact helps detect and blur sensitive information before the image is shared.
Ready to simplify your screenshot workflow? Download Camtasia to turn your next screenshot into a finished document.
Frequently asked questions
What should I do if Print Screen or Snipping Tool keeps capturing the wrong monitor?
Switch from full-screen Print Screen to Alt+Print Screen for the active window or Windows+Shift+S for a region confined to the intended monitor. Click the required display before triggering the shortcut so it has focus. If the problem continues, confirm the display arrangement in the operating system and keep the selection inside the target monitor’s boundaries.
Does screenshotting a single monitor affect image quality or resolution?
Capturing one monitor doesn’t inherently reduce screenshot quality because the image is based on the pixels captured from that display. Isolating one screen can also prevent the awkward combined dimensions created when connected monitors use different resolutions or scaling settings. Avoid resizing the saved image unnecessarily if small interface text must remain legible.
Can I screenshot just one monitor when using a remote desktop or virtual machine session?
Screenshotting one monitor during a remote desktop or virtual machine session is possible, though the method depends on how that session presents its displays. If multiple remote monitors appear as one combined host window, Alt+Print Screen will capture the entire active session window rather than one remote display. Use Windows+Shift+S to draw a precise region around the required content instead. Resizing the remote session window can make it easier to keep the selection within one monitor.
Should I take a screenshot or record a video when documenting something on one monitor?
The right choice depends on whether you’re documenting a single state or a multi-step process. Use a screenshot for a single state, setting, error message, or short static reference. Use a screen recording when the process contains several actions, changes over time, or depends on cursor movement and timing. A static Step Capture guide can bridge the two formats when readers need a numbered process but not a full video. Camtasia Snagit’s screenshot and Step Capture tools handle most single-monitor documentation needs, while Camtasia Online or Camtasia Editor are the better fit once you’re recording actual video.
Share