


Mobile devices and handheld cameras have made it easier than ever for creators and filmmakers to capture video on the go, but they’ve also made shaky footage more common. Even a small amount of unwanted movement can distract viewers and make otherwise great content look unprofessional.
The good news is that modern video editing tools like Camtasia make it simple to smooth out unsteady footage and create professional-quality videos — no advanced skills required.
Learn how to stabilize video both during filming and in post-production, so every clip looks steady, clear, and ready to share.
Why video stabilization matters
Even small camera movements can pull attention away from your message. Instead of focusing on what’s being said, viewers notice the motion and may scroll away before your point lands. Smooth motion keeps the focus where it belongs and helps your videos stand out on competitive social media platforms by improving viewer engagement.
In more extreme cases, shaky video footage can cause discomfort or even visually induced motion sickness. Stabilizing your footage helps prevent that, making your content easier and more enjoyable to watch.
Beyond comfort, stable video signals quality. It instantly makes your content feel more credible and professional, especially in marketing materials, product demos, and training videos, where clarity and communication are key.
Common causes of shaky video
Even experienced creators can end up with unsteady footage. Knowing what causes it makes it easier to avoid (or fix) in future shoots.
- Handheld filming: Holding a camera without a stabilizer introduces small movements caused by natural breathing and muscle tension. This is especially noticeable when shooting with a smartphone camera.
- Filming while moving: Walking or turning with the camera often results in shaky or blurry video, even if you’re using basic stabilization gear.
- Environmental conditions: Wind and vibration from nearby movement can cause subtle camera shake during outdoor shoots.
- Uneven surfaces: Setting your camera on a slanted or unstable surface can lead to small wobbles that show up in playback.
- Long zooms: The more you zoom in, the more noticeable every slight hand movement becomes — even if the camera feels steady in your hands.
Recognizing these common culprits helps you capture smoother, steadier footage before you even start editing.
How to reduce camera shake before editing
Post-production steadying tools can work wonders, but the best results start with steady raw footage. Small adjustments while filming can make a big difference later in editing.
When planning your shoot, minimize external factors that might cause shake. For instance, if it’s windy, record indoors or find a sheltered location.
Instead of zooming or panning mid-shot, plan your framing in advance. Capture each angle as a separate clip and vary your distance from the subject rather than relying on the zoom feature. This approach gives you more control over composition and results in smoother transitions when you edit the clips together in Camtasia.
Go from screen recording to polished video
A screen recording is just the start. Camtasia’s editor helps you add the callouts, animations, and edits you need to create a truly professional video.
Free Download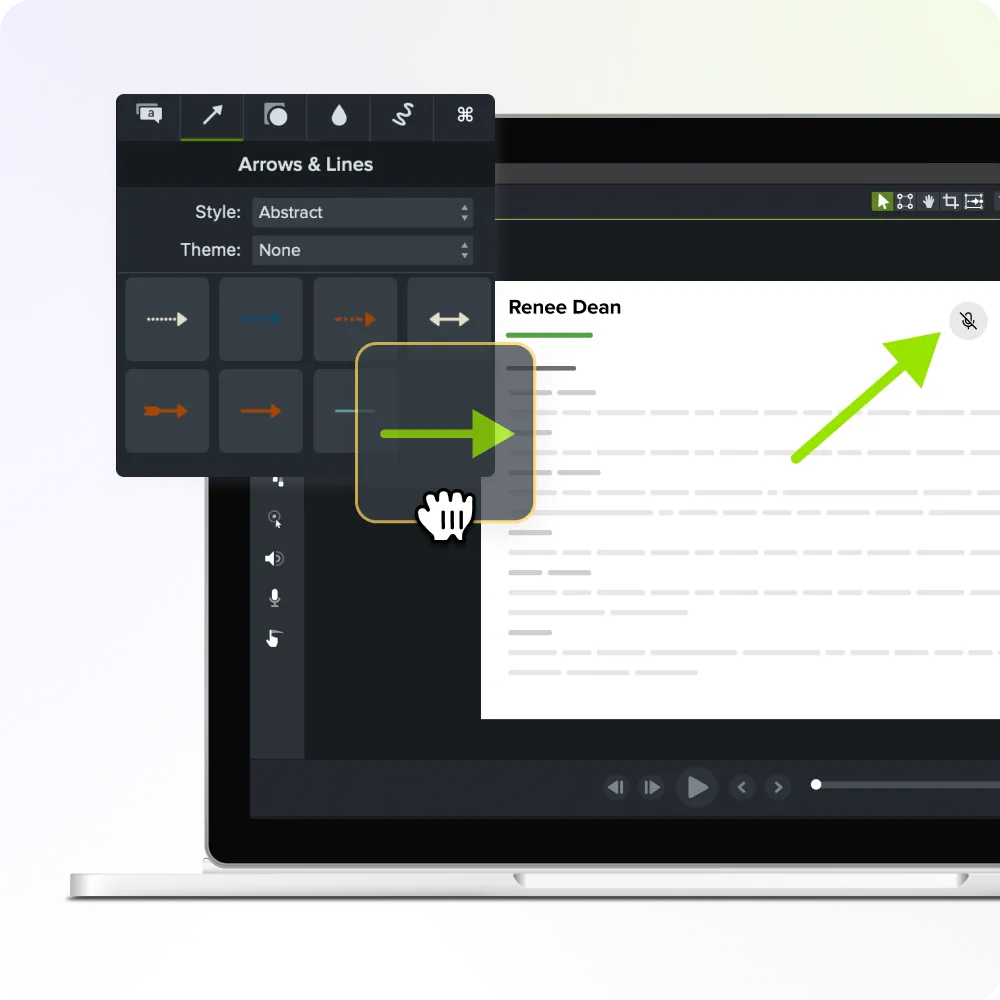
Filming techniques that improve stability
A few small adjustments to how you hold and move the camera can make a clear difference in stability. Try these simple techniques:
- Use both hands to support the camera for steadier control.
- Keep your elbows close to your sides to minimize arm movement.
- Maintain good posture — stand tall with your feet shoulder-width apart to stay balanced.
- Move slowly and deliberately if you need to walk while filming. Quick or jerky movements increase camera shake.
- Brace against a stable surface, such as a table, wall, or railing, for extra reinforcement.
Optional gear for smoother shots
If you want to reduce camera shake even further, a few tools can help steady your shots:
- Tripods: Three-legged stabilizers that work well for static studio setups or green screen work.
- Gimbals: Stabilizers that let you pivot and rotate the camera smoothly, keeping motion natural. They’re available in both handheld and mounted versions.
- Smartphone stabilizers: Compact tools designed for mobile devices that function like small gimbals — especially useful when filming while walking.
That said, specialized gear isn’t required to create professional-quality video. You can always refine unsteady clips later.
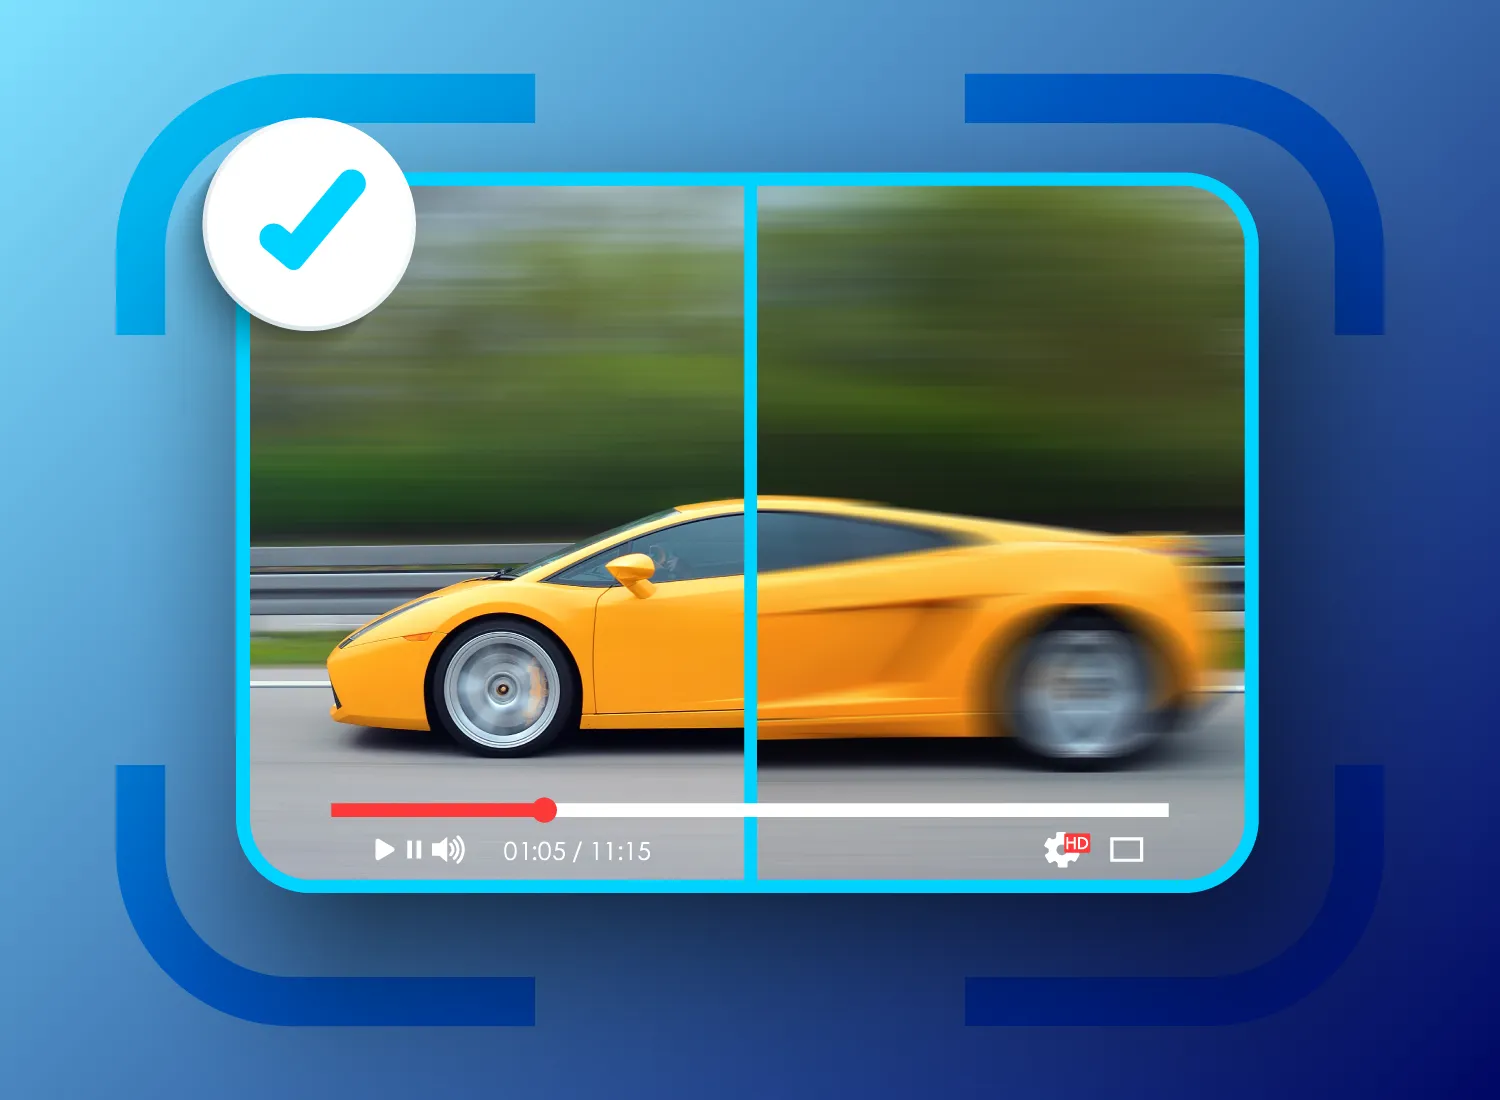
How to stabilize shaky video in post-production
If your footage turns out shaky, don’t worry — a video editor with stabilization features can quickly fix it. These tools analyze frame movement and realign the image to counter unwanted camera motion, producing smoother, more natural-looking footage. You don’t need advanced editing experience to get great results; just a few quick adjustments can make your video feel refined and ready to share.
How to stabilize footage in Camtasia
If your video footage is shaky, you can make a few manual edits in Camtasia to fix it. While Camtasia doesn’t include an automatic stabilization effect, it offers several tools that work well for steadying video clips. The intuitive platform is accessible for all skill levels, with no external plug-ins required.
Here’s a step-by-step breakdown of the stabilization process in Camtasia:
- Import your video into the Camtasia timeline.
- Identify the segments where camera shake is most noticeable.
- Apply subtle zoom and pan animations on the main subject of the clip to keep movement steady and natural.
- Crop out any shaky frame edges if needed.
- Preview your motion keyframes, then fine-tune them until the movement feels balanced.
Camtasia’s real-time preview feature helps you visualize changes as you work. Its track-based editing also separates video and audio for a smoother workflow, saving you from time-consuming manual adjustments in other editors. Once your footage feels stable, you can layer on annotations, callouts, and other elements to create a clean, professional final video.
Combining stabilization with other enhancements
After smoothing out your footage, you can use Camtasia’s other built-in video editing tools to enhance clarity and consistency. Try these techniques to give your video a more professional finish:
- Animations: Add cursor effects or spotlight animations to draw attention to key content. These subtle movements make tutorials and product demos more engaging.
- Text features: Use overlays, annotations, or callouts to emphasize important information and make your video more accessible.
- Audio enhancement: Apply background noise removal and leveling to improve sound quality, then confirm your audio and visuals stay in sync.
When your edits are complete, preview the full sequence to check pacing, transitions, and overall flow. If everything feels smooth and balanced, you’re ready to publish.
Looking for professional screen recording software?
From simple screen captures to polished video editing, TechSmith has everything you need to create professional-quality content.
Learn More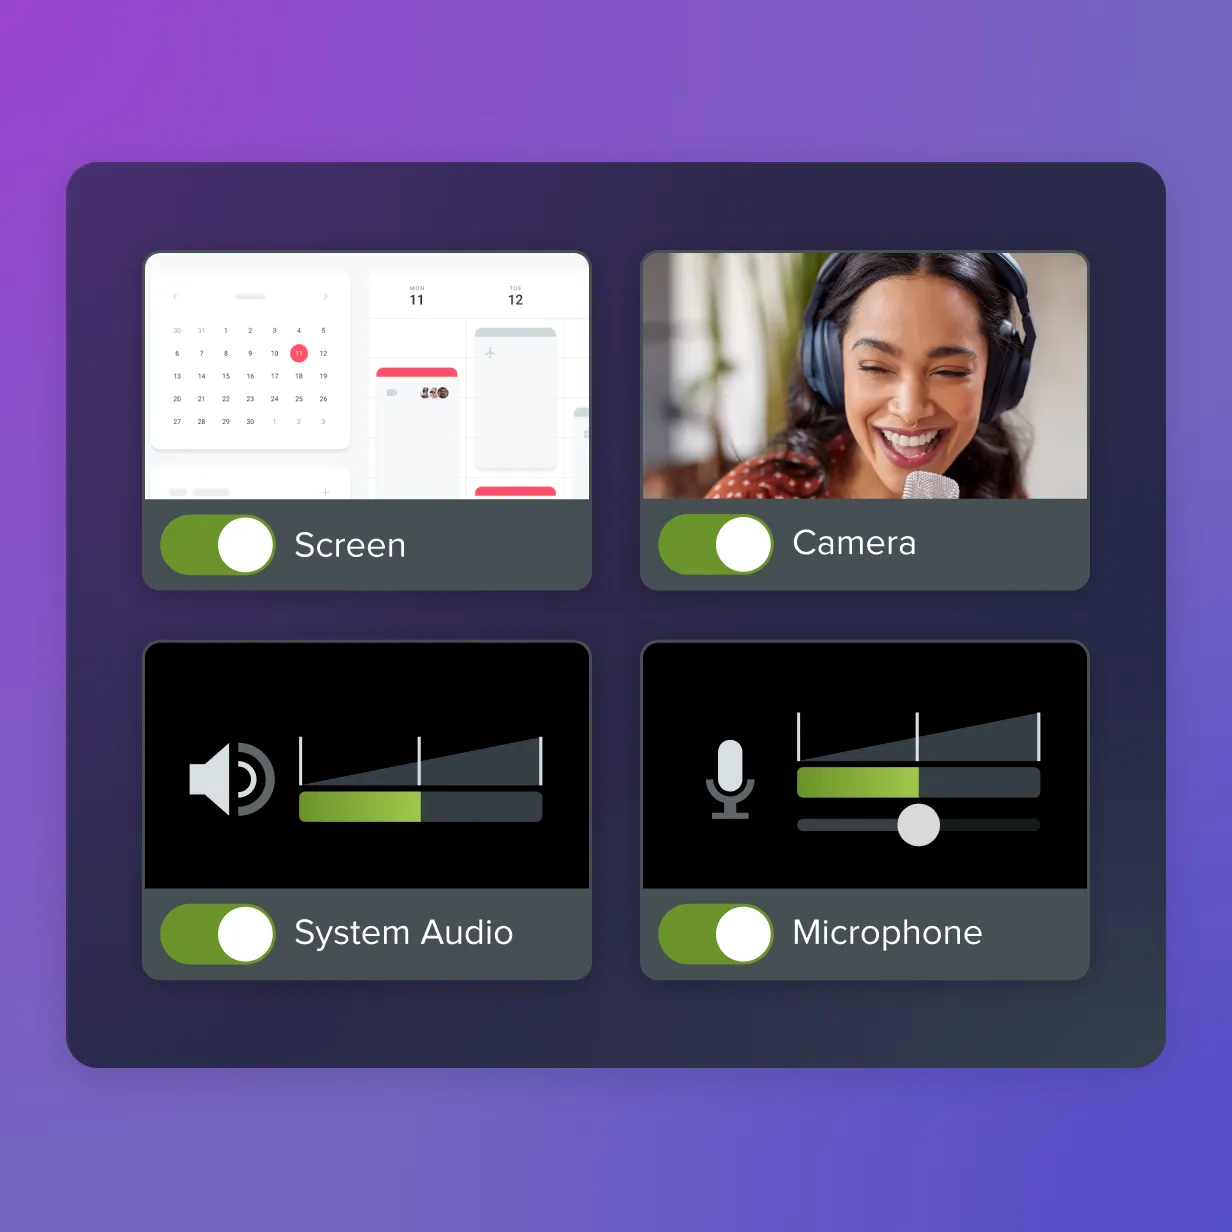
Advanced tips for professional-quality results
If you already have some editing experience, try these tips to refine your motion correction workflow even further. They take a bit more time, but the payoff is more controlled, higher-quality footage that stands out.
Be selective with stabilization intensity
Overusing stabilization effects can introduce distortion and make your video look unnatural. Rather than applying the same editing functions across your entire project, adjust the stabilization for each individual clip. Handheld footage will usually require stronger correction than static shots.
Always consider the context of your content, too. A product tutorial or demo benefits from steadier visuals, while an informal vlog can feel more authentic with a bit of natural movement.
Trim and isolate unstable clips
If you notice that certain clips are particularly shaky, try trimming them down to only the most important footage before applying motion correction afterward. This keeps the adjustments focused on the sections that need them most and prevents overprocessing stable areas.
Trimming your video also improves its processing speed, making it easier to export in different formats or upload to online video platforms like YouTube without long rendering times.
Add clarity-enhancing elements post-stabilization
Stabilization isn’t the only way to improve clarity. Editing techniques such as cursor effects, annotations, and slow motion can also help guide attention and reinforce key points.
Focus on what matters most to your viewers, then use effects to highlight that information without adding visual noise. Camtasia makes it easy to layer these elements for a cohesive, engaging final result.
The finishing touch for smooth, credible video content
Shaky clips can distract from even the best ideas. Taking time to stabilize your video helps your audience stay focused on your message and instantly makes your content feel more polished and credible. With a few small adjustments during filming and in post-production, you can transform uneven clips into steady, professional-quality visuals.
Camtasia gives you all the tools you need to smooth out motion, fine-tune color and sound, and add clarity-enhancing effects — all within a single, intuitive editor. Whether you’re creating tutorials, marketing videos, or on-screen demos, Camtasia enables you to produce videos that look sharp and communicate clearly, no matter your experience level.
Elevate your content: Try Camtasia today to see how easy it is to improve your video quality. Explore our full product suite to get started.
Share