









Camtasia is a great option for editing Microsoft Teams recordings. Teams can handle basic trims, but Camtasia gives you more control over cuts, pacing, branding, captions, lower thirds, and other edits that help turn a raw meeting into clean, engaging videos.
Turning a recorded Teams meeting into reusable content (like a training, onboarding, or enablement asset) sounds simple enough.
But most real-world meetings aren’t pre-polished. They’re full of discussions, tangents, and clutter. Trainers and L&D teams usually need something cleaner.
Turning a raw Teams meeting into focused training content takes some work. Teams will let you chop off the beginning or end of the meeting, but that’s about it.
Camtasia offers more. With Camtasia, you can turn a Microsoft Teams recording into a clean asset with captions, branding, and clearer pacing. We’ll show you how.
Key takeaways
- Camtasia Editor can edit Microsoft Teams recordings after you download the MP4 file from OneDrive or SharePoint.
- Native Teams tools usually handle basic trimming, but more complex edits, like removing middle sections, often require a dedicated video editor.
- Text-based editing through Camtasia Audiate can help you cut filler, tangents, and mistakes without scrubbing through the full timeline.
- Adding captions, titles, and lower thirds can make recorded meetings easier to follow, more accessible, and better suited for training use.
- A raw Teams recording can become a polished training video when you trim distractions, add context, and apply consistent brand elements.
Yes, Camtasia Editor can edit Microsoft Teams recordings
You can easily edit Teams recordings in Camtasia Editor.
Microsoft includes basic trimming tools in OneDrive, so if all you need to do is trim the beginning or end (or both), then keep it native.
There are two caveats. First, be aware that Microsoft’s native option only works if you have the right permissions. If you started the meeting, then you likely have access. If someone else recorded the meeting, you may need them to adjust the edit permission settings on the video.
Second, trainers and L&D teams often need deeper control. You might need to edit out tangents, mistakes, or unhelpful content from the middle of the video so that it functions as a trustworthy training asset.
If so, you’ll need a more capable editor, like Camtasia Editor. The same is true if you want to add captions, branding, or other visual overlays.
Where Teams recordings live and how to get them into Camtasia Editor
Editing a Teams file starts with locating and downloading the file. That sounds straightforward, but it can get pretty confusing in Teams because of Microsoft’s product integration.
Teams recordings don’t live in Teams, and they don’t save to your local drive, either. By default, they’re stored in Microsoft OneDrive or SharePoint, where file ownership can get murky, and permissions don’t always behave the way you expect.
Finding your recording in OneDrive or SharePoint
Personal Teams meeting recordings usually land in the OneDrive of the person who recorded the meeting. If that’s you, then finding the file is pretty simple. If someone else made the recording, you may need to ask them to locate the file and grant you access.
Here’s where much of the confusion starts: If your meeting was within a channel (rather than a personal meeting), then the recording usually lands in that team’s SharePoint. In this situation, it will show up in the meeting chat or channel conversation — usually not too hard to find hours after the meeting, but it can be tough to locate days or weeks later.
To find a channel meeting later, navigate to that team’s SharePoint site. You’ll find the recording under Documents ➝ General ➝ Recordings.
Heads up: If you weren’t the organizer, you may need the organizer to share access before you can work with (or possibly even see) the file.
Go from screen recording to polished video
A screen recording is just the start. Camtasia’s editor helps you add the callouts, animations, and edits you need to create a truly professional video.
Free Download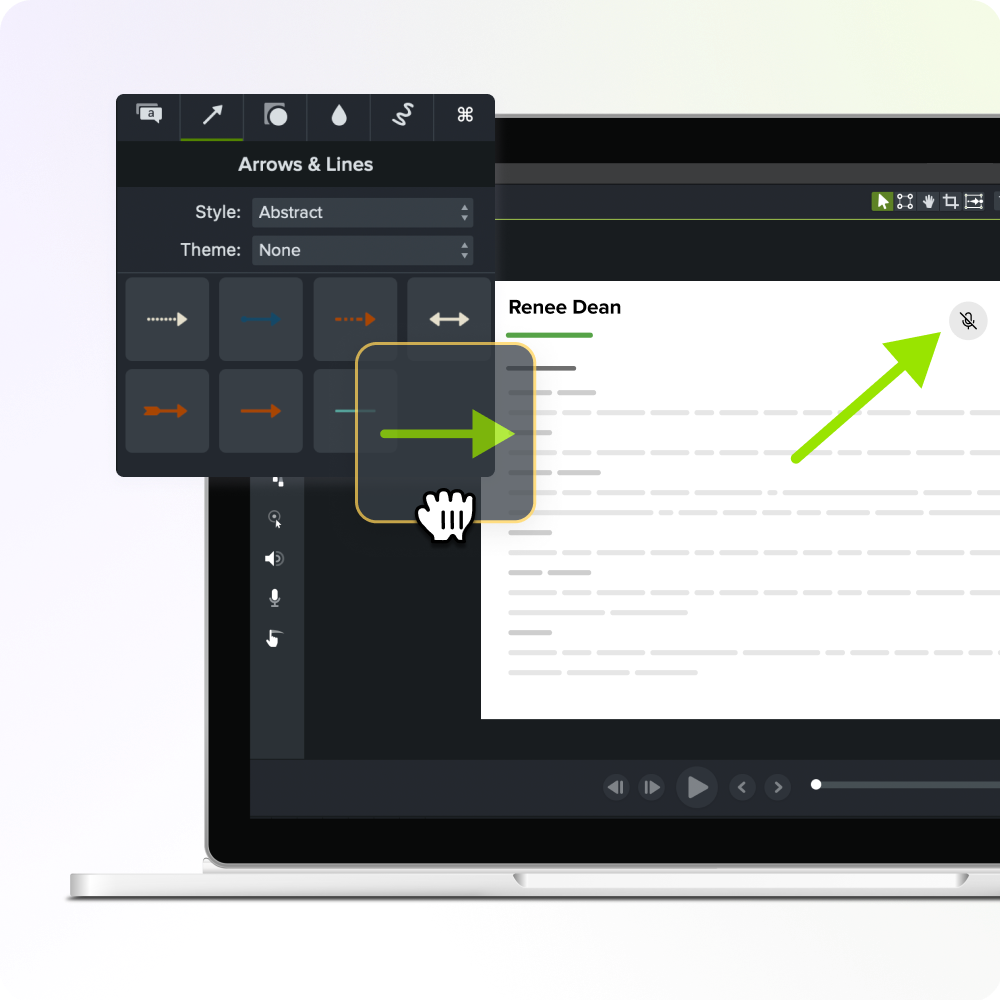
Downloading the MP4 file for editing
Next, you need to download the video as an MP4. Video editing is usually smoother when you have your own local copy of the video file. Camtasia Editor imports faster and more reliably this way, and you won’t run into permissions issues.
Quick note on file formats: MP4 is usually the file format you want. It’s the most widely recognized format across the kinds of places you might want your edited video to live, including learning management systems (LMSes), internal sharing, and site hosting.
What native Teams editing tools can and cannot do
Native Microsoft tools can handle simple trims. If you’re sending out a quick recap to a small team or making a one-time share for a specific user who already has context, this may be all you need.
But if you need interior cuts, branding, captions, or training polish, Microsoft’s native editing options won’t give you enough control.
Trimming in Clipchamp or Stream
Microsoft does offer a few standalone tools with additional capabilities. Clipchamp can be a convenient way to remove late starts, set up chatter, or awkward sign-offs.
Microsoft recently expanded Clipchamp’s feature set with AI subtitles and voiceovers, but it still lacks full internal editing controls. As a result, Clipchamp isn’t a fully workable editing suite for Teams recordings, OBS videos, or any other format that needs detailed interior edits.
Microsoft Stream is primarily used for storing, managing, and sharing videos, not for deeper editing.
Where native tools fall short
Native tools may not easily handle precise interior cuts and lack branding tools (such as branded lower thirds), reusable templates, and polished annotations.
Captions and transcripts can make video content easier to follow and more accessible. If you’re preparing video recordings for wider use (beyond meeting attendees, for example), you likely need a more feature-rich video editing tool.
How to edit a Teams recording in Camtasia Editor
Start with the raw MP4. End with a shorter, clearer version of your video that viewers can use with confidence.
Camtasia Editor makes it easy for trainers, instructional designers, and marketers to edit a meeting recording into polished content, no advanced editing skills required. Whether you’re transforming a Teams recording into training materials or cleaning up an OBS stream for more streamlined formats, Camtasia Editor helps you edit quickly and confidently.
Follow this step-by-step workflow to see how Camtasia’s tools can enhance your content.
Importing and trimming your recording on the timeline
We’ve already established that you need to go deeper than just trimming the front and back, but that’s still the right place to start.
First, locate your MP4 file. Then drag it to the timeline in Camtasia Editor. Zoom in on the timeline until you have a visual sense of what the front end looks like, then use the trim tool to eliminate the first few minutes of awkward video-call chatter, small talk, and “can you hear me OK”s.
Once that’s done, move to the end of the clip and do the same with any unstructured wrap-up, in-the-moment details that don’t matter for your evergreen content, or dead air.
This initial step frames your content: viewers get to useful content faster, so they can tell whether the video is relevant and worth their time.
Cutting interior segments with text-based editing via Camtasia Audiate
Next up is removing anything in between the start and end that shouldn’t be there: this could include tangents, incorrect material corrected later in the meeting, repeated answers, cross-talk, filler words, or long breaks.
You can manually search for and crop these elements, but text-based editing can make it faster. Instead, route transcript editing to Camtasia Audiate and let AI do some of the work for you.
In Camtasia Audiate, you can edit the transcribed video script. When you delete an errant question or unhelpful rabbit trail from the script, Audiate sends that information back to Camtasia Editor and deletes the corresponding video.
You don’t have to spend time scrubbing through the timeline — Camtasia Audiate and Camtasia Editor can do that editing for you.
Adding captions for accessibility and compliance
Captions go a long way in training content. Multilingual teams, English language learners, and sound-off viewers all benefit from this visual reinforcement.
Captions may also support workplace accessibility requirements, especially for viewers who are Deaf or hard of hearing. Requirements can vary by organization, industry, and use case, so it’s worth reviewing your internal accessibility standards before publishing training content.
Camtasia Editor automatically generates captions. Just click to toggle, and they show up automatically.
Heads up: Like any automated system, Camtasia’s caption tool can make mistakes. Be sure to review auto-generated captions, focusing on proper names, acronyms, and brand/product terms. You can manually adjust automatic captions if needed.
Applying lower thirds, titles, and brand kit assets
In a live meeting, context is often obvious: attendees know each other’s roles and responsibilities.
But when you turn a live meeting into a reusable asset (like a training series), that context often disappears.
Lower thirds (graphics that overlay video content, traditionally in the lower third of the frame) can be a quick way to identify speakers, provide context, and highlight important points.
Title graphics can help set up the video, frame topic shifts, and smooth over video cuts that might otherwise feel jarring.
Camtasia Editor includes tools for adding lower thirds, titles, and branding.
Pro tip: To support comprehension without distraction, use simple overlay layouts, easily readable fonts, and consistent brand colors and imagery.
Record once. Deploy globally.
Create your training video in English. Audiate can then translate your edited script and generate a new audio track in Spanish, German, French, and more.
Free Download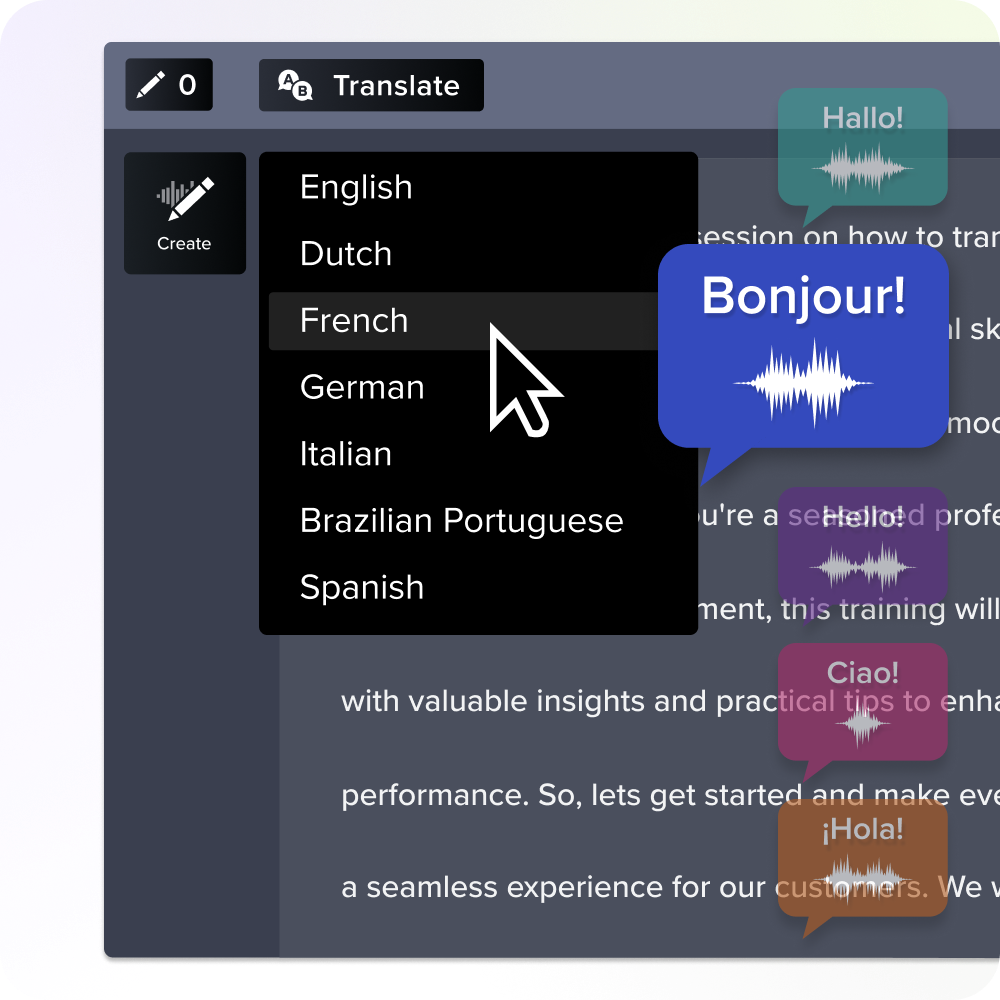
Turn a raw meeting recording into a polished training video
A raw meeting recording may contain most of the elements of a good training video, but it usually needs some structure to work as one.
Clean edits throughout — not just end trimming — help eliminate noise, distractions, and inaccuracies. Learning cues like captions, lower thirds, and title graphics keep viewers in context and focused on the most important details.
These details matter when you’re creating onboarding videos, SOP training, product enablement, or knowledge transfer materials: an unedited meeting recording may contain the right information, but an edited version is a polished, reusable asset that brings that information front and center, free of distractions.
Camtasia Editor can do this in a collaborative editing environment that enables teams to work together in consistent workflows.
[graphic option: before-and-after visual showing the raw meeting, then the final lesson with sections, callouts, and SME review handled in Screencast.]
Start editing your Teams recordings with Camtasia Editor today
Microsoft offers two native options for editing Teams recordings: OneDrive and Clipchamp. These can handle trimming and basic edits. But if you’re trying to edit your Teams recordings into polished videos for branded reuse, you need more.
Camtasia Suite balances a feature set with a user-friendly interface — whether you have video editing experience or not.
Use Camtasia Editor to trim recordings, add captions, apply lower thirds, and create a more polished video. Use Camtasia Audiate when you want to edit from the transcript, clean up filler words, or refine audio before sharing.
Start editing recorded meetings with Camtasia Suite today: Pick your plan.
FAQs
Can Camtasia edit Microsoft Teams recordings?
Yes, Camtasia Editor can edit Teams recordings after you download the MP4 from OneDrive or SharePoint. That workflow gives you full control over the timeline for trimming, cutting interior sections, adding titles, and exporting a cleaner version for training or sharing.
Where is the edit button on a Teams meeting?
In most cases, Teams doesn’t offer a full edit button for post-production inside the meeting itself. You’ll usually find the recording in OneDrive or SharePoint, where Microsoft may offer basic trimming through Stream or Clipchamp.
How do I trim a Teams meeting recording?
For start and end cleanup, you can use Stream or Clipchamp if your recording is available in your Microsoft 365 storage. If you need to remove breaks, tangents, or mistakes from the middle, import the MP4 into Camtasia Editor instead.
How do I edit a meeting recording?
Download the recording as an MP4, add it to the Camtasia Editor timeline, and trim dead air at the beginning and end. Next, cut unwanted interior sections, then add captions, speaker labels, or a short intro so viewers can follow the content more quickly. When the meeting supports reuse, combine clips and apply brand assets to turn a raw meeting into a polished training video.
Can you edit recorded meetings for accessibility and branding?
Yes, and that step often matters for compliance, comprehension, and consistent team output. With Camtasia Audiate, you can edit by transcript, then add captions, lower thirds, logos, and other brand kit elements in Camtasia Editor. If you want feedback before publishing, share the draft through Screencast so reviewers can comment without slowing your editing workflow.
Share