


Video lectures have quickly become a preferred method to share knowledge with students, trainees, employees, and more. Online teaching and remote learning environments demand a high amount of clear, engaging, and effective video content.
The good news? You don’t need a film crew, a professional studio, or expensive equipment to create high-quality educational videos. With a little planning and the right tools, anyone from a seasoned educator to a first-time creator can record engaging video lectures that hold students’ attention and drive real learning outcomes.
Let’s explore ten practical, expert-backed tips that will elevate your next lecture recording to maximize impact.
Start with the structure before you start recording
A solid lecture capture starts with a clear structure. Before you hit record, outline your key points. This doesn’t need to be a full script; bullet points or a step-by-step plan can keep your delivery natural while creating much-needed structure that keeps you on track.
A structured outline helps avoid rambling, keeps your content focused, and saves time in post-production or when you need to re-record sections. Think of it as a lesson plan for a recorded lecture! You wouldn’t walk into an in-person class without doing some prep work, and your video content is the exact same.
If you’re tackling a larger topic, use modules or sections to break up your outline at key points. These sections can be turned into shorter videos that give learners more flexibility in how they learn the material.
Hook your audience in the first 30 seconds
Your audience makes the decision to keep watching or click away almost immediately. That’s why your video intro matters.
Start with a compelling question, a surprising tactic, or a quick, attention-grabbing overview of what learners will gain from watching your video.
For example, a video about this topic could start with: “Did you know people forget 50% of what they learn within an hour? In this short video, I’ll demonstrate how to structure your lecture so it sticks.”
That first impression uses a shocking, evidence-backed statistic to set the tone. A well-crafted intro increases student engagement and shows them that their time will be well spent watching your video content.
Keep each video focused on one clear idea
The most effective video lectures are tight and purposeful. Trying to explain five unrelated concepts in a single video often leads to confusion, frustration, and ultimately a higher click-off rate and lower retention.
Instead, create shorter videos that document one concept or skill at a time. These bite-sized modules are easier to record, embed into online courses, and reuse across different learning experiences. You’ll get the most out of each piece of content that way.
They also give learners control of when they can pause, review, or skip ahead without losing the thread of the video altogether.
TechSmith’s 2024 Video Viewer Trends Report discovered that viewers prefer videos between 3 and 19 minutes. Anything shorter or longer dropped in interest quickly. One great rule of thumb is to keep videos as short as possible and as long as necessary. That applies to a screencast, a talking head video, an instructional tutorial, and everything in between.
Do AI Voices and Avatars Improve Learning?
Discover what the data reveals about learning outcomes.
Get the Full ReportSpeak conversationally and keep it natural
Great video lectures feel like a conversation, not a performance. You don’t need a “radio voice” or a formal tone; instead, speak like you’re explaining a concept to a colleague or friend. It may feel awkward at first, but with a little practice, you can get more comfortable on camera quickly.
Use natural language like contractions, occasional pauses, and a smile. You’ll come across as more relatable and confident, which increases student engagement. Learners connect better when they feel as though you’re talking with them, not at them.
If you stumble, no worries. It’s okay to re-record a line or two, but don’t stress to create perfection. A bit of human imperfection keeps content authentic and approachable for your students.
Use visuals to reinforce your message
Visuals can make or break your lecture recording. Strong visual aids help explain complex ideas, guide attention, and improve retention. Weak or overloaded visuals do the opposite.
Add annotated screen captures to your video to reinforce your message. You can add arrows, callouts, and other visual guides to your content to draw attention to specific points throughout your recording. You can also use a whiteboard and diagrams in the video to explain complex processes along the way. Graphs, infographics, and clean PowerPoint slides can also be powerful tools, though they are usually not necessary.
Tools like Snagit and Camtasia make it easy to add these visual elements without needing advanced video editing skills.
Simply take a screenshot of information with Snagit and make any necessary edits like adding informational callouts, blurring out sensitive information you don’t want shared, and even rearranging certain elements altogether with smart move.
Then, paste the image into Camtasia’s all-in-one screen recorder and video editor. You can overlay these visuals in your video to add clarity to every complex concept. In Camtasia, you can easily animate the visuals so they only appear on your screen when you need them.
Crystal-clear screen recording
Why settle for blurry screen content? Camtasia Editor’s screen recorder captures everything at up to 4K!
Free Download
Don’t overdo the slides
PowerPoint slides are helpful, but too much text or cluttered visuals can sink your lecture.
Stick to simple, clean layouts. Aim for minimal text. Use large fonts, high-contrast colors, and visuals that support (not duplicate) what you’re saying out loud. Your slides should support your message, not compete with it. If slides don’t add value, it’s okay not to use them at all.
Pro tip: If your viewers could understand your full presentation just by reading your slides, you’re probably including too much information.
Break things up visually or verbally
Attention spans fade fast, especially during longer recorded lectures. That’s why it’s helpful to build in variety.
Use visual transitions, section headers, or quick recaps to signal a shift in focus. These reset moments can keep learners engaged and alert, and also help them identify good points to take a short break, so they can return with fresh eyes. You can also vary your method of delivery and switch between webcam recording, screen share, and simple graphics.
Even something as small as changing your tone, pausing for emphasis after an important piece of information, or inserting a relevant story can provide a mental break that re-engages attention along the way.
Make accessibility a part of your workflow
Accessible video practices aren’t just about compliance. They make the learning experience better for everyone.
Add closed captioning to all of your recorded lectures. Captions not only improve comprehension but also help viewers who are in noisy environments or quiet offices. Captions and a searchable transcript also increase your content’s browseability.
Use legible fonts, clear color contrast, and pace your speech thoughtfully. Avoid flashing visuals or overly complex animations that could overwhelm learners. These small changes go a long way in making your content inclusive and effective for a variety of audiences.
Pro tip: Clear content is good content for all types of learners.
End with a recap or next step
We emphasized how important the beginning of your lecture is, and the end of your video is just as important.
Wrap up with a quick summary of the key points, then give viewers a simple next step. Short phrases like “Try applying this in your next project,” or “Rewatch this section before moving to the next module if you’re struggling to grasp XYZ.”
An actionable sentence gives your lecture a sense of closure and purpose. It helps reinforce learning and guides the viewer toward continued action or reflection, both of which are essential in online learning environments.
Keep improving with feedback and rewatching
Your first take doesn’t have to be your final product. Even a high-quality recorded lecture can benefit from feedback and self-review.
Watch your video like a learner would and ask yourself the following questions:
- “Are there any parts that drag on and should be cut down?”
- “Are my visuals clear and aligned with my message?”
- “Did I speak too quickly or gloss over important terms that need added clarification?”
As you refine your video creation process, you’ll come up with your own questions that keep your content aligned with your expectations.
You can also ask a colleague to review your video or test it with a small group before rolling it out fully. Sometimes, a fresh set of eyes can spot what you may have missed. An easy way to gather feedback on your videos is to use time-stamped comments. Hosting tools like Screencast allow you to upload your videos right from Camtasia and send a link to your colleagues. They can then add comments and reactions at specific times in your video and start a conversation on how to best improve your learning content.
Looking for professional screen recording software?
From simple screen captures to polished video editing, TechSmith has everything you need to create professional-quality content.
Learn More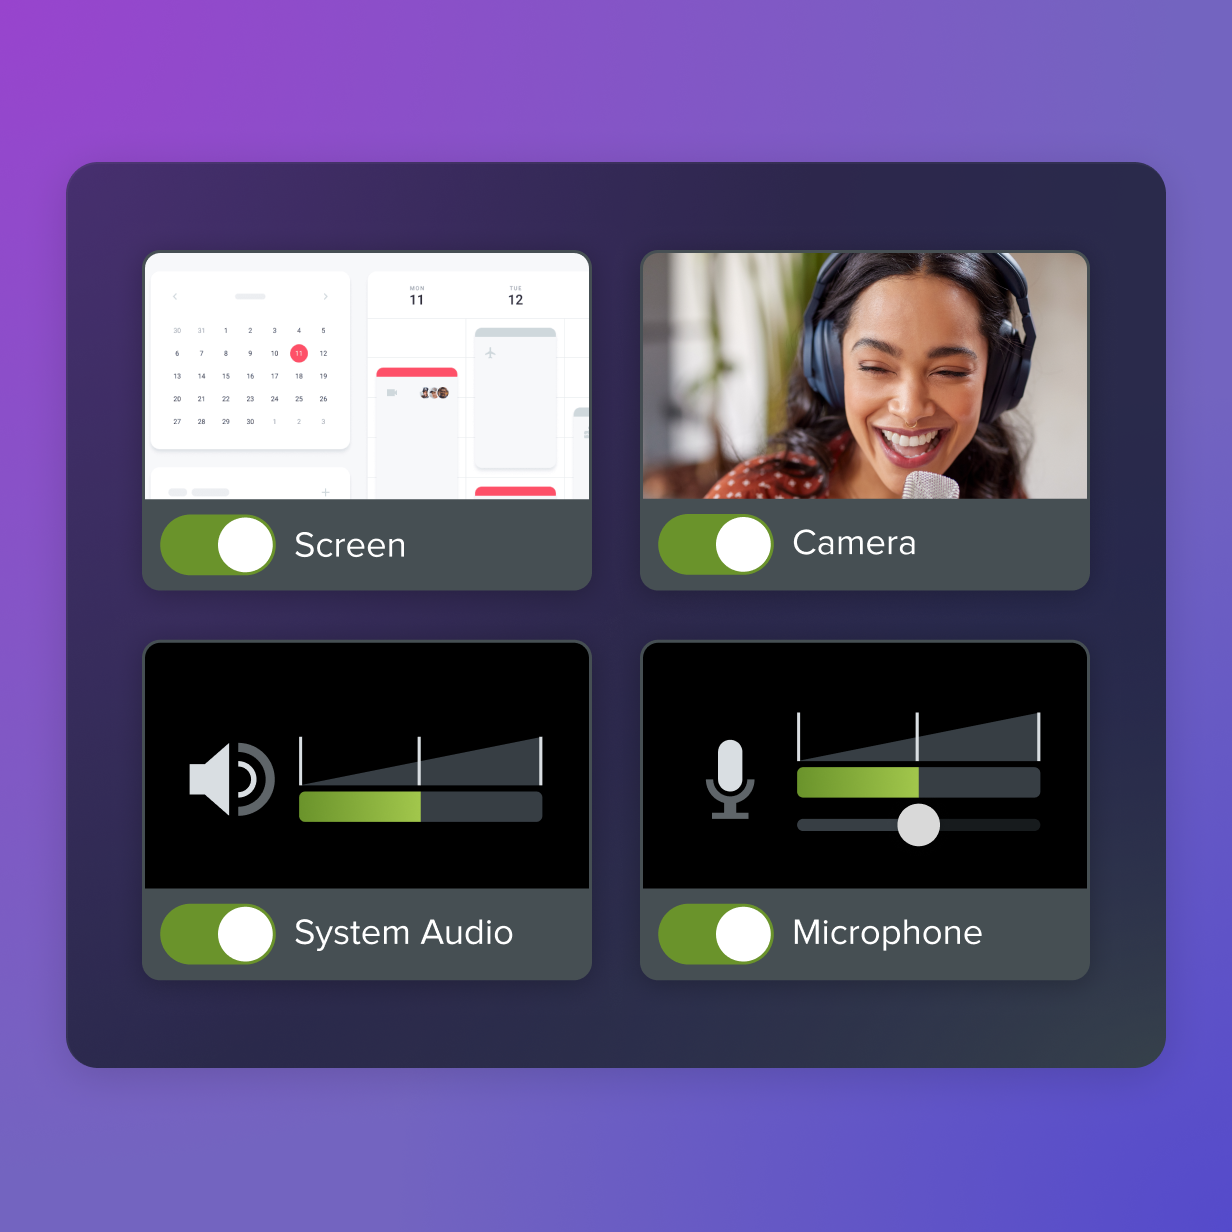
Remember that effective video isn’t about perfection, but rather about clarity, relevance, and continuous improvement.
Build stronger lectures with the right tools
Creating engaging video lectures doesn’t require expensive gear or a film school background. It takes intention, structure, and a few smart tools to help you out.
Camtasia makes it simple to record your screen, webcam, audio, and cursor and add professional touches along the way. Cursor effects, transitions, callouts, and closed captions are essential for any clear video lecture. You can easily highlight key points, edit your mistakes, and share your video without complex software.
Camtasia is the perfect tool for any type of instructional video, like a tutorial, online course, or pre-recorded training. Its easy-to-use interface is beginner-friendly and has almost no learning curve, so you can get started right away without wasting time learning a complex tool.
Make great tutorial videos
Camtasia makes it ridiculously easy to make tutorial videos that keep your viewers engaged.
Free Download
Explore Camtasia and other TechSmith tools to take your video lectures to the next level for your students.
Share