Learn Camtasia in 5 Minutes
We'll guide you through making your first video.
We'll guide you through making your first video.
What's New in Camtasia 2023
Build Your First Video
Basic Edits After Recording
Assemble Your Video

Export & Share Your Video
Assemble Your Video
Enhance Your Video with Camtasia Assets
Import & Manage Your Project Media (Media Bin)
Reuse Media Across Projects (Library)
Position Media on the Canvas
Edit Zoom Recordings

Where Is My Camtasia Library?
Record a PowerPoint Presentation
Record & Edit Camera Video (Picture-in-Picture)
Record with the PowerPoint Add-In (Windows)
Basic Edits After Recording
Explore the Timeline
Add Markers & Video Table of Contents
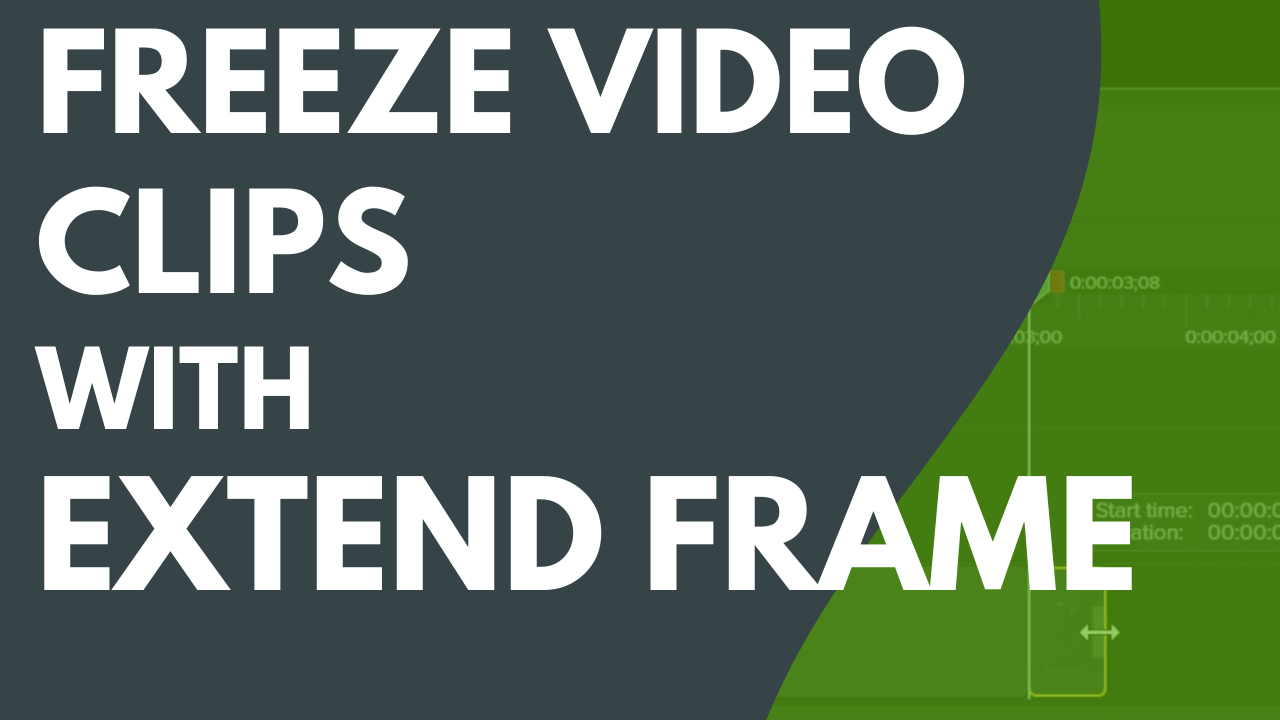
Freeze Video Clips with Extend Frame
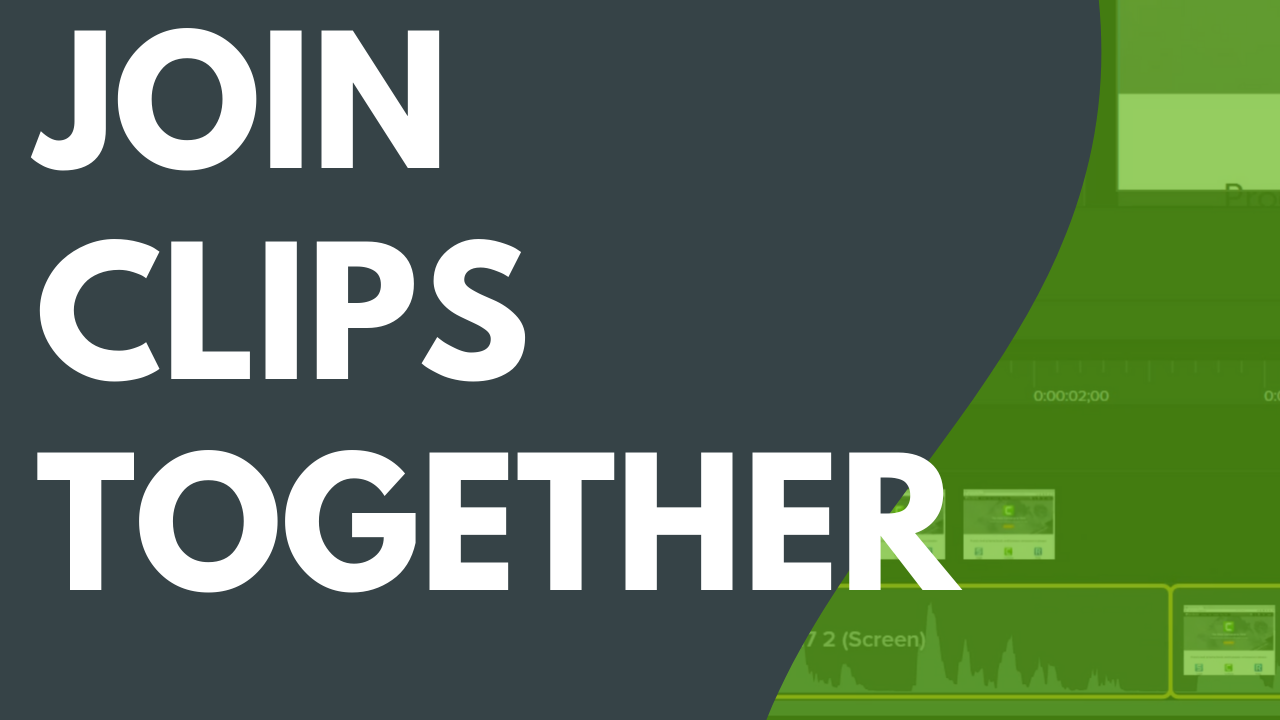
Join Clips Together
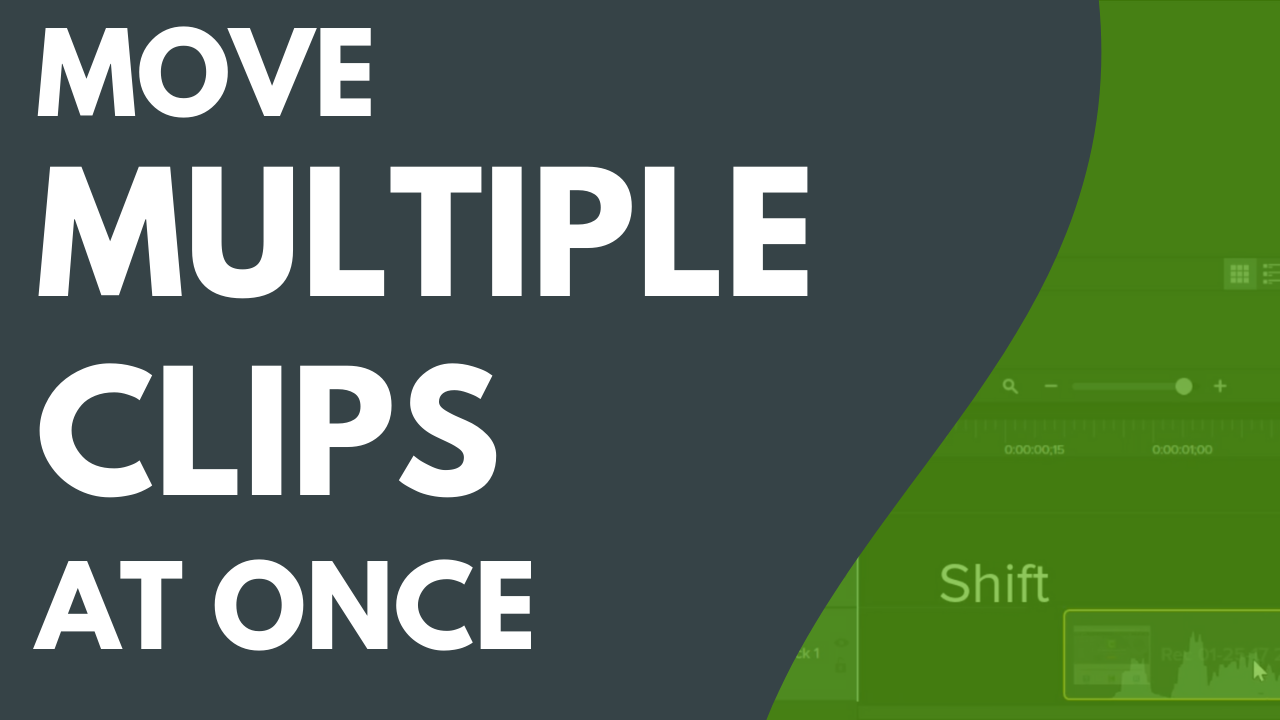
Move Multiple Clips at Once
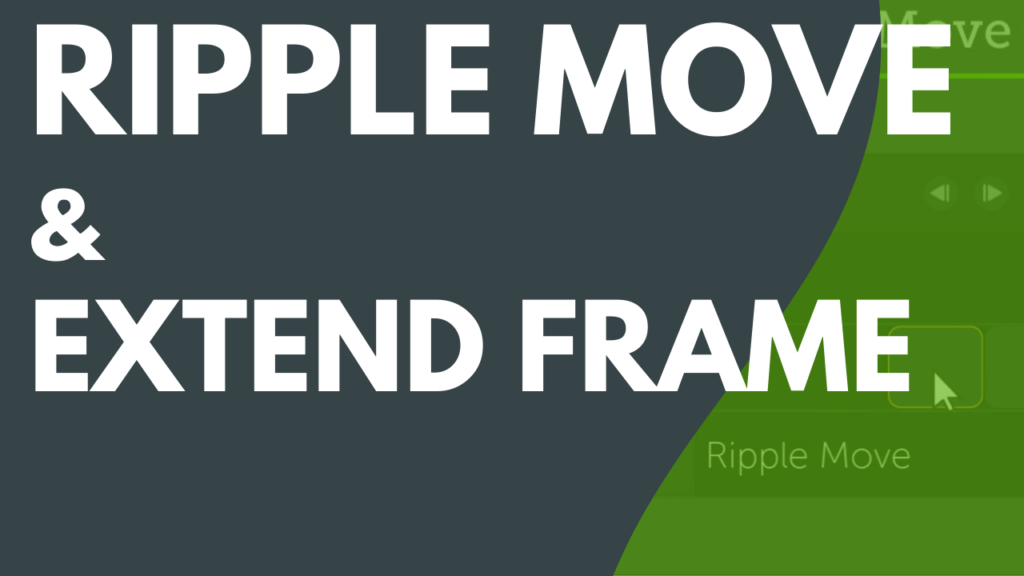
Ripple Move & Extend Frame
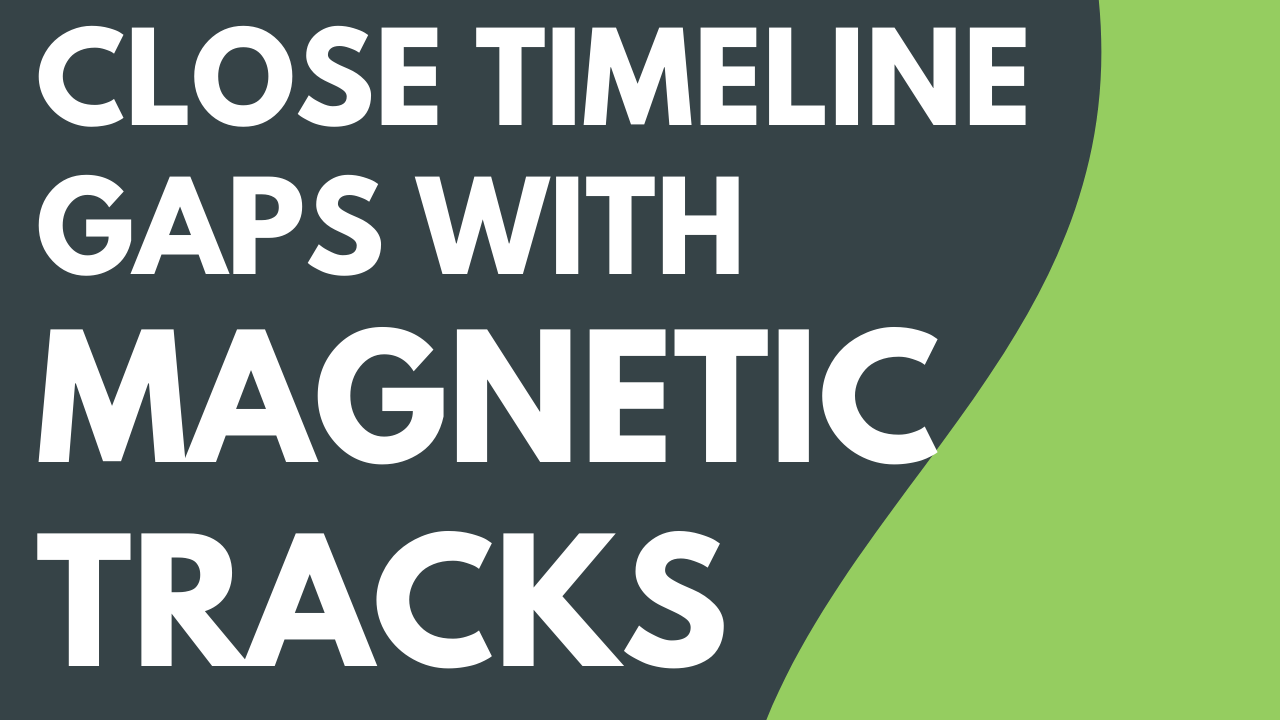
Close Timeline Gaps with Magnetic Tracks
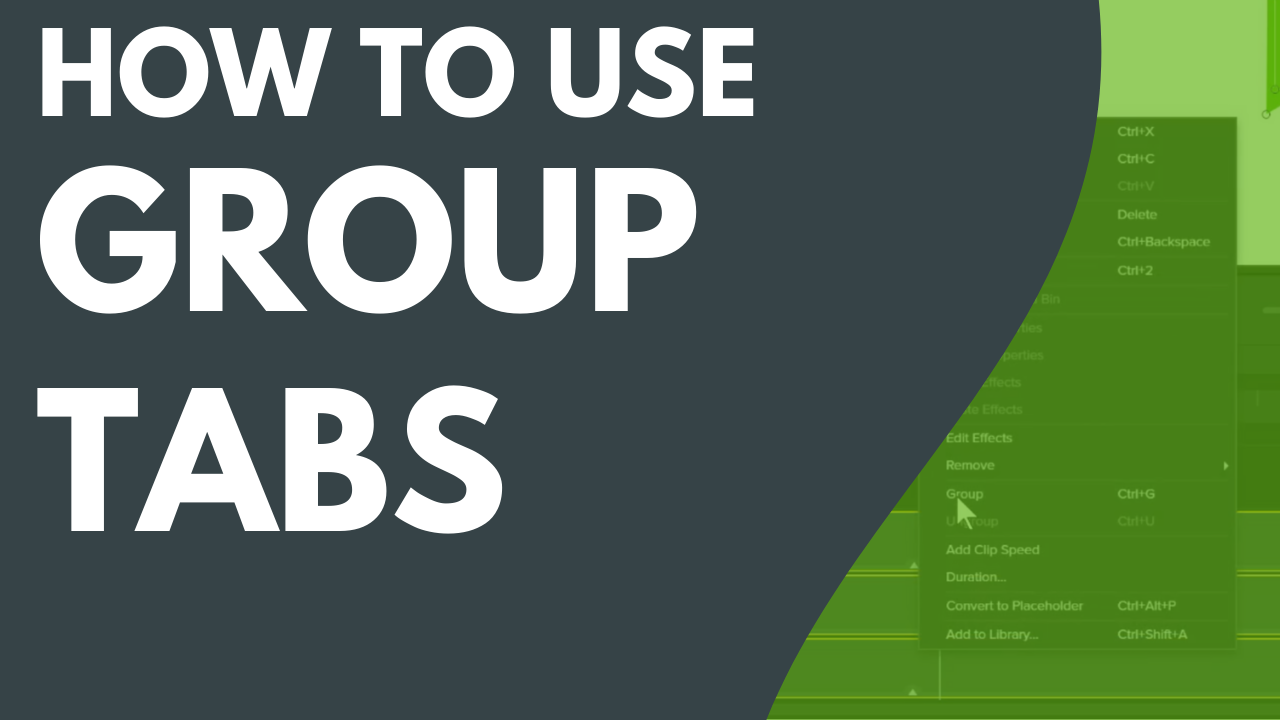
How to Use Group Tabs
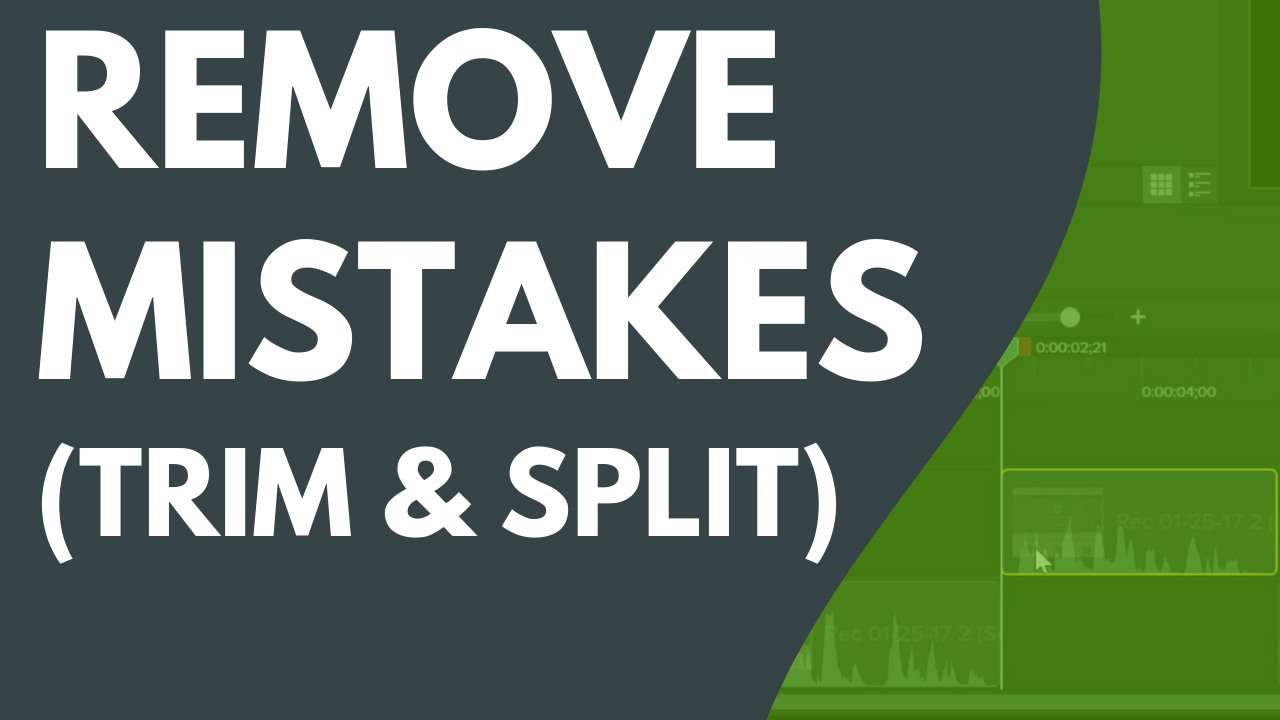
Remove Mistakes (Trim & Split)

4 Ways to Visualize Your Audio
Speed Up Editing with Audiate
Edit Audio
Add Audio Effects
Record Voice Narration
Add Arrows, Shapes, & Callouts
Add a Dynamic Background
4 Ways to Visualize Your Audio
Create the Illusion of 3D Perspective (Corner Pinning)
Remove a Background from Your Video
Visual Effects Overview
Customize Your Cursor and Path
Enhance Your Video Overview
Edit Video Colors and Shading (Filters)
Edit the Cursor with Effects
Animations In-Depth
Add Movement to Any Object (Motion Paths)
Blur or Mask a Video
Animate Text & Images with Behaviors
Zoom In to Focus Attention

Create Stunning Animations with Media Mattes
Add Markers & Video Table of Contents

Build Quizzes & Surveys
Display Captions in Your Video
Add Hotspots (Interactive Videos)
Export & Share Your Video

Batch Export Videos
Export an Audio File

Export a Video with the Legacy Exporter
Build Your Color Palette (Themes)
Reuse Media Across Projects (Library)
Package & Share Camtasia Resources
Customize Shortcuts
How to Use a Template
Build a Video Template to Share
Customize Camtasia (Favorites & Presets)
Create Custom Assets
Explore the Timeline
Learn About Camtasia Files
Learn About Standalone Projects

Discover the Properties Panel