Sooner or later, every company or organization needs to create a training manual. Often, they need to create multiple manuals to cover both internal and external training needs.
Internally, training manuals help all employees remain efficient and productive in the course of doing their jobs. Whereas externally, training manuals are critical content pieces for customer education, training, and, most importantly, satisfaction.
Now, you’d be forgiven for hearing “training manual” and picturing a thick, corporate-looking booklet bound in a bland cover with some stock imagery on it. But it doesn’t have to be that way!
So, erase that image from your mind. The old booklet format still has its place in the world (e.g. your car glovebox), but there are so many more — and better — ways to train people. The training guides of today don’t look or function like the training manuals of yore, and with the right tools, it’s easier than ever to make great training materials.
In this post, we’ll take a close look at how to write a training manual, as well as some of the best ways to make your own.
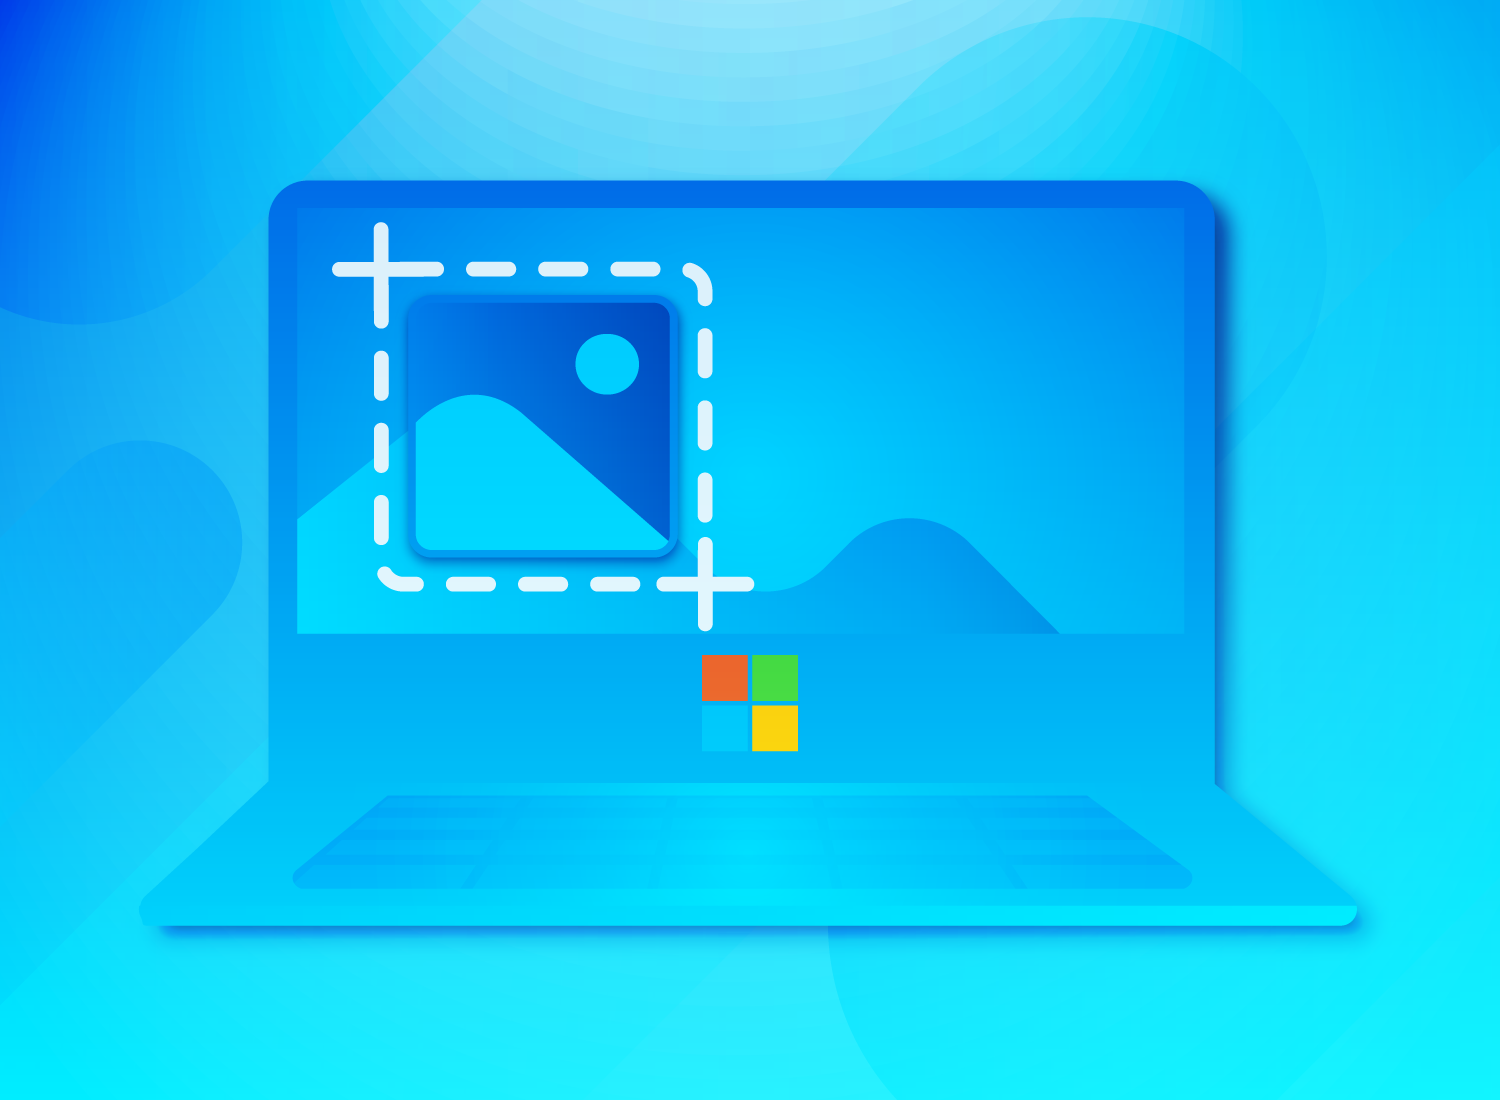
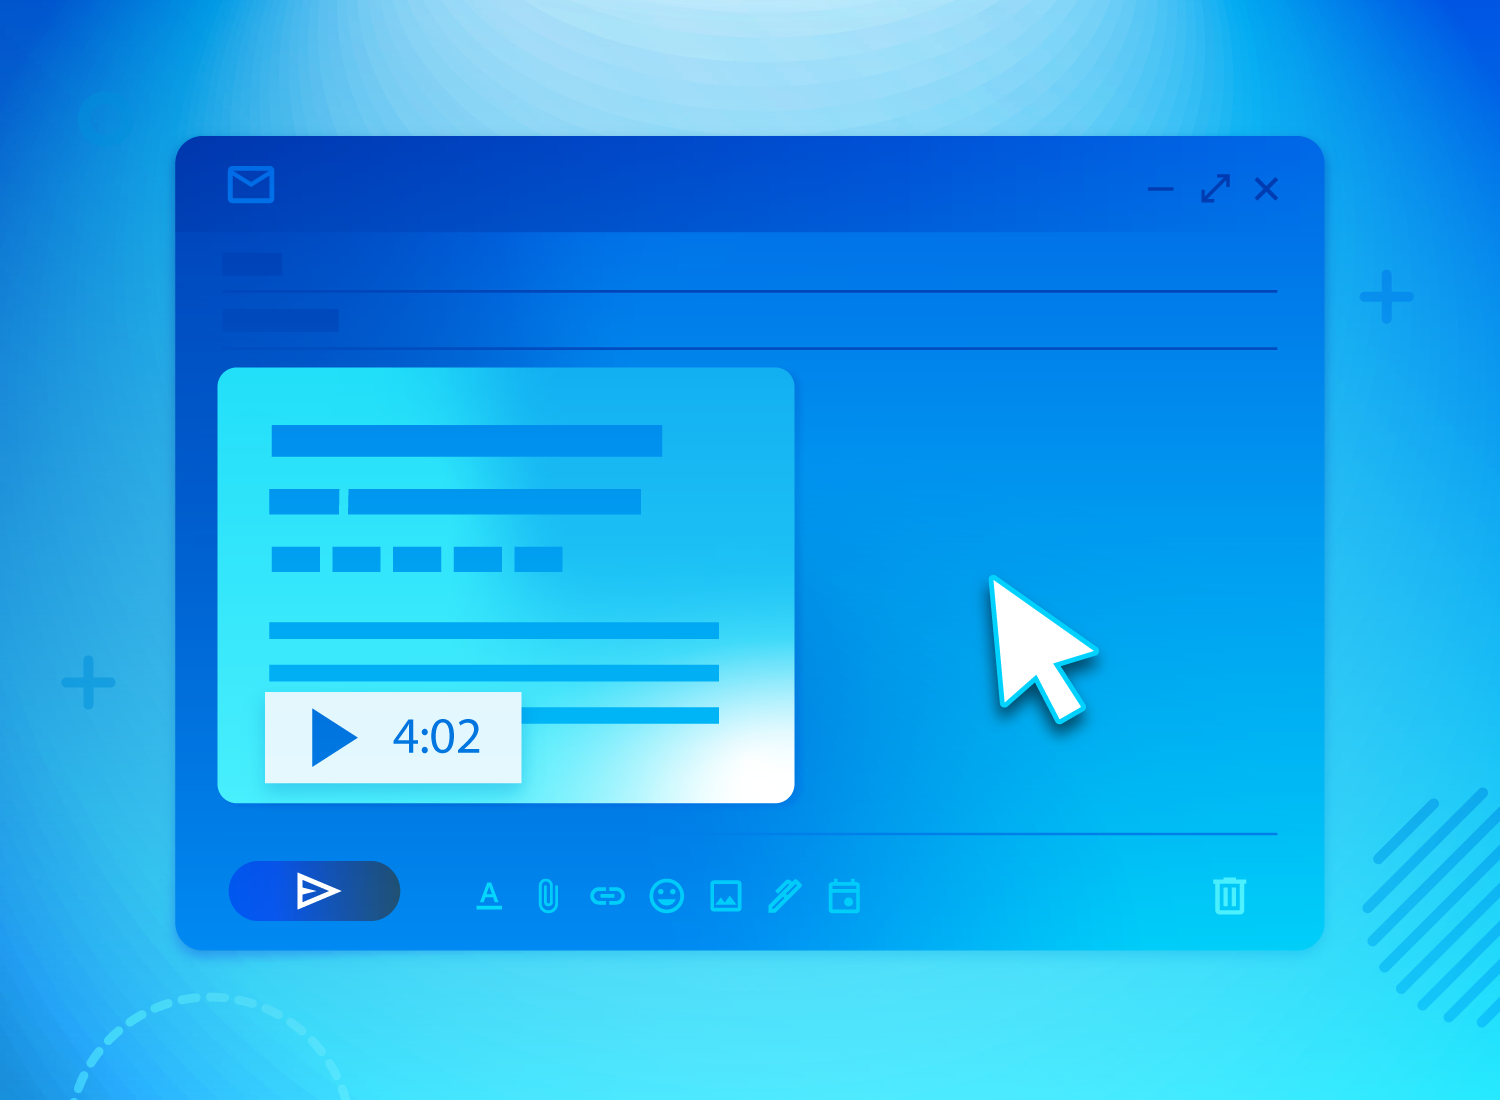
Easily create training manuals (Free template)
Snagit’s templates are the fastest way to create training manuals. Create step-by-step training for anything with training manual templates!
Download now!
What is the purpose of a training manual?
While the packaging of the traditional training manual has changed (thankfully!), its purpose remains the same.
A training manual is a set of instructions that improve the quality with which a job, process, or task is performed. Companies use training manuals with in-person, remote, on-demand, and just-in-time training. A few common applications include:
- Onboarding new employees
- Rolling out new software and systems
- New protocol or process documentation
- Sharing standard operating procedures
- Customer training and education
- Product instructions and information
Companies create employee training manuals to increase organizational productivity and ensure everyone has the tools and information they need to excel at their jobs.On the flip side, organizations create training manuals that support their customers, too. They can be used to teach how to use their products, when certain features come in handy, and demonstrate key workflows.
Training manuals for customer education help users get the most out of their purchases, making them a critical resource — which is why every successful company provides them.
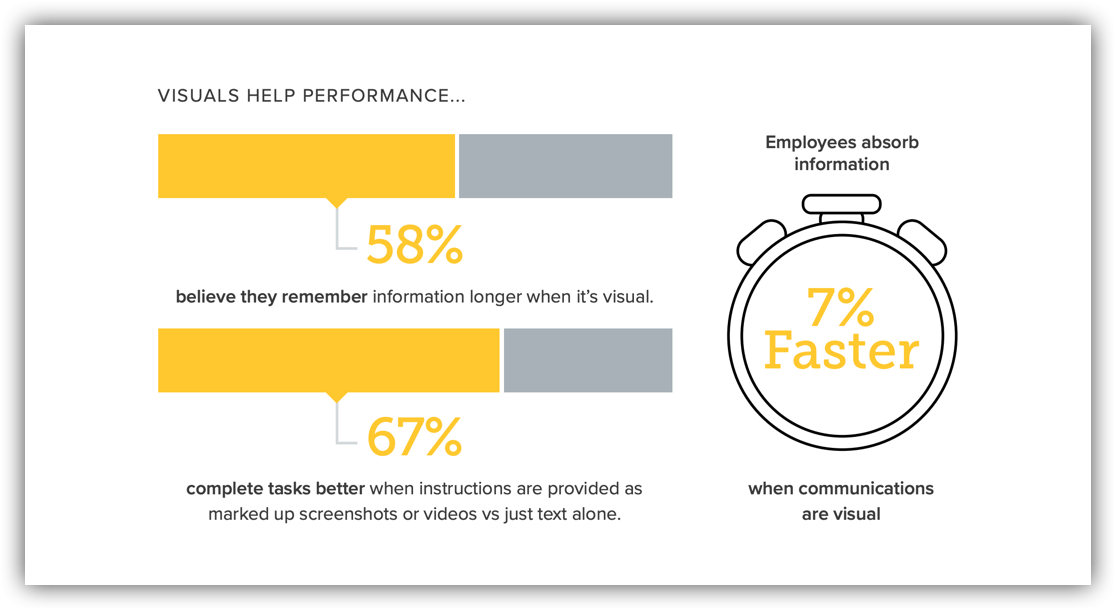
The best training manuals are easy-to-follow, informational guides. They lay out concepts in clear language, using relevant examples and imagery. Done right, a good training manual becomes a trusted resource for employees and managers or customers and clients.
What are the different types of training manuals?
While all training manuals share a similar goal, they’re not all the same. From onboarding new employees, to guiding them through complex projects, each manual serves a unique purpose.
Understanding the variety and function of different training manuals can help you determine which will be best for you. So, before we talk about how to create a training manual, let’s explore some of the most common types of manuals and what they can help you achieve.
Employee Training Manuals
Arguably the most common type of training documentation in the corporate world, employee training videos and manuals are often designed to bring new hires up to speed in their roles. They cover everything from company policies and procedures to role-specific tasks and responsibilities.
While employee training manuals may also be used to train existing staff on new processes and systems, the ultimate goal remains the same: To ensure that every employee has a clear understanding of their role, what’s expected of them, and how they fit into the company’s framework.
By having a well-structured employee training manual, organizations can ensure consistency in training while reducing the learning curve for new hires and increasing overall productivity. It’s a win-win!
The ultimate guide to easily make instructional videos
In this FREE guide, we share our secrets to creating high-quality training and tutorial videos.
Download now!
Project Manuals
When it comes to specific projects, especially complex ones, a dedicated project manual can be an incredibly useful tool. These manuals are crafted to provide a clear roadmap for a project’s lifecycle, from start to finish.
Project manuals will often outline objectives, milestones, roles, and responsibilities. In doing so, the best project manuals will help keep teams on track, ensuring that everyone works toward the same goal with a clear direction and purpose.
Task Manuals
Task manuals delve deep into the nitty-gritty details of specific tasks and operations. Instead of giving a broad overview, they provide step-by-step instructions on how to perform a particular task, to help ensure it’s done correctly and efficiently every time.
These manuals are particularly useful where precision and consistency are important. Whether its purpose is to help staff deal with customer complaints or upload a blog post, companies can ensure consistent quality by standardizing the approach to particular tasks.
What’s more, task manuals can serve as a reliable reference should a staff member need reminding on how to complete a task, without the need to interrupt colleagues. This not only saves time but also fosters a more productive and autonomous work environment.
Vendor Training Manuals
When external contractors work with a company, it’s important that they align with the company’s values, procedures, and expectations. Enter the vendor training manual.
These manuals provide vendors with insights into the company’s policies, codes of conduct, and any specific processes or systems they need to be familiar with. They help streamline communication, set clear expectations, and ensure that vendors can work seamlessly with the internal team.
You might also have training manuals that work in the opposite too, by outlining how company staff should interact with its vendors.
Why is a training manual important
It might sound cliché, but training manuals are more than just documents (or videos, for that matter). They are a testament to an organization’s dedication to quality, clarity, and customer satisfaction — they can save you time and money, too.
On the one hand, internal training manuals play a crucial role in onboarding, training, and providing ongoing reference, ensuring that everyone can access the knowledge they need when they need it. Meanwhile, a well-structured customer manual can be a valuable resource for troubleshooting and fully understanding how to use a product.
In a nutshell, training manuals empower both teams and customers by making information easily accessible. This, in turn, helps minimize misunderstandings among teams, reduce the time spent answering repetitive questions, and reduce the customer’s need for additional support.
All things considered, they’re a simple and effective way to lower the burden on company time and resources.
The benefits of having a training manual for employees
A training manual can be the silent mentor that supports your staff, improves efficiency, and ultimately, contributes to your company’s success. But the advantages of having training manuals in place extend far beyond just having a set of instructions.
From elevating productivity to reducing overhead costs, training materials can benefit different elements of a business in many ways…
Helps productivity
Effective employee training is a powerful way to stimulate productivity. With clear guidelines and precise instructions, you’ll be putting your staff in the best possible position to do their job — it’s that simple.
What’s more, a training manual serves as a constant resource, enabling staff to refine their skills, refresh their knowledge, and master their roles. Such manuals are the backbone of a support system that reduces errors and elevates morale, leading to heightened employee confidence and satisfaction.
Confident employees tend to be more engaged, which makes them more willing to embrace new challenges and be enthusiastic about their work. The presence of a well-constructed training manual translates directly into a more capable and determined workforce, with the power to boost the productivity of an entire organization. Pretty amazing, right?
Facilitates onboarding
Starting a new job is always overwhelming, which is why bringing new members of staff up to speed is such a critical component to the smooth running of any business.
One way to make onboarding easy and efficient for everyone involved is to provide comprehensive training manuals that include all the information a new hire needs. Having a structured approach to onboarding ensures that all employees receive the same information, encouraging consistency and a certain standard of performance from their very first day on the job.
Learning shouldn’t stop after the initial training period. In fact, most people want to be part of companies that foster cultures of continuous learning and development.
While a training manual will serve as a permanent resource that staff can refer to whenever they need a refresher on certain tasks, simply having the information there helps create an environment that encourages self-improvement.
This also goes a long way to show your staff that you’re invested in their growth, as well as the business’s. In time, this will turn them into the biggest ambassadors of your brand.
Easily create training manuals (Free template)
Snagit’s templates are the fastest way to create training manuals. Create step-by-step training for anything with training manual templates!
Download now!
Reduces training costs
Developing a training manual may require an initial investment, but it can lead to significant savings over time. With a thorough manual, the amount of time and resources spent on face-to-face training can be drastically reduced while allowing people to learn at their own pace.
There may still be a need for face-to-face training, but the best training materials will reduce how often they’re needed.
How to write a training manual
Learning how to create a training manual may be a daunting task, but it doesn’t have to be. With the right tools and approach, you can quickly go from planning to production, and provide your colleagues or customers with a helpful, easy-to-use resource.
Here’s how:
Step 1: Find your software
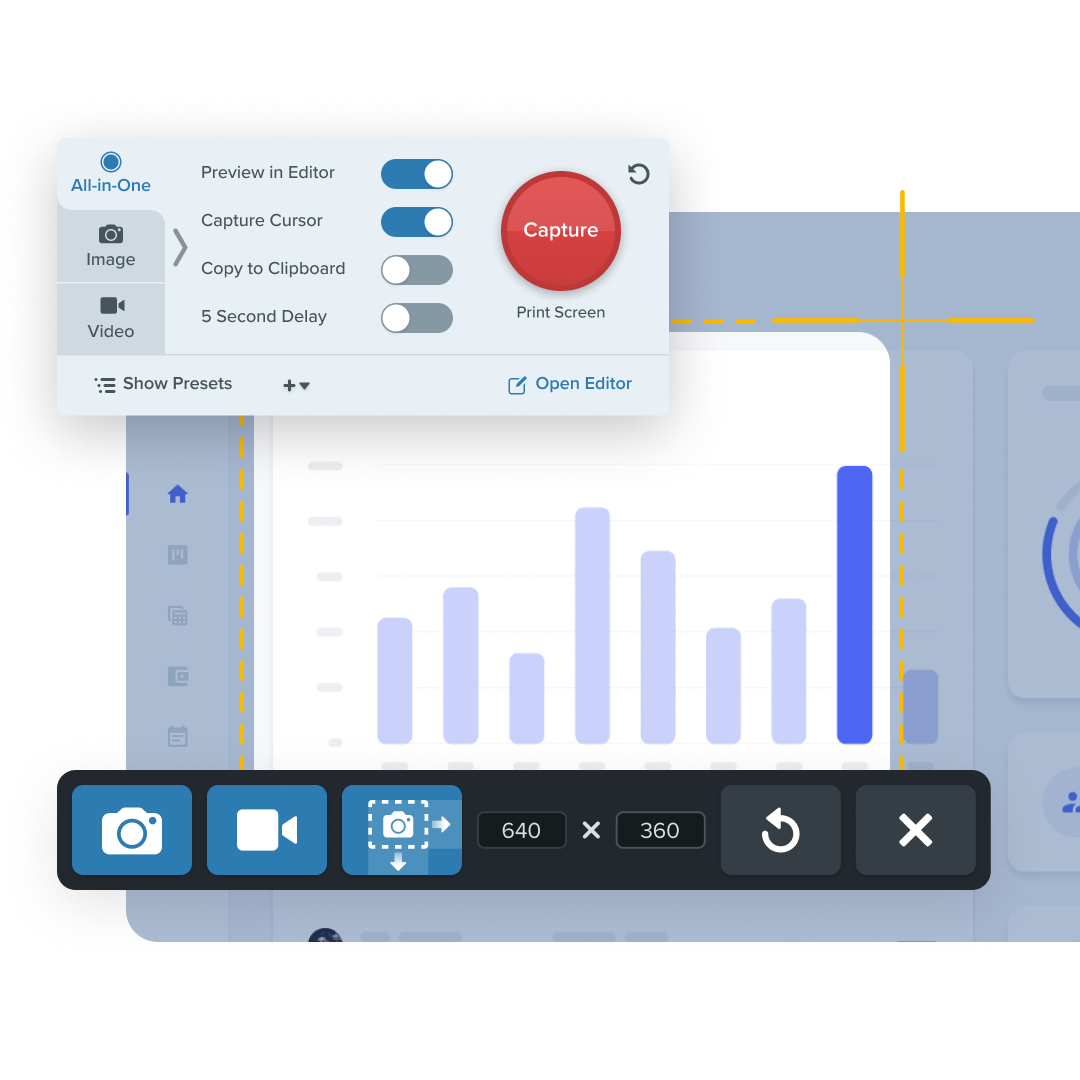
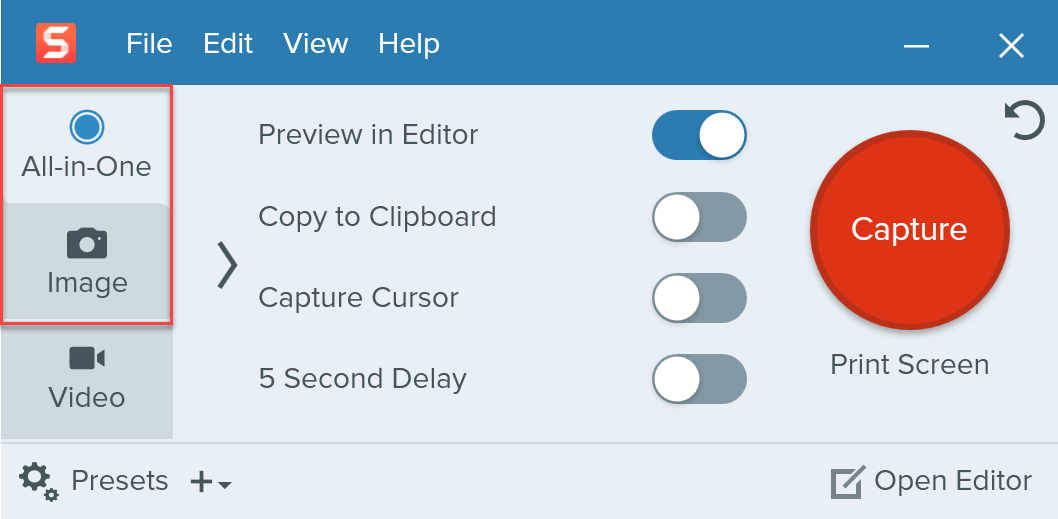
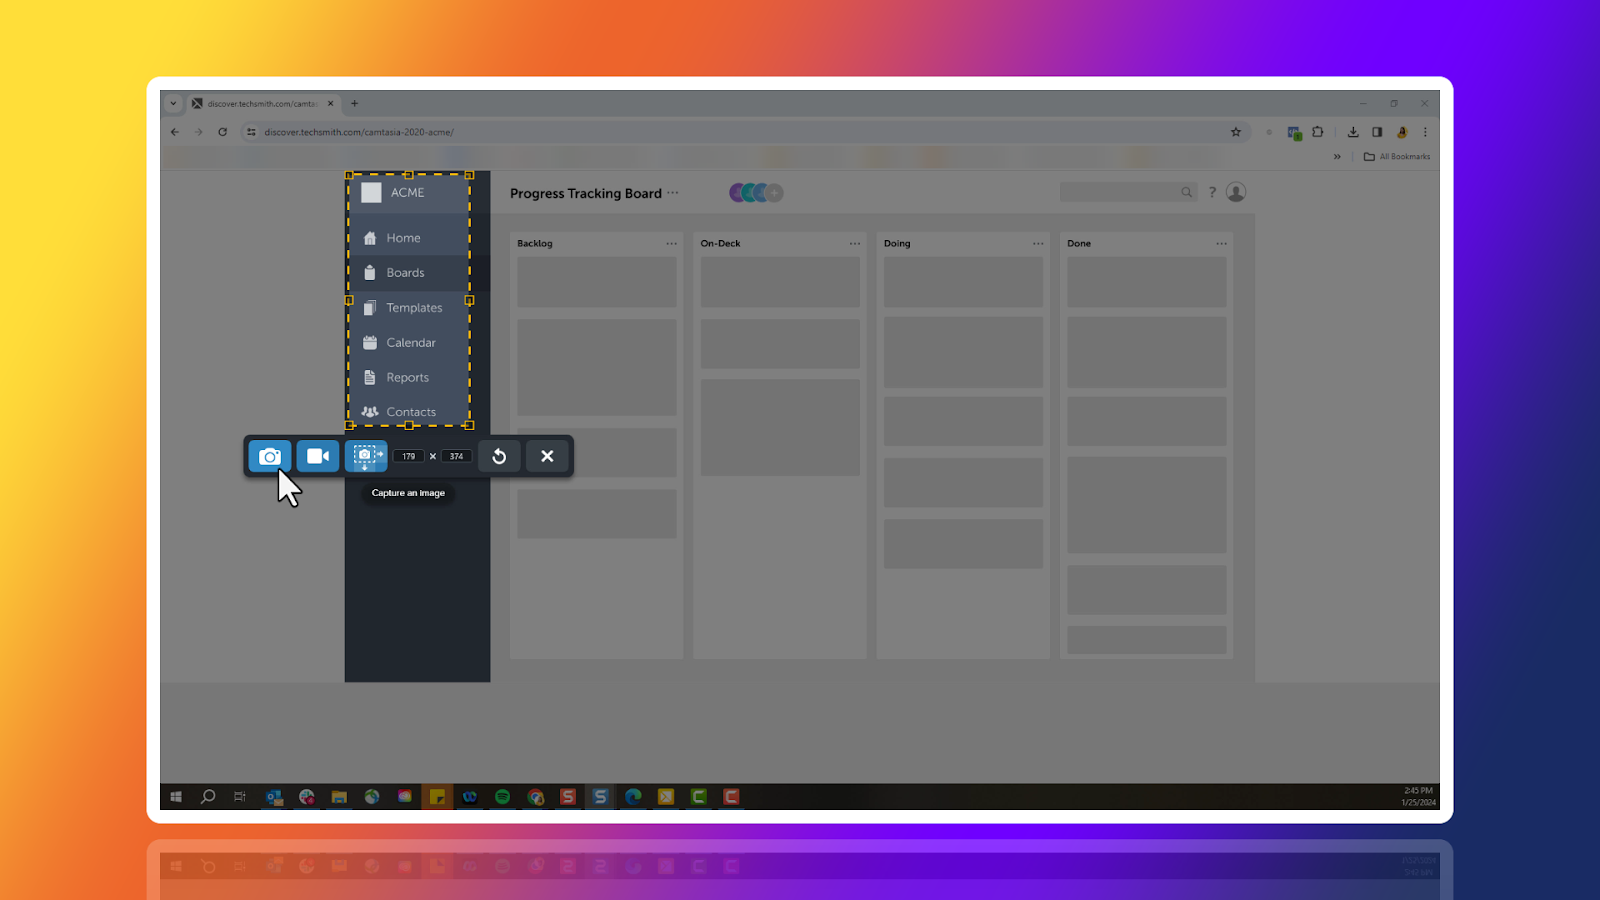
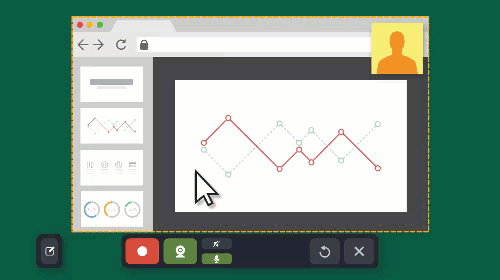
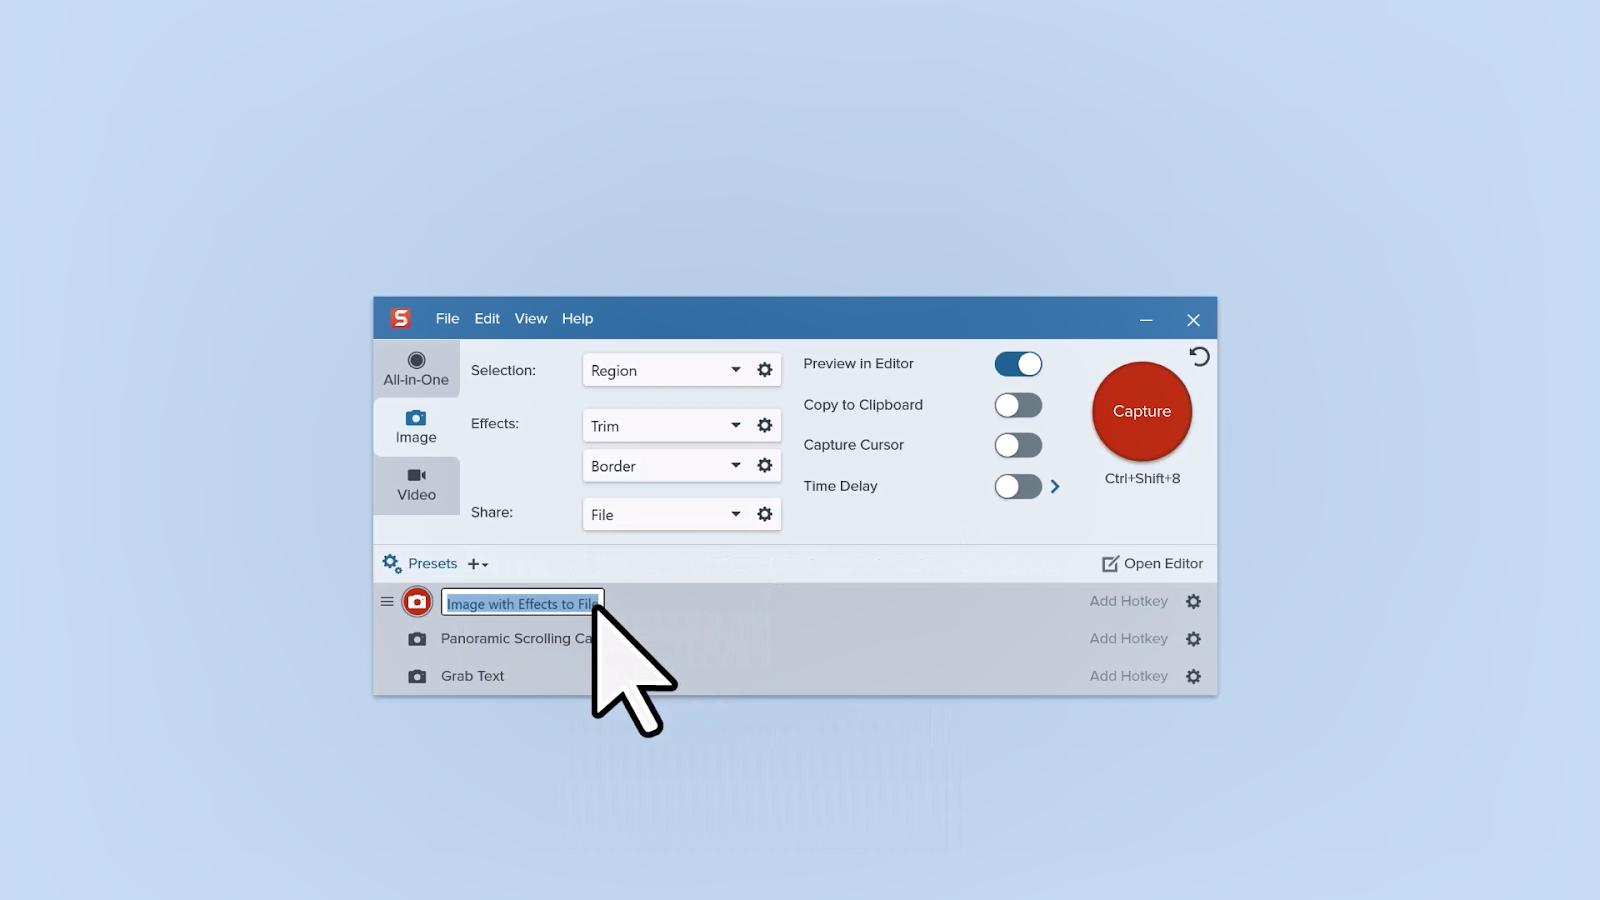
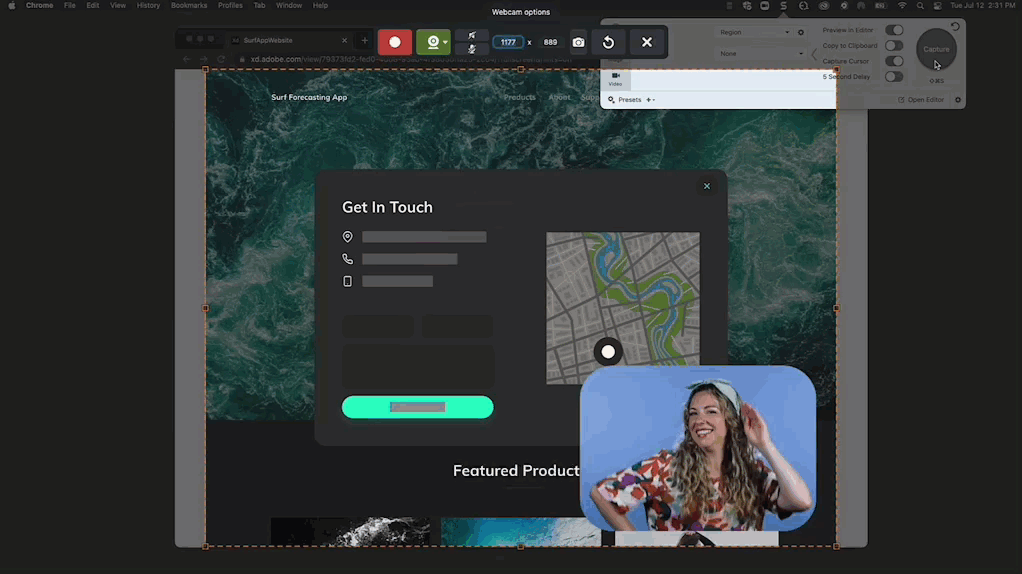
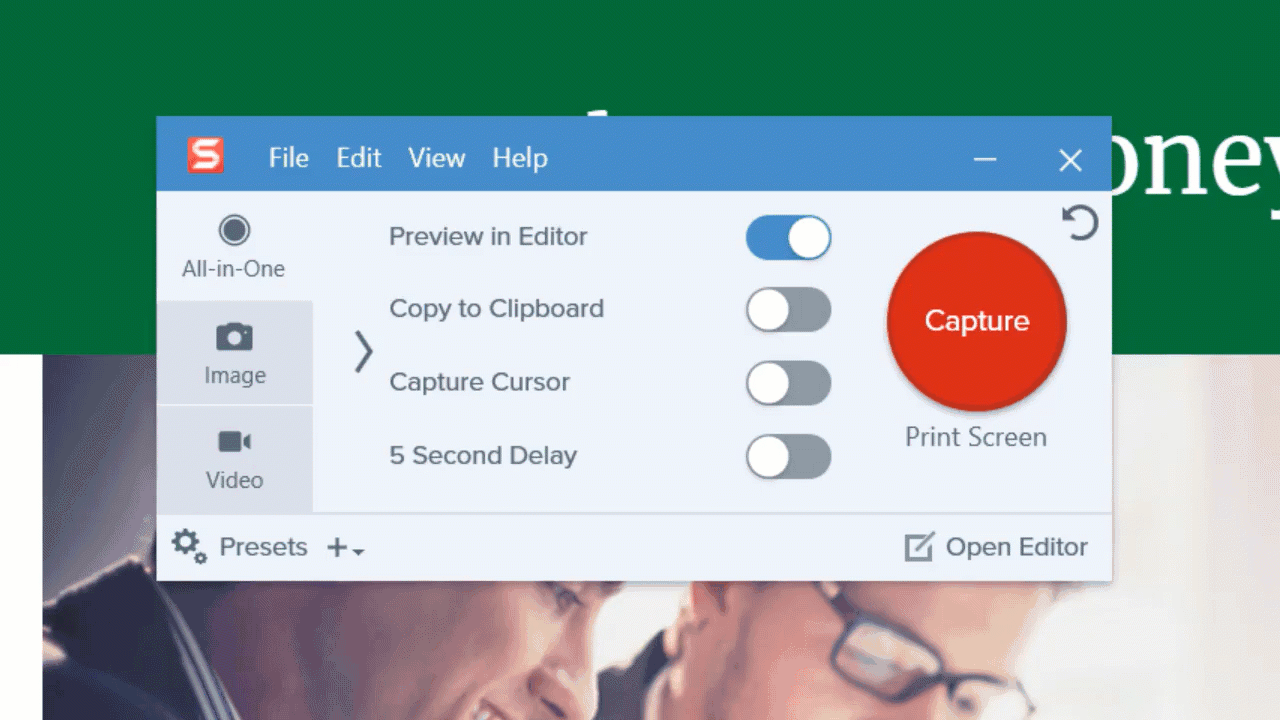
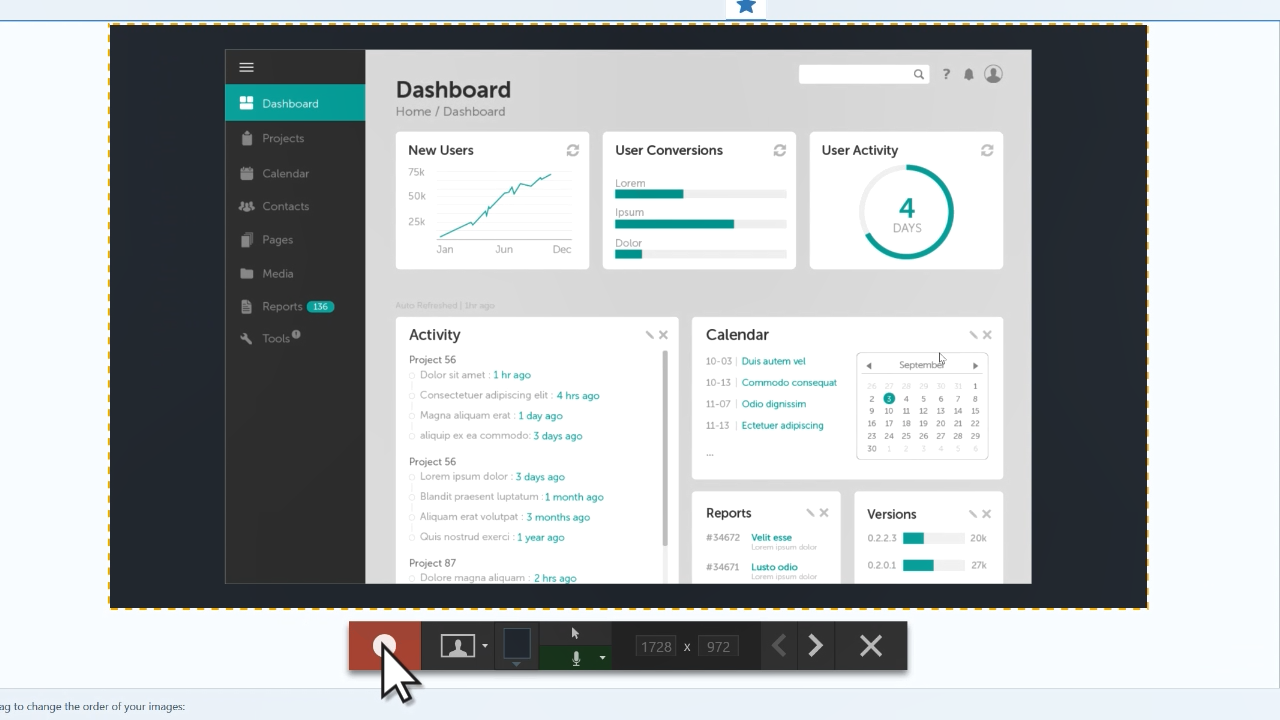
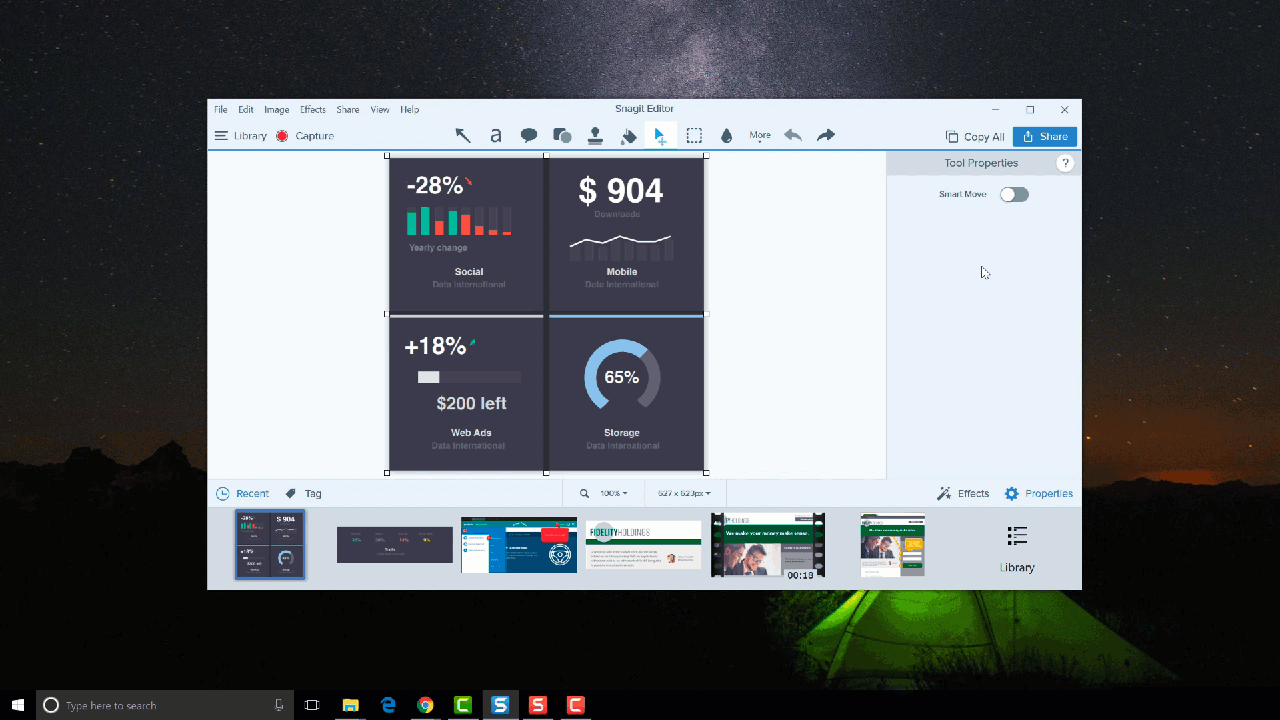
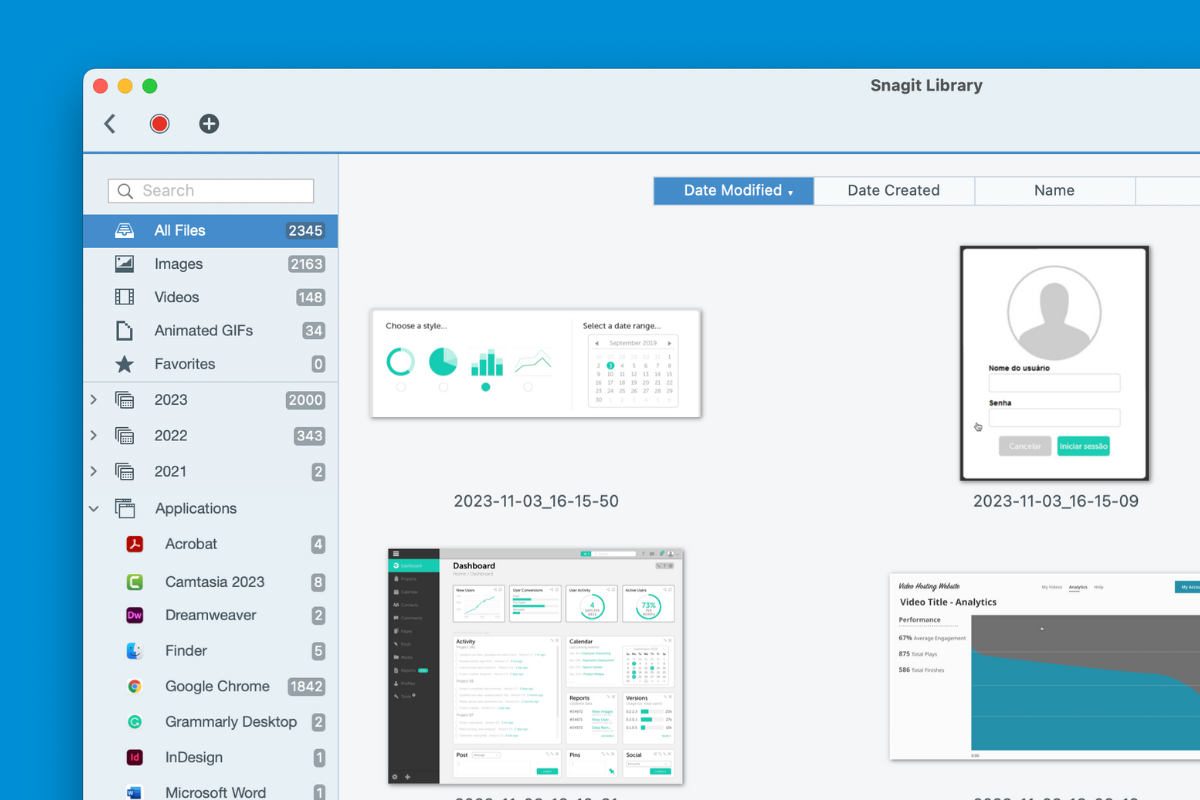
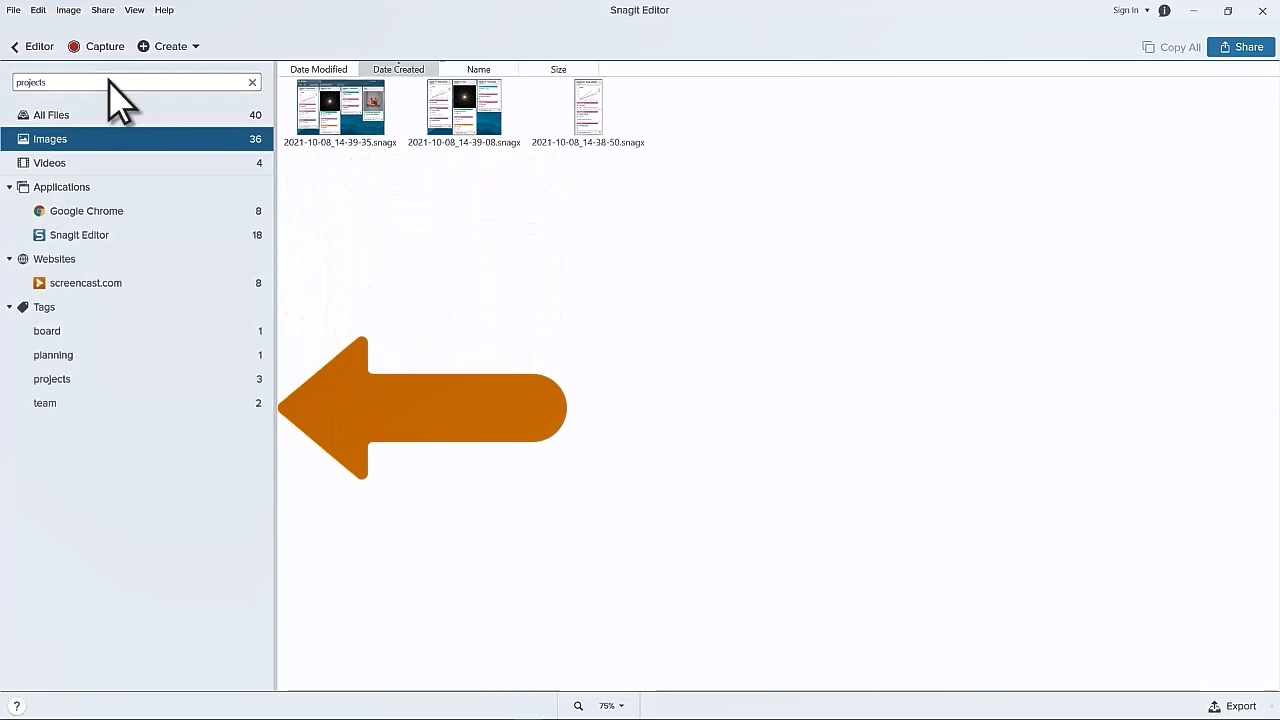
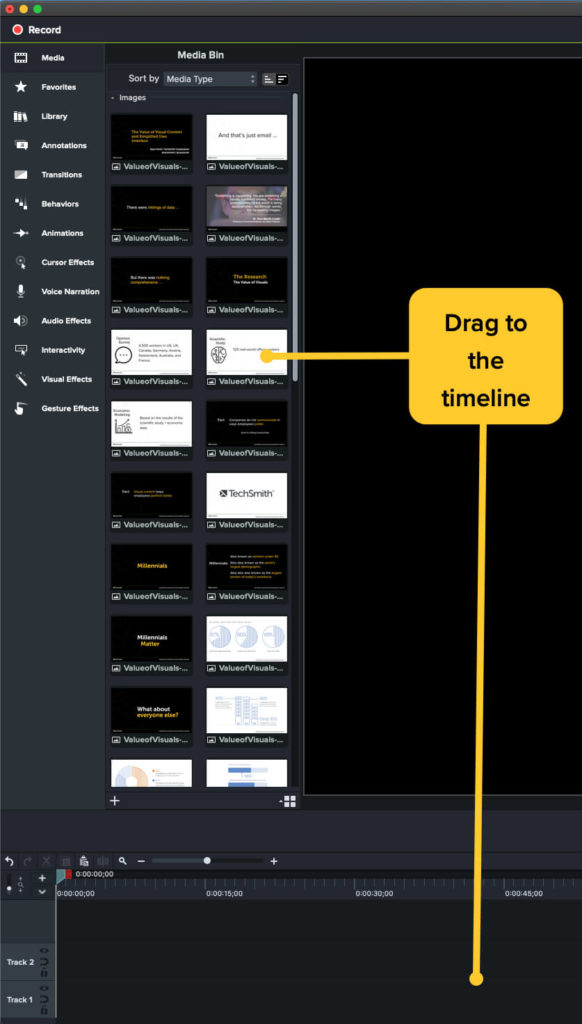
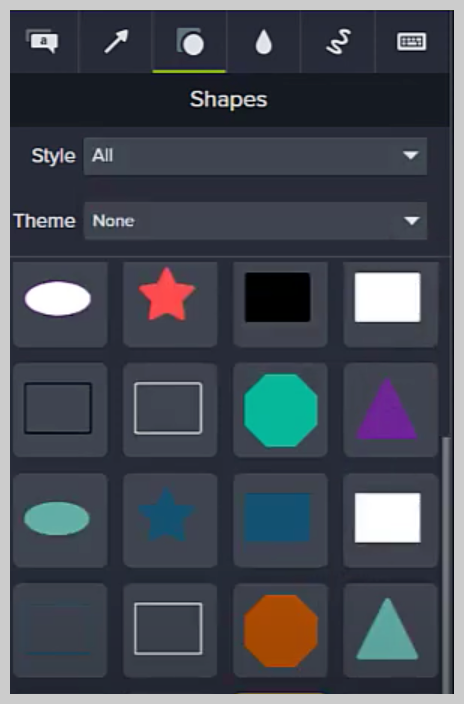
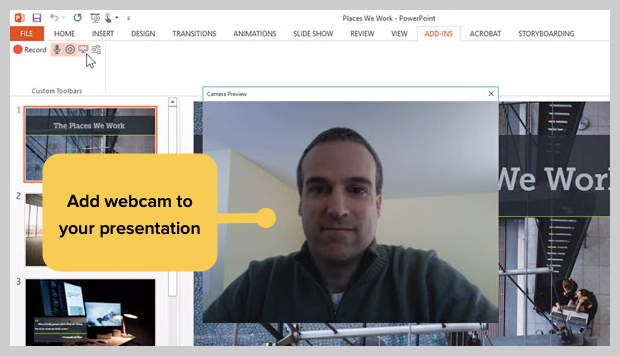
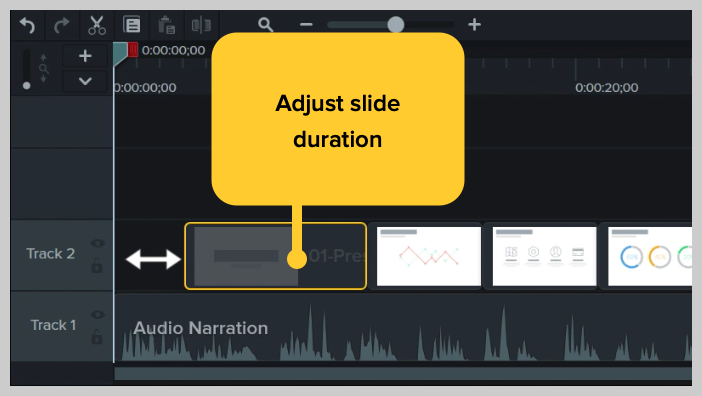
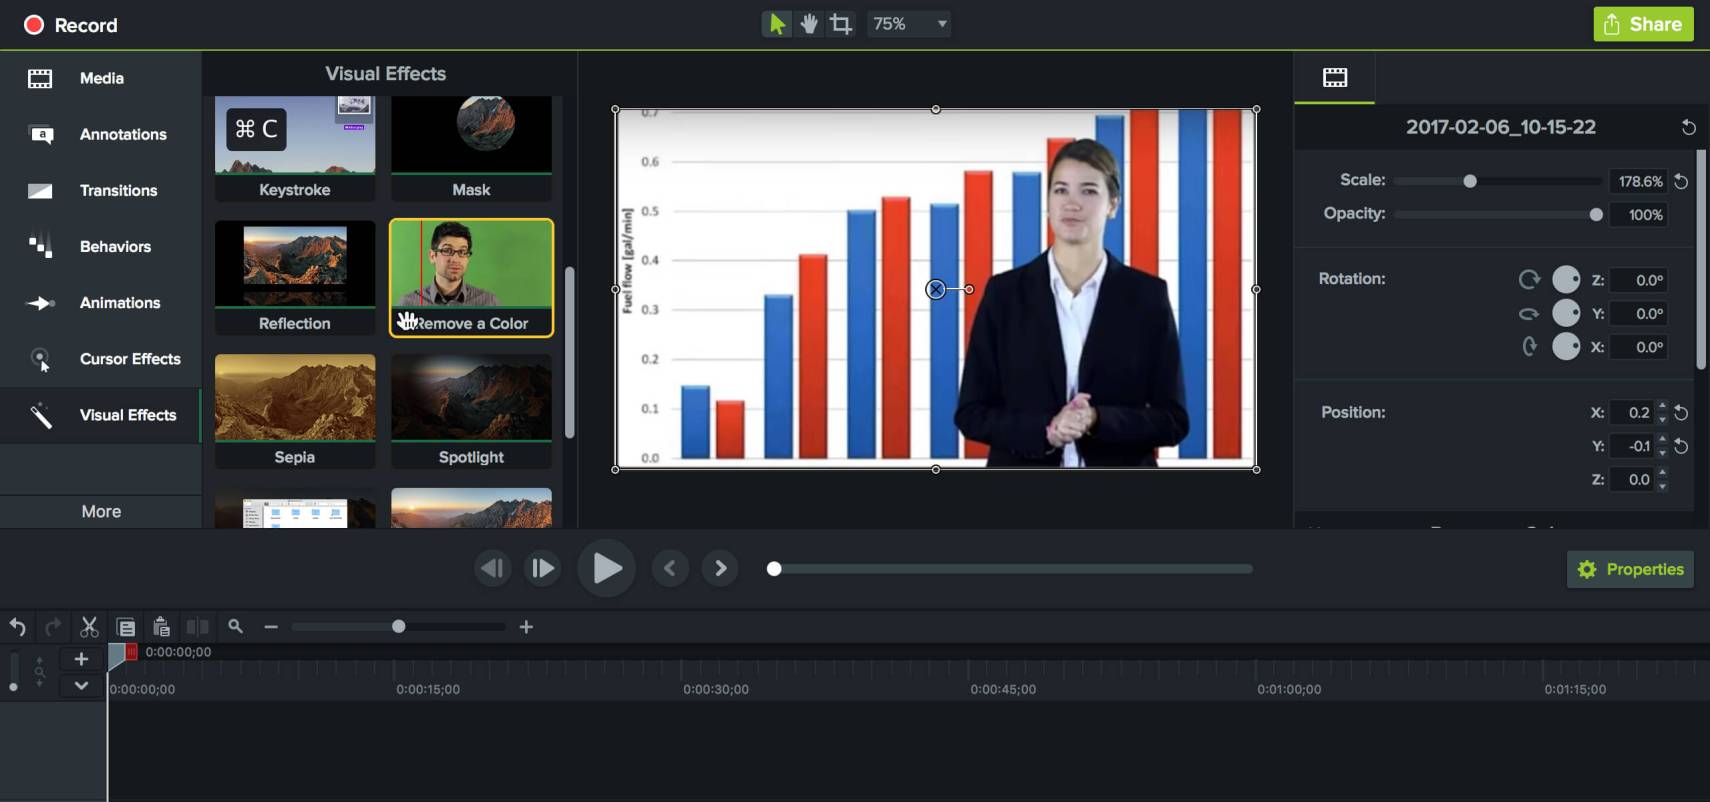
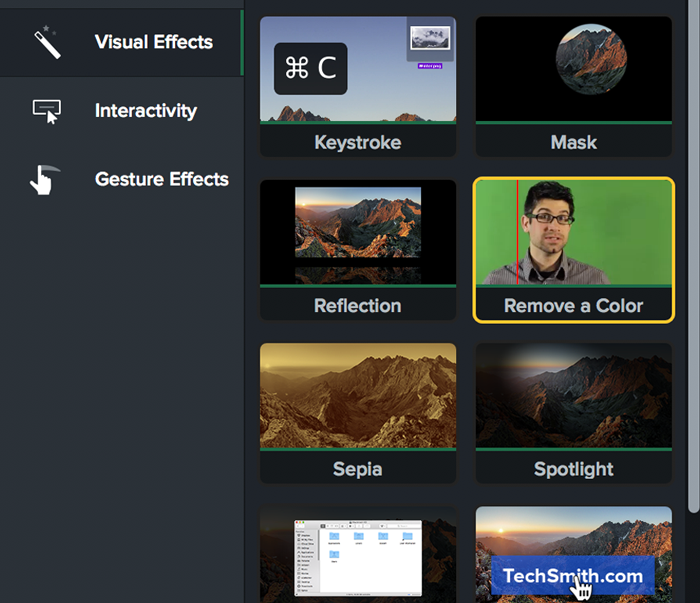
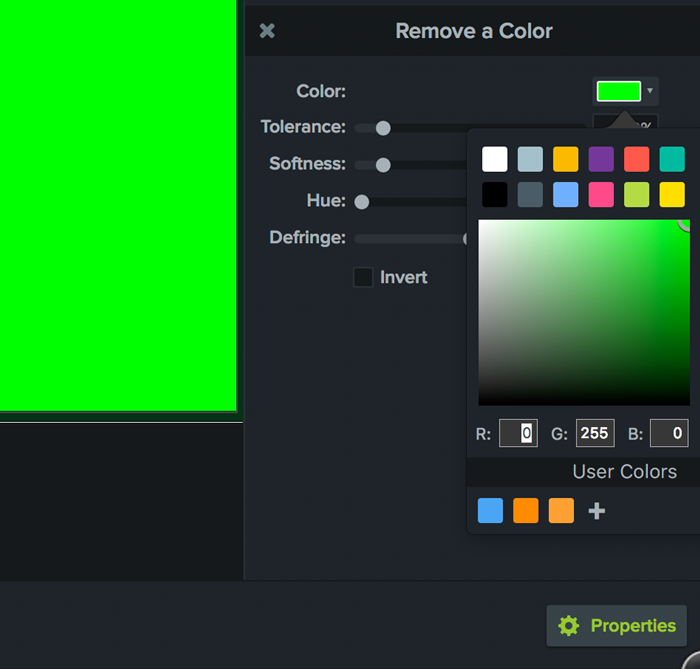
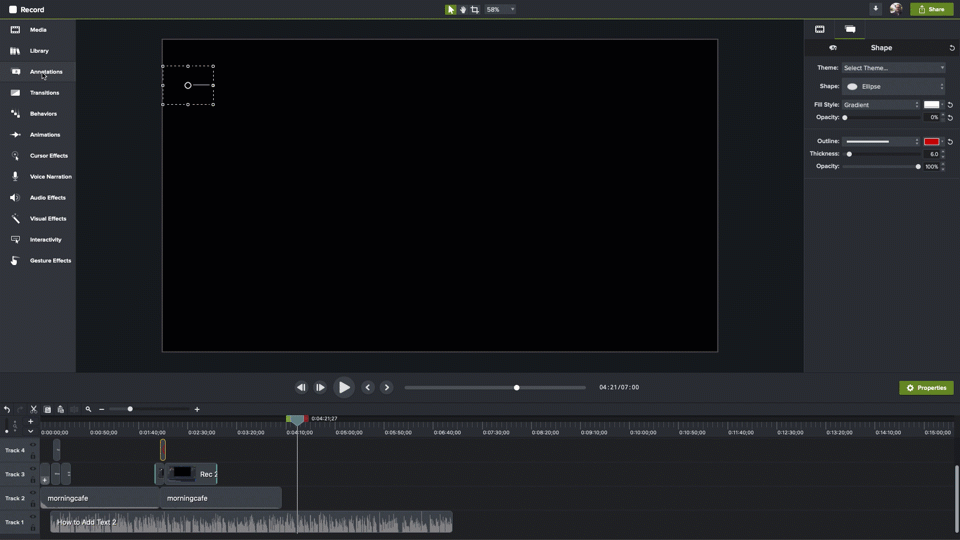
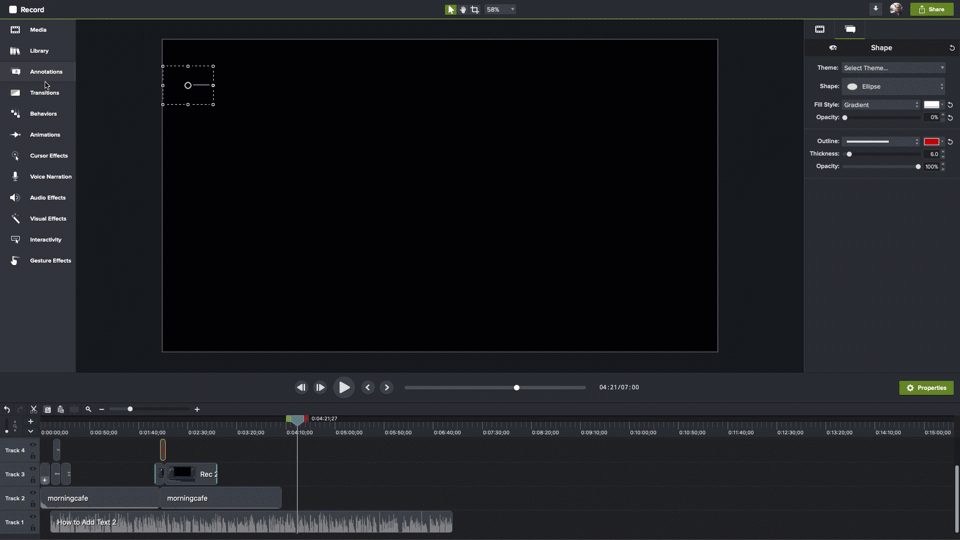
The first thing you need to do is find the right software. There are a lot of options out there, and your decision will likely hinge on the kind of training manual you’re putting together. For example, if you’re going to be making a training document with text and imagery, TechSmith’s Snagit may be the best way to guide users and employees through a computer-based process.
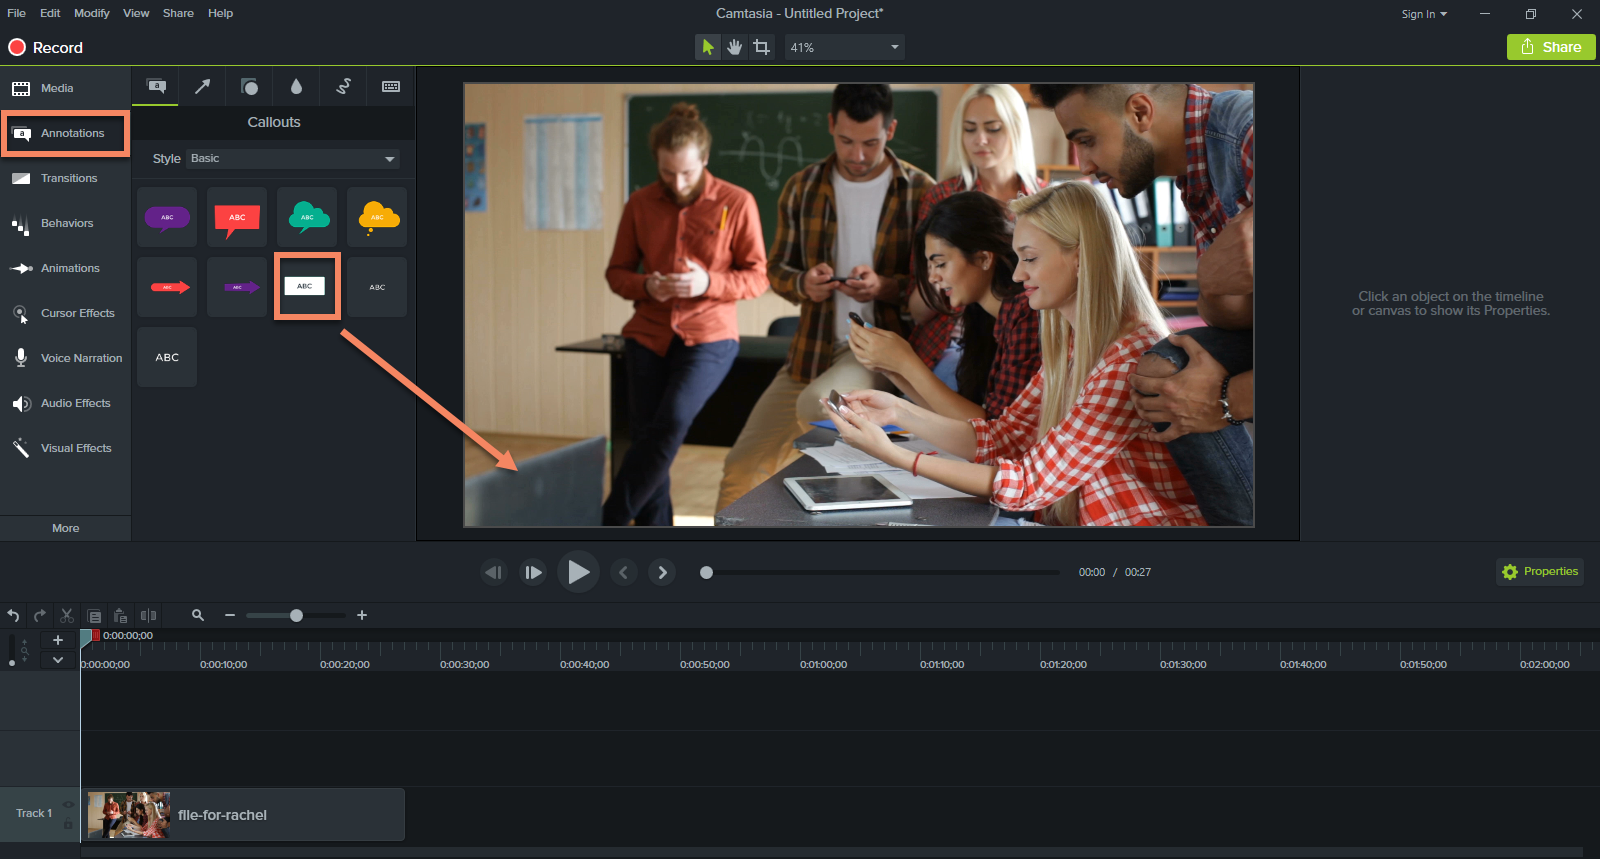
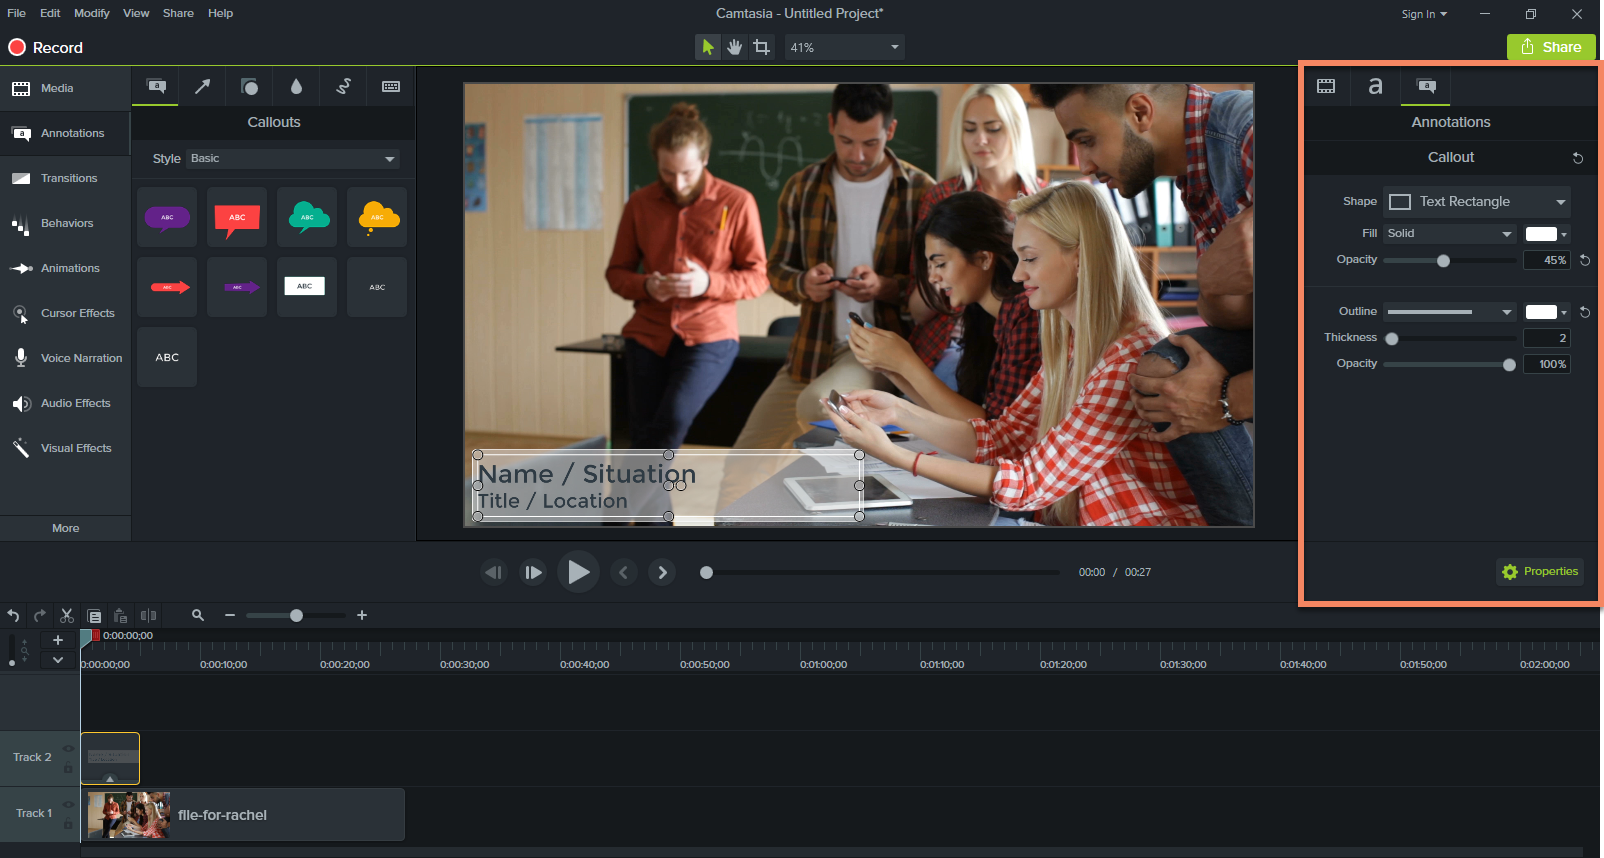
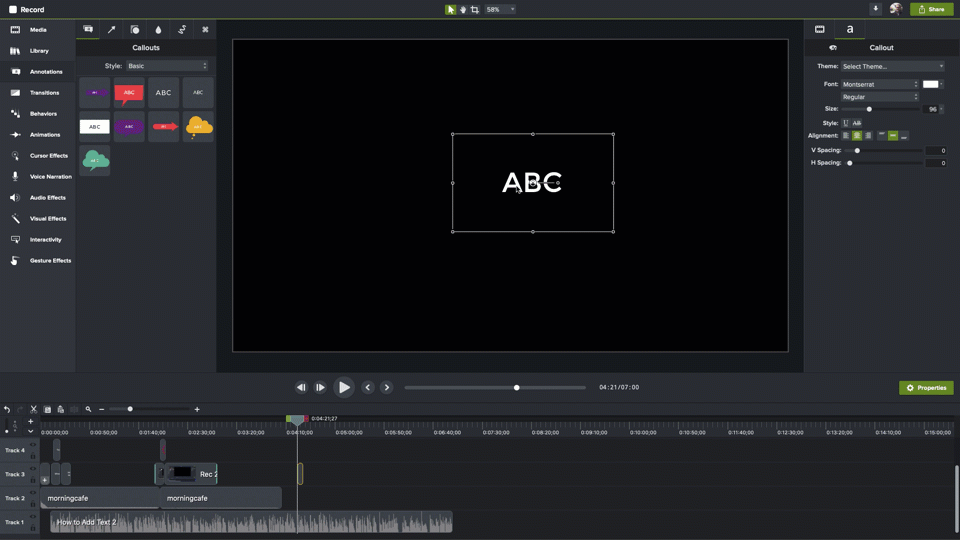
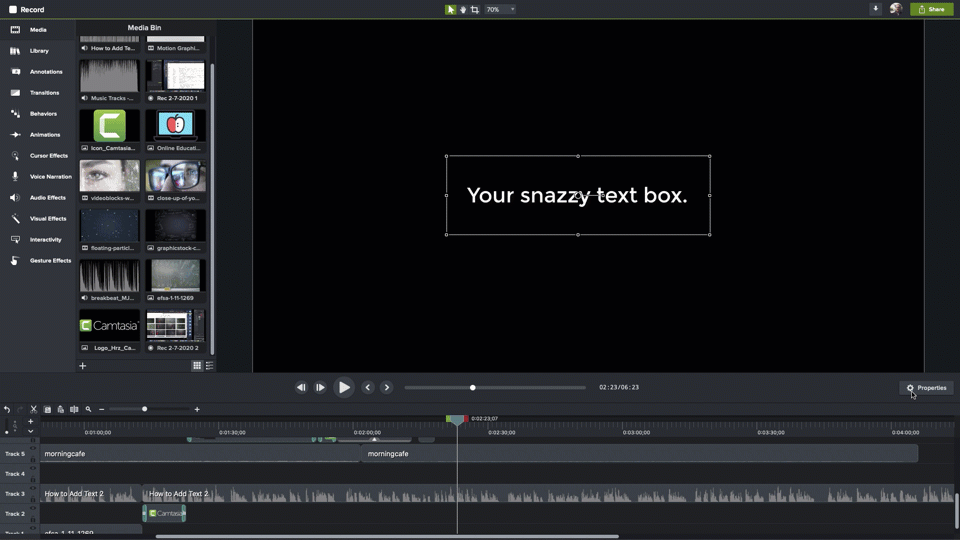
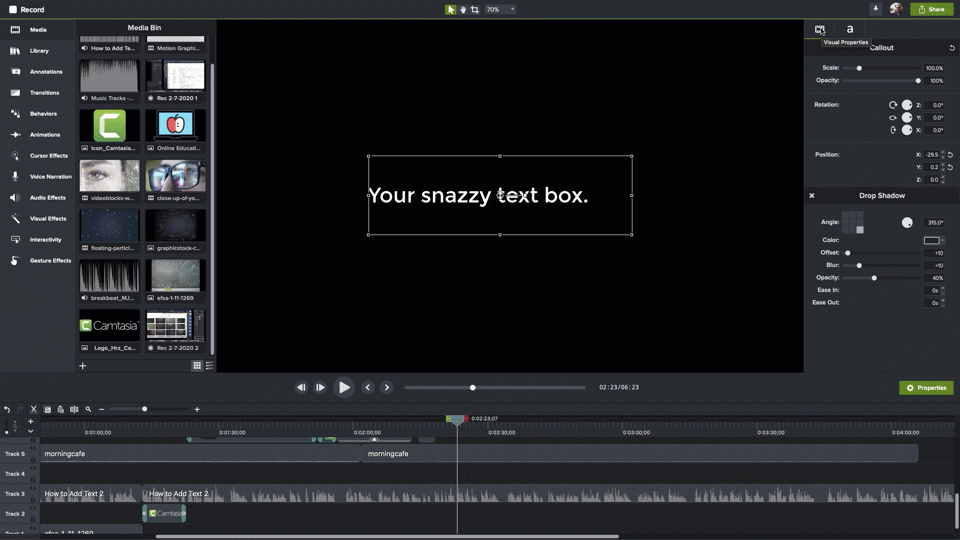
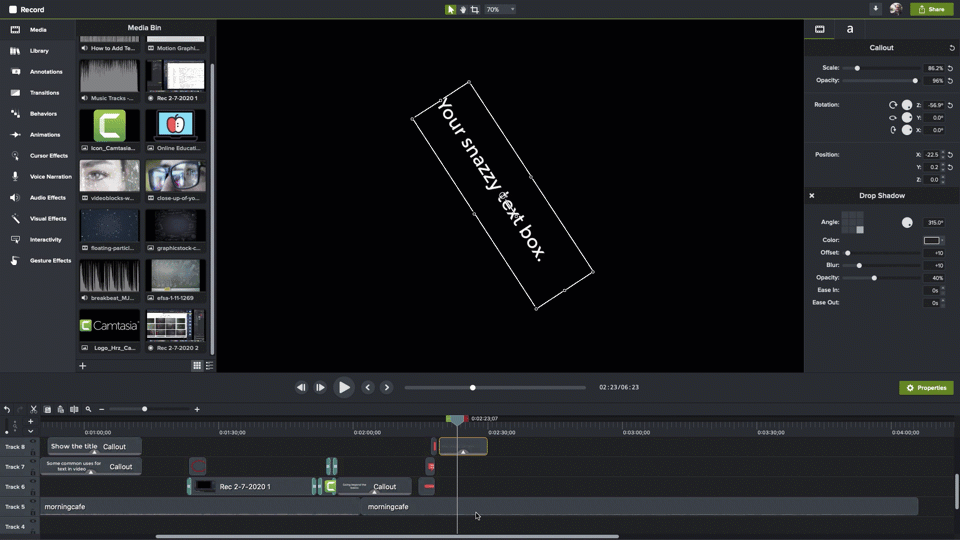
With Snagit, you can easily capture screenshots, edit them, and add annotations and Callouts to outline steps and make features stand out. You can even help readers focus on only key information with the Simplify tool.
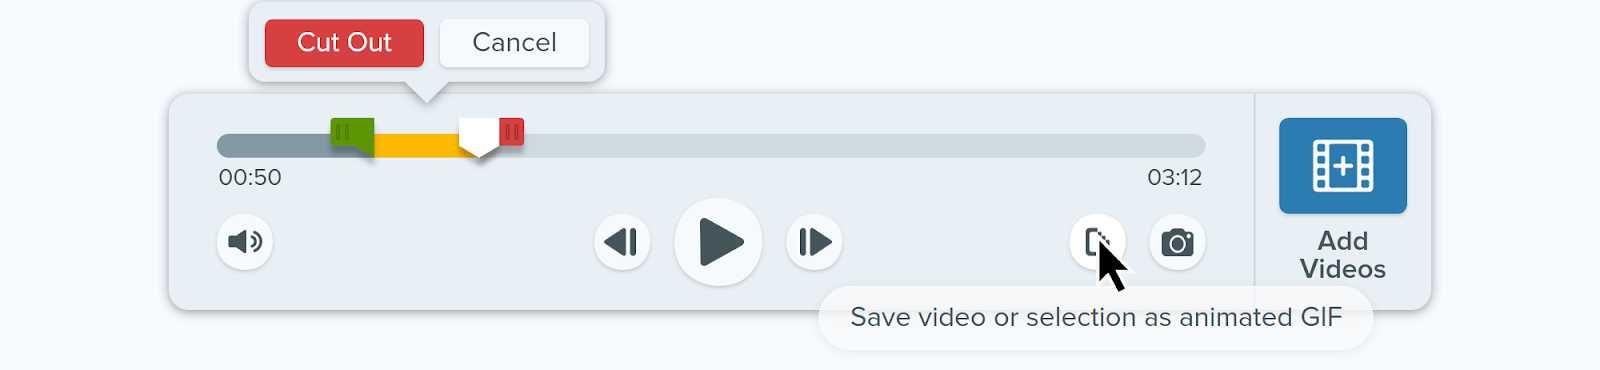
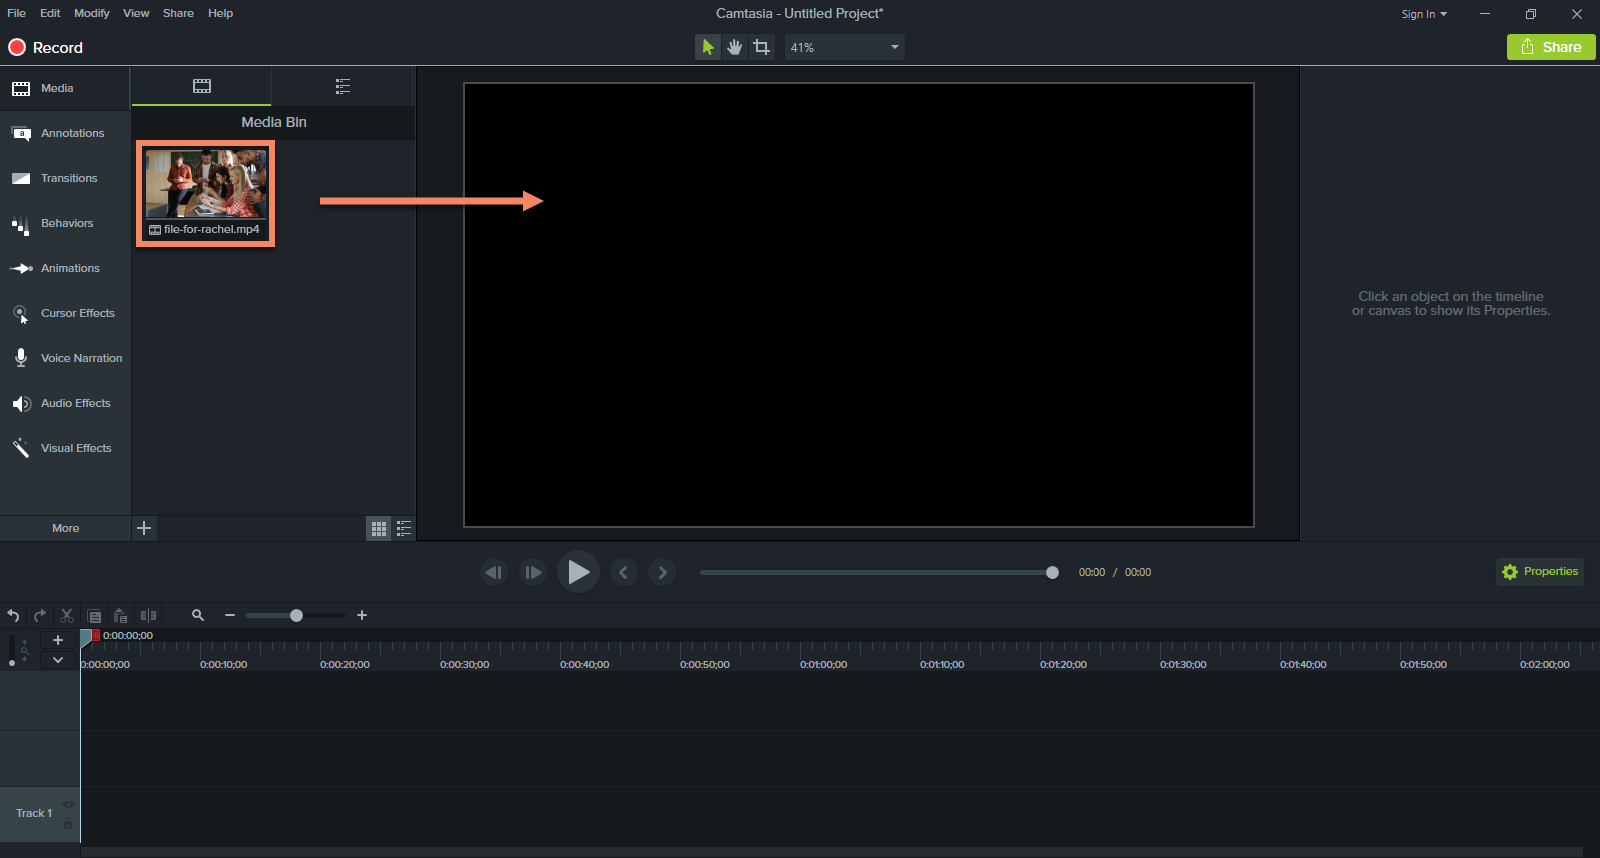
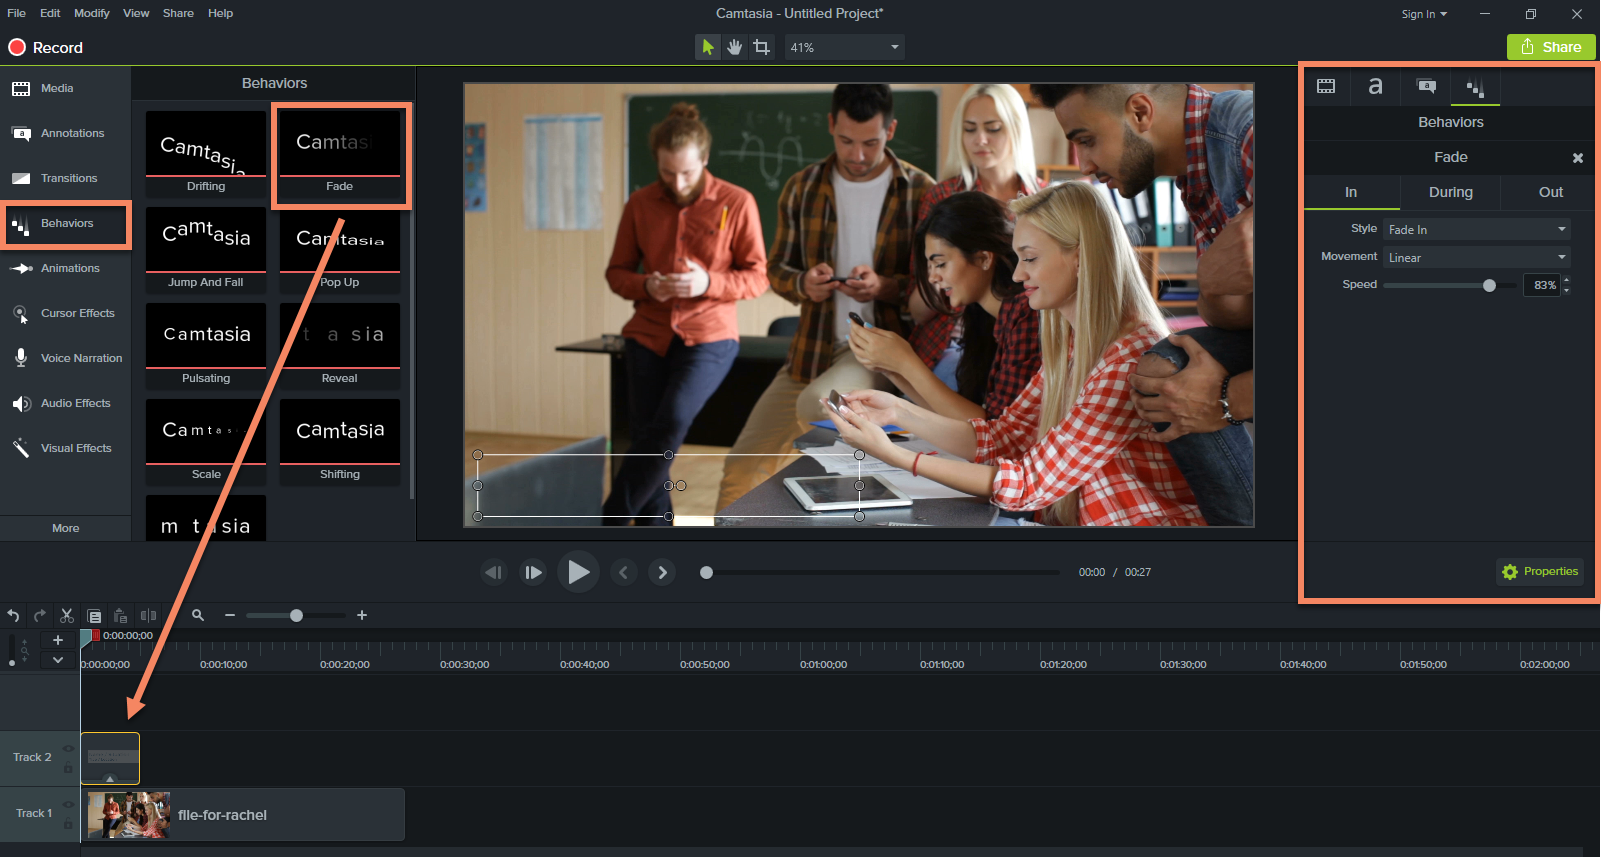
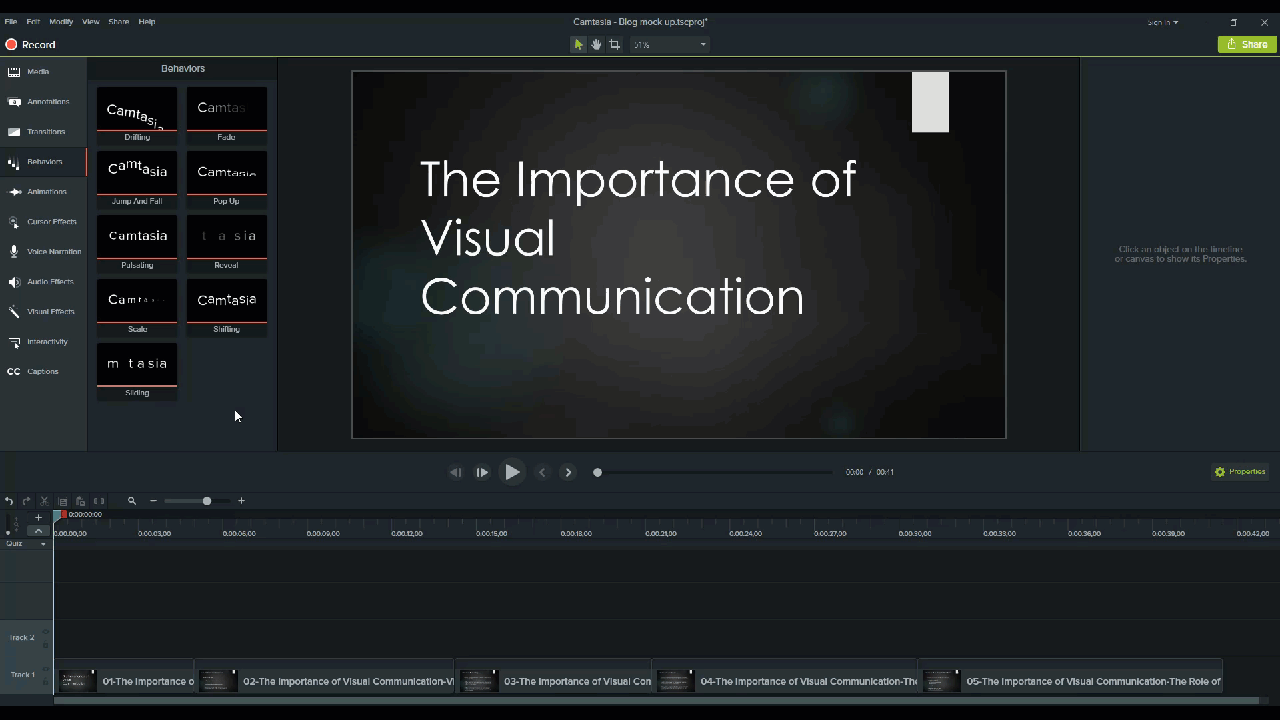
On the other hand, if you’re planning to create a training video then you’ll need a way to edit your footage. And if you’re training people on computer software, then you’ll probably need a screen recorder too, in which case TechSmith’s Camtasia could be just what you’re looking for.
While we’re on the subject, Camtasia 2023 has taken video creation to a whole new level. The all-new Camtasia Rev feature harnesses the power of artificial intelligence by integrating innovative AI workflows, transforming how you produce video content.
This powerful tool accelerates the video creation process, enabling you to convert basic recordings into polished, professional content with background customization, effects, and template selections — all fine-tuned by AI. The new workflow is a rapid, intuitive, and adaptive approach to video creation, making it easier than ever to maintain brand consistency while injecting personal style with just a few clicks.
We’ll talk more about video vs. text formats and how to make them with Snagit and Camtasia in a moment. If you’re raring to get started, then you’ll be glad to know you can download free trials for both!
Step 2: Define your audience
Now, with the right software at your disposal, it’s time to get planning.
When you start working on your training manual, the first thing is understanding who it is you’re writing for. To do this, try picturing when, where, and how people will access your training materials.
To understand your audience, try thinking about questions like:
- What will bring them to your training manual?
- What is their level of expertise?
- What industry do they work in?
- How much time do they have?
- Do they prefer written or visual content?
- Are there language or cultural references you should be aware of?
Answering these questions helps you decide exactly what your content should include, and how it should be presented. With an understanding of things like your audience’s skill level, their context, and their content preferences, you can create content that caters to their needs and expectations.
It’s easy to skip this step and tell yourself you have an implicit understanding of your audience. And, while you probably do, spending some time to flesh it out and bring the picture into clear focus will help you craft training content that truly solves your audience’s problems.
Step 3: Plan your content
A great training manual is easy to navigate. Someone encountering it for the first time should feel comfortable discovering the information they need, and a returning user should be able to quickly find specific information.
You can make sure this is the case for your training manual by strategically planning your content. Simply put, this means laying out all of your training material and organizing it logically.
For example, there may be themes that you use to categorize the topics in your training manual, such as:
- Beginner to advanced topics
- Jobs to be done
- Key features
- Usage frequency
- Popularity among the audience
This can be a quick process for short, one-off training content, or it might take some more time if you’re creating a comprehensive guide.
If you do have a lot of topics to get through, consider grouping them and using headings and sub-sections to create a logical flow and organization within your manual. You can then use this structure to make a table of contents in the final version of your manual.
You know your audience, and you know what you want to cover, so now you need to decide how you’ll present the content.
There is almost always a ‘best way’ to deliver your content, and figuring this out will mean taking some time to think about both your audience and your content. There are, for example, several different ways to deliver your training content, including:
- Knowledge base articles
- Video tutorials
- Online courses
- PDF guides
- Printed guide books and/or pamphlets
When it comes to your audience, consider their context.
- Where are they when they’re using this training manual?
- What tools and resources do they have at their disposal?
- What will they not have access to?
- How much time will they have?
Questions like these will tell you whether things like video, interactivity, and assessment strategies (such as a quiz) would work well in your training material.
At the same time, some topics are more suitable for video, while others are better for text and imagery. If you’re showing complex processes that need to be seen in action, you may consider using video. Meanwhile, if you’re working with simple sequences, then a written format — supported by images — might be the way to go.
Perhaps one of the greatest benefits of creating training manuals today is that they’re often delivered (or at least made available) online. This means you can combine different formats to provide rich, media-supported content.
Step 5: Develop your content
Now that you’ve thought long and hard about your audience, your content, and delivery method, you can start putting the training materials together — finally!
For video-based training manuals
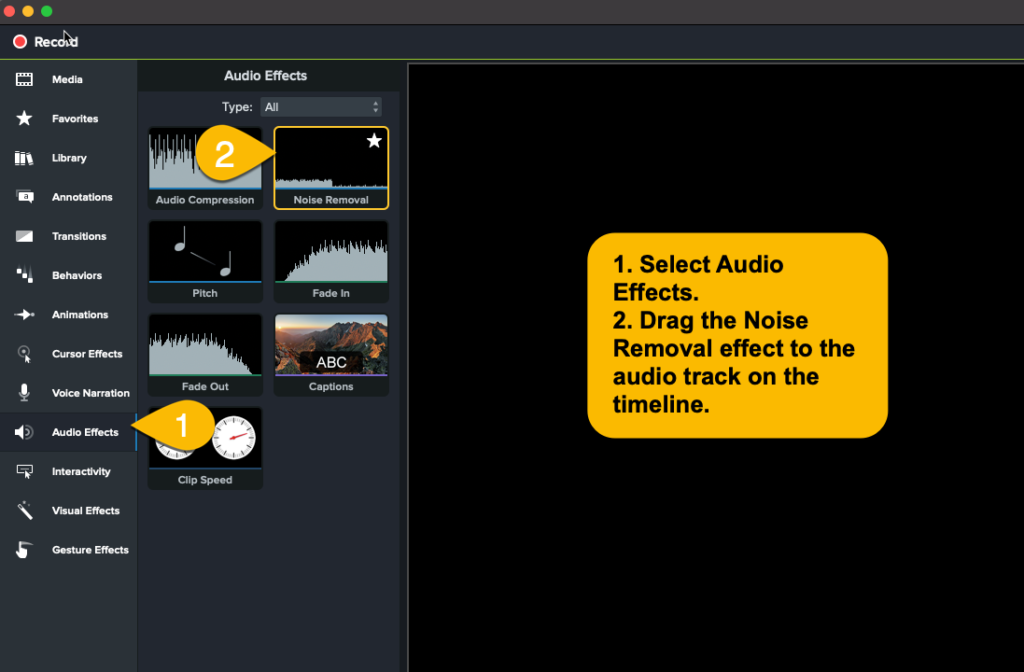
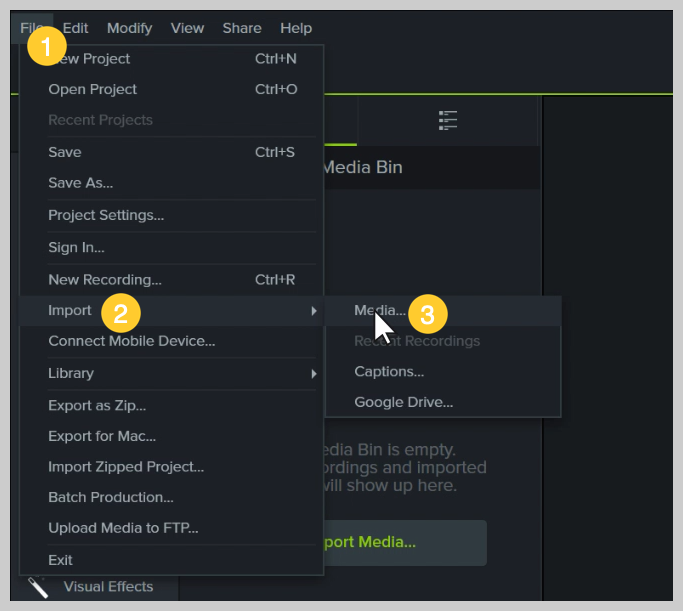
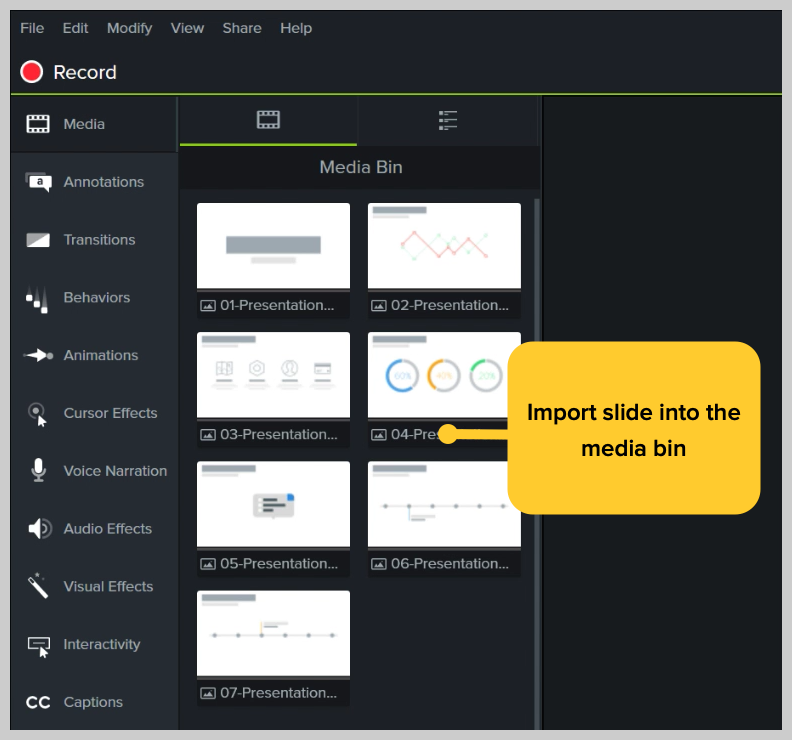
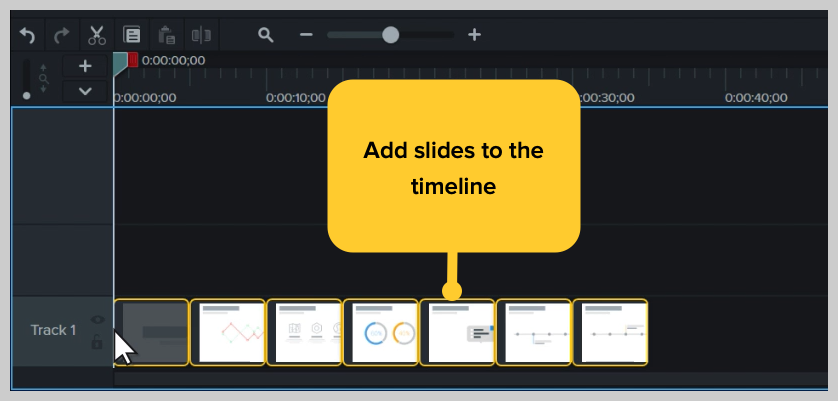
If you’re creating videos for your training manual, this is when you can start storyboarding, scripting, recording, and editing videos with software like Camtasia.
Don’t worry if you’ve never created a video before, just because Camtasia is used by professionals doesn’t mean it’s difficult to use — on the contrary, Camtasia has been designed for everyone.
While there are plenty of advanced tools, Camtasia’s user experience is simple and intuitive. This means that if you’re new to video editing, you don’t have to worry about getting to grips with an overwhelming interface. Instead, you can focus on the basics and learn the more advanced features as you go on. There are also plenty of great guides, like this one, to help you hone your editing skills.
There’s also the TechSmith Academy, a free resource where everyone, from aspiring to advanced creators, can find useful resources to get started and learn new skills. Find content on tons of topics around training, video creation, and more.
For text and image-based training manuals
Training manuals that will be made with written text and imagery might seem outdated, but they’re not. In many cases, the traditional text and image format will be the best fit for your audience.
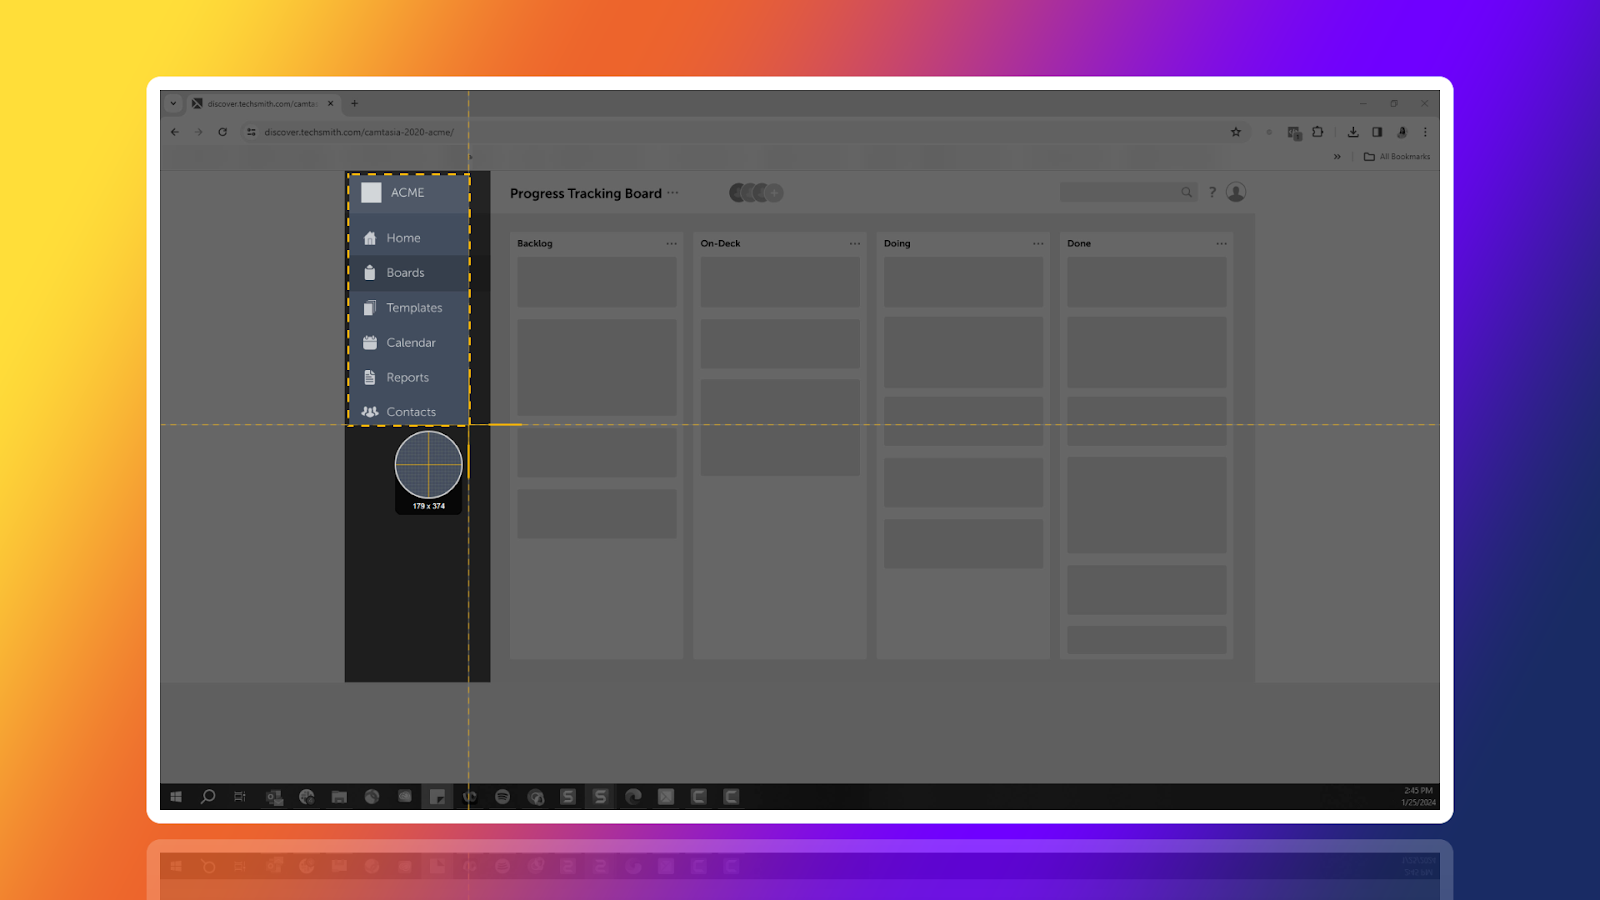
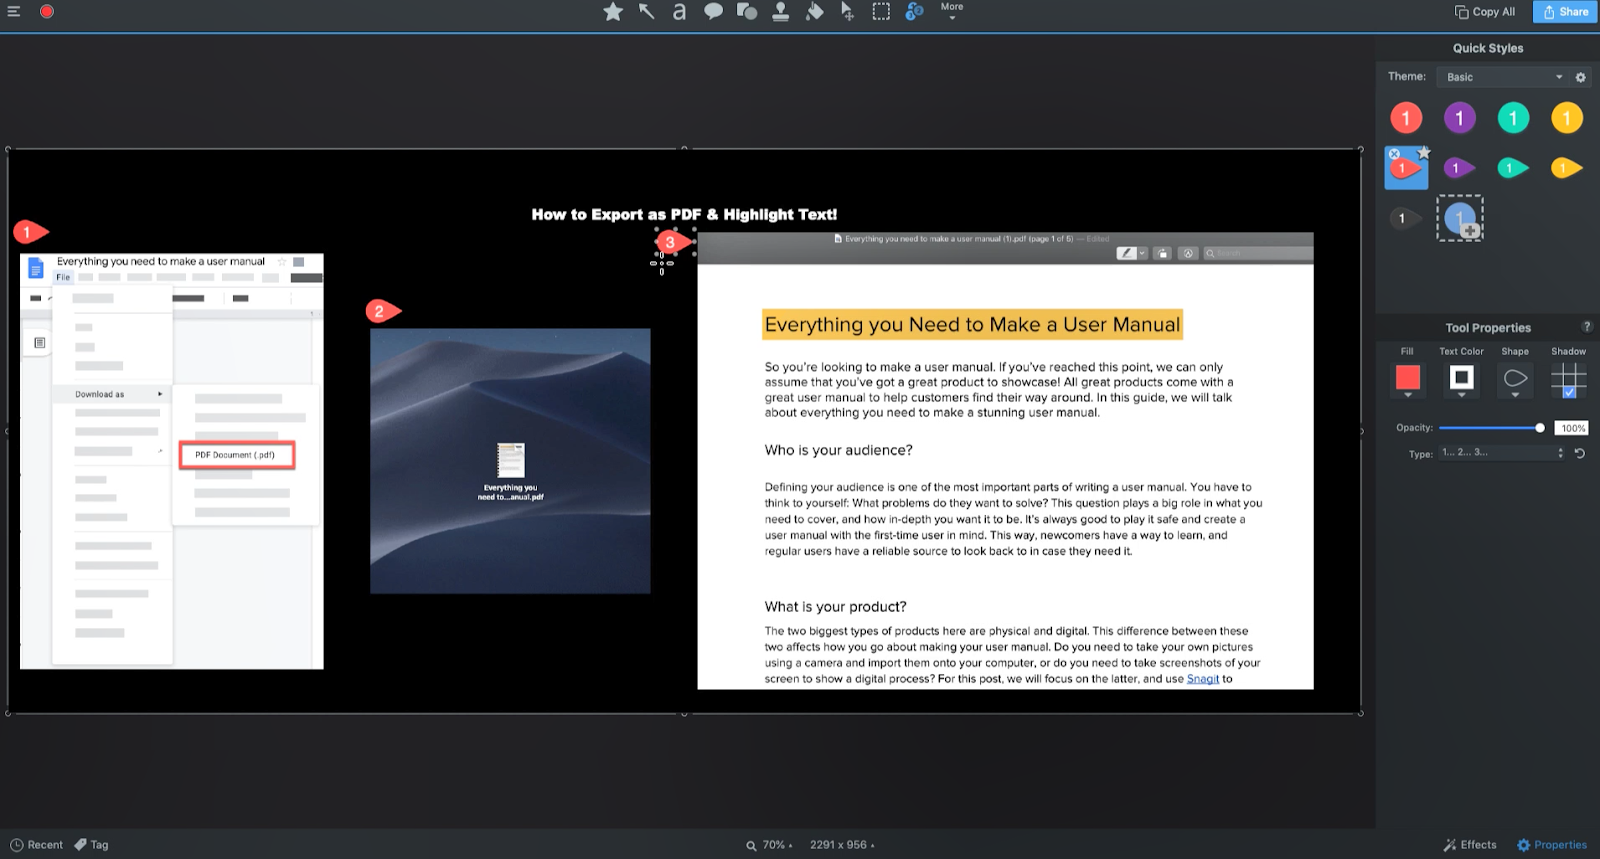
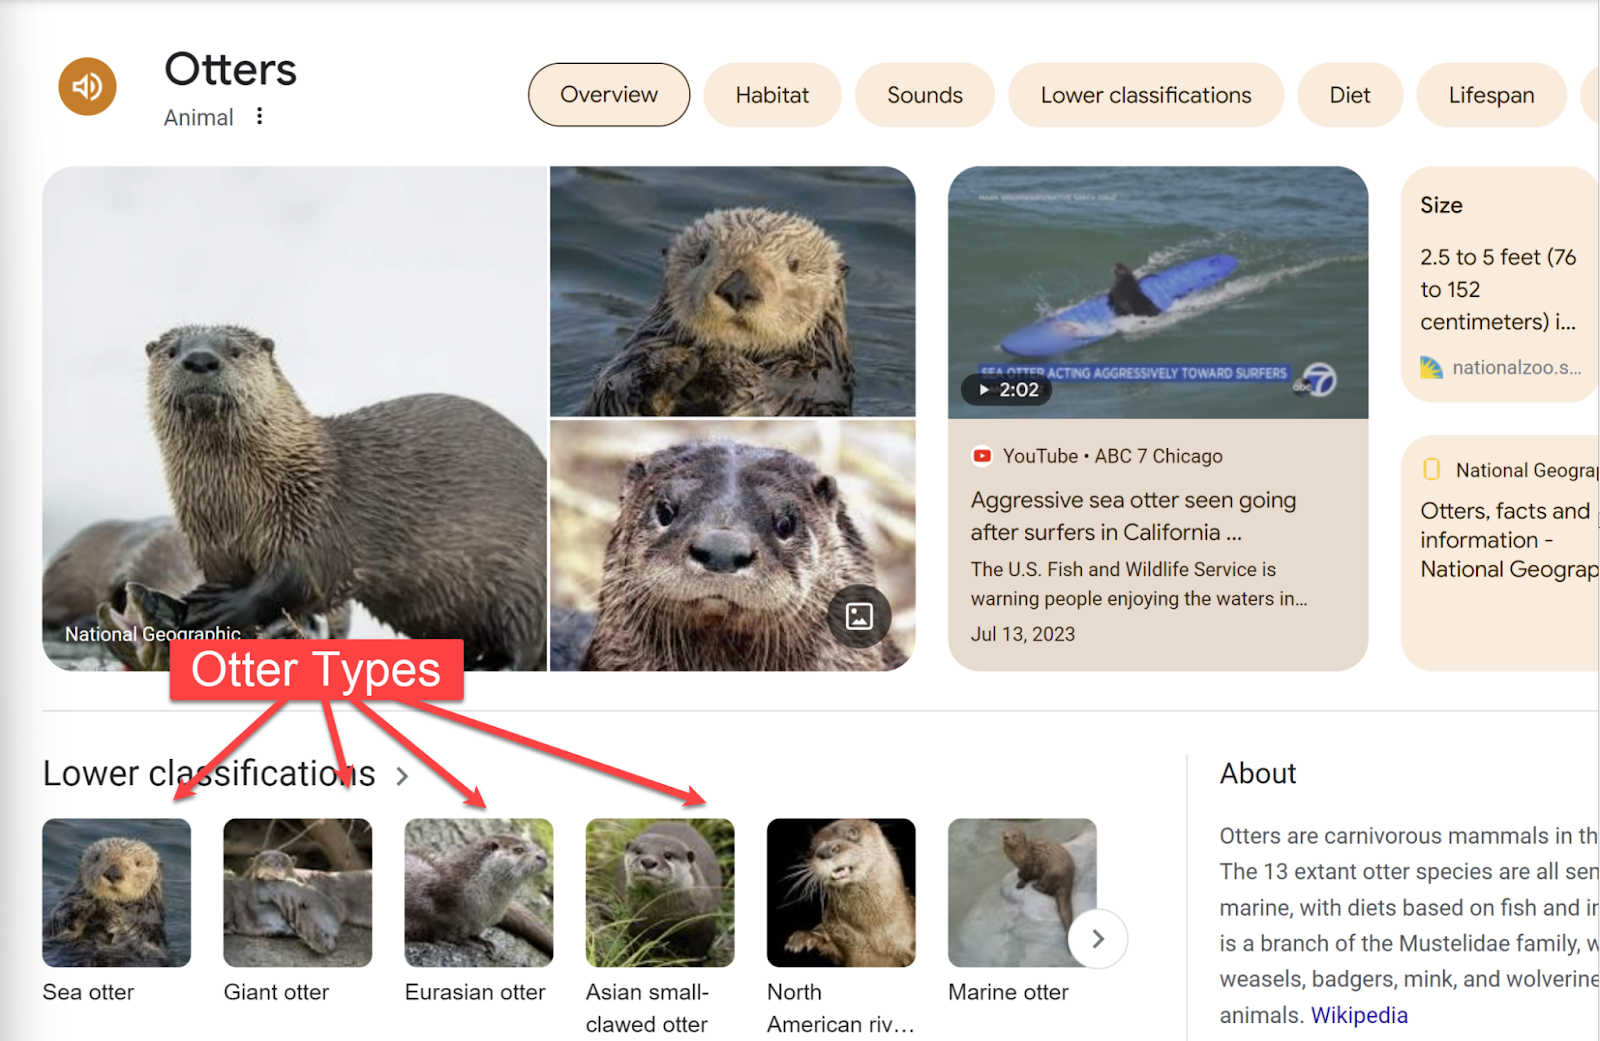
If your manual outlines a computer-based process, you can capture screenshots of each step. Alternatively, photos and illustrations are ideal for outlining processes that take place in real life.
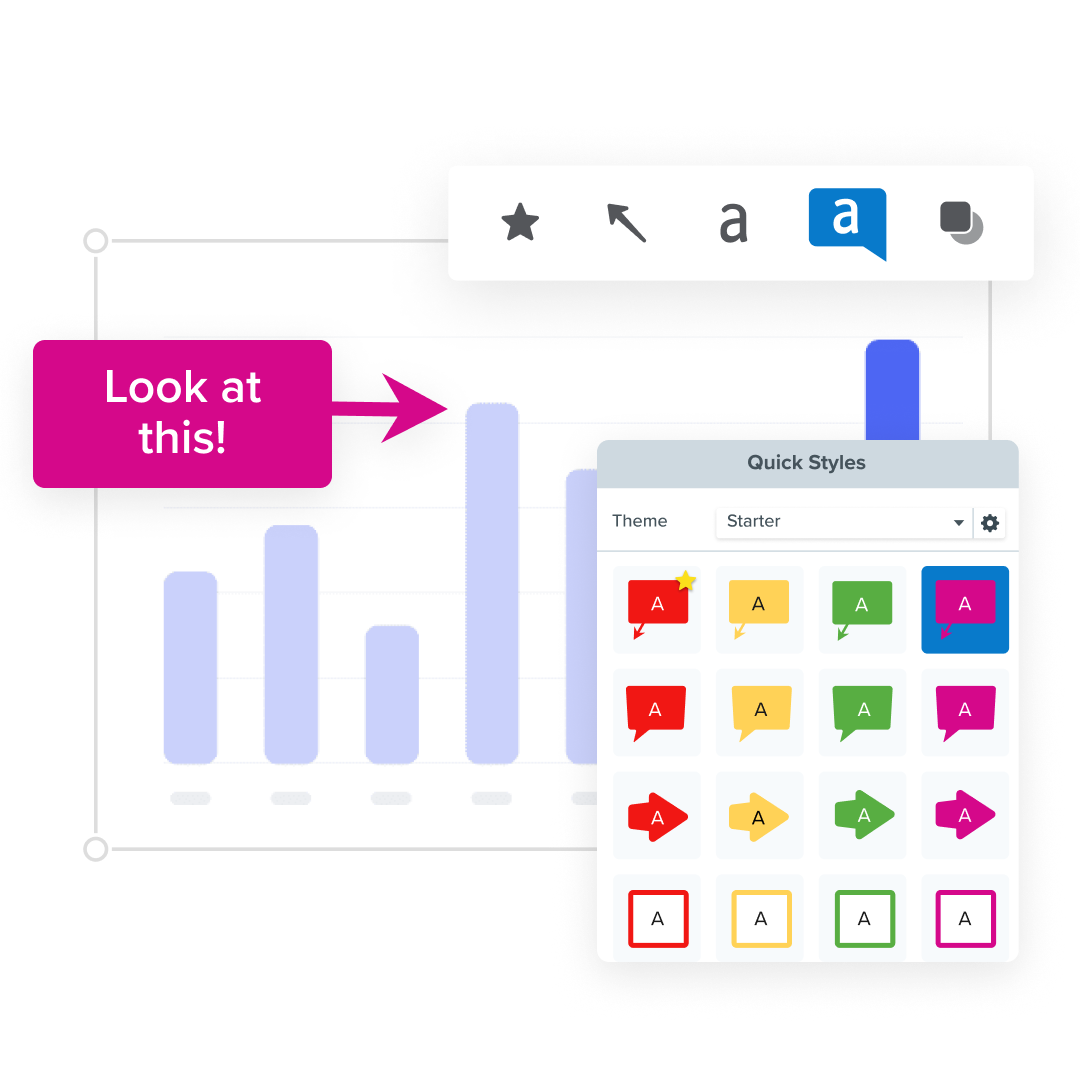
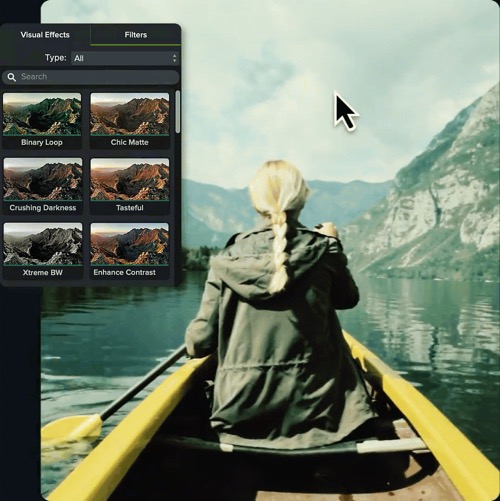
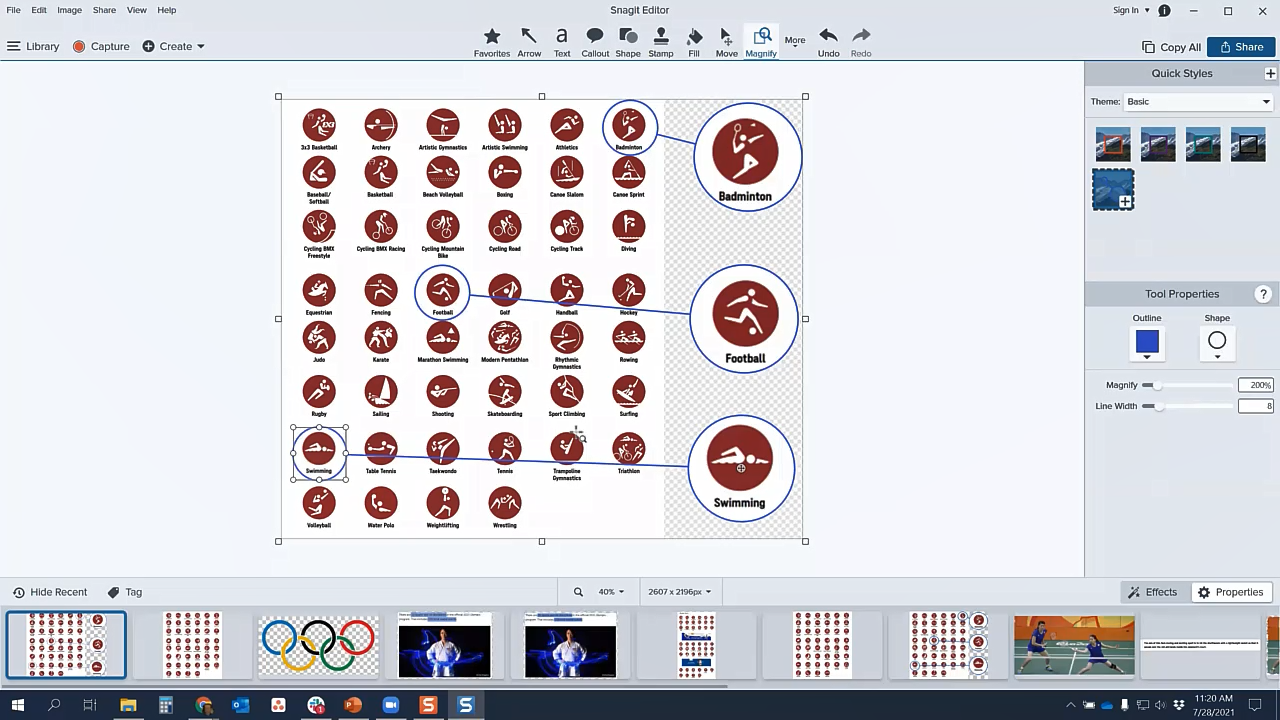
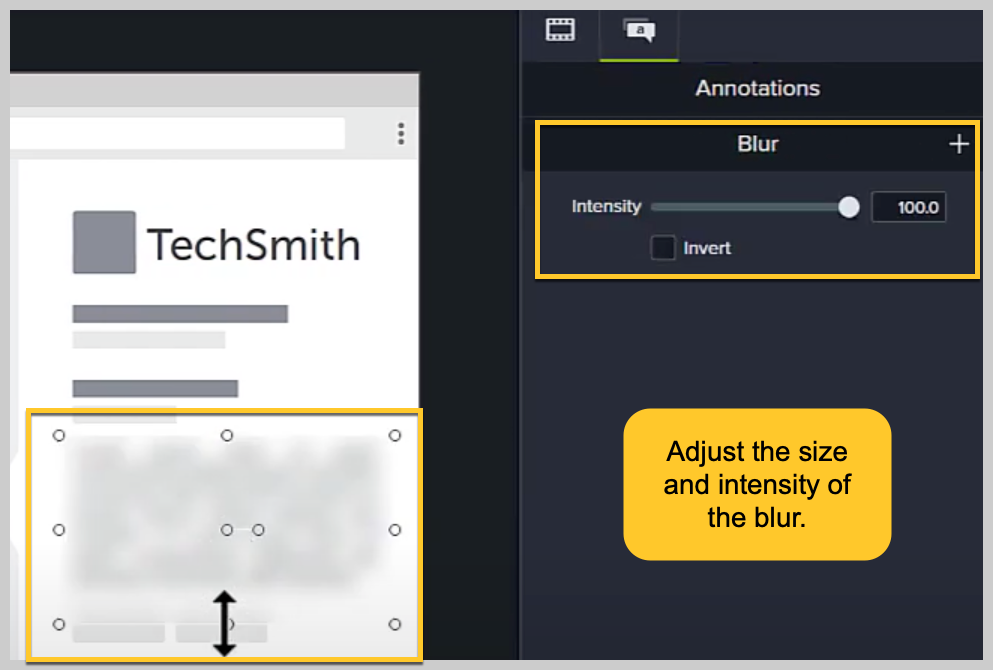
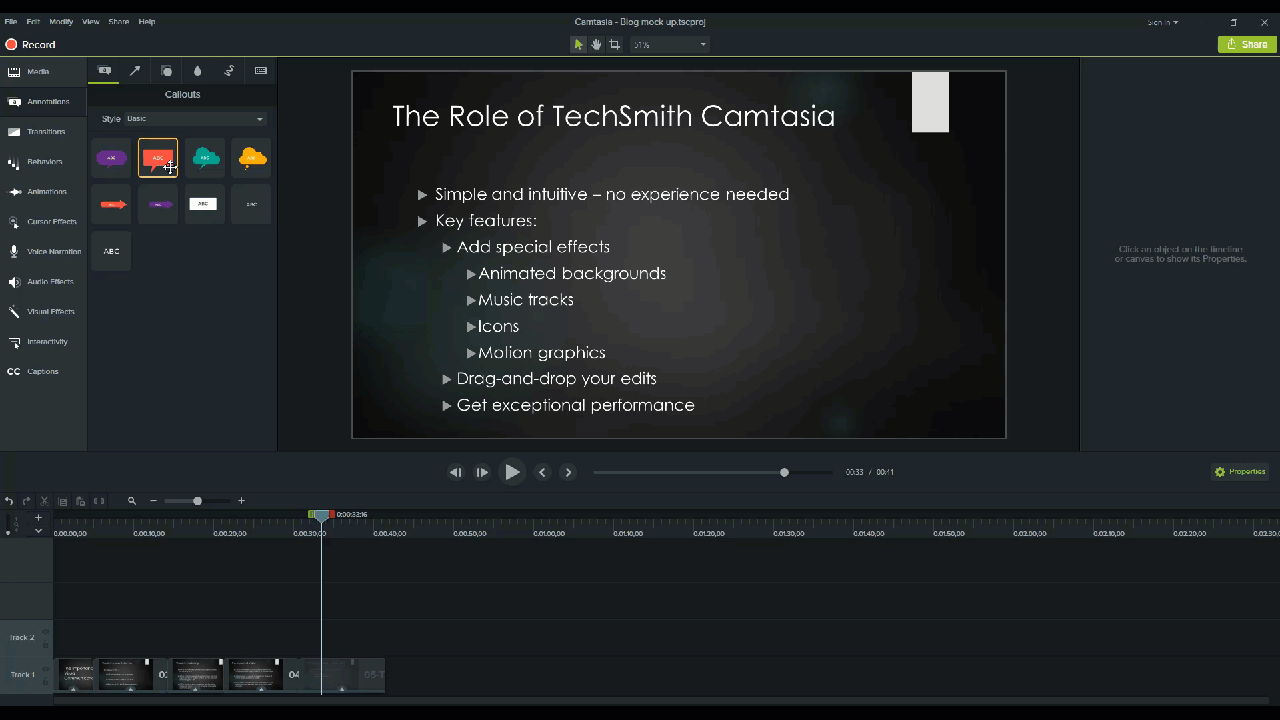
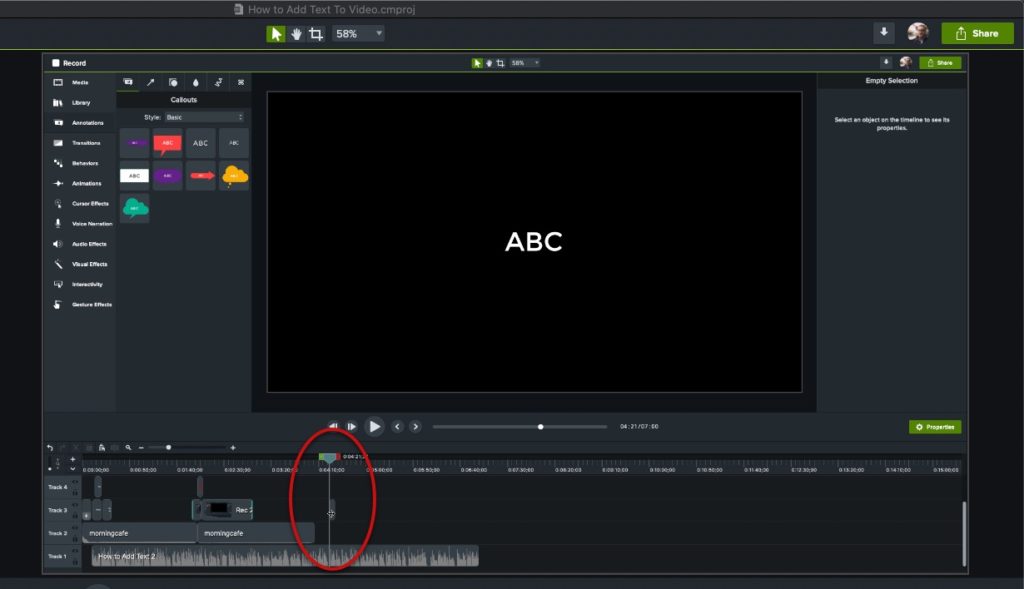
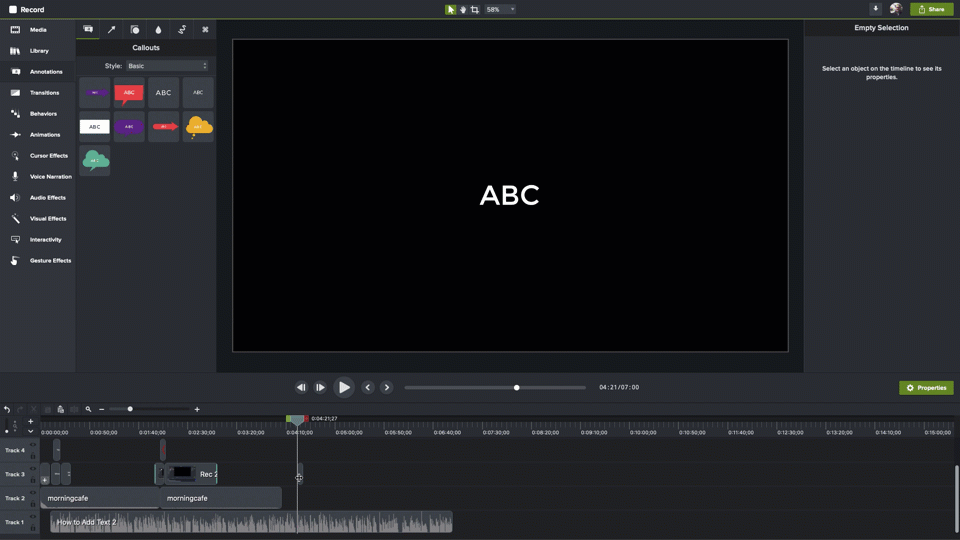
Annotate images for clarity
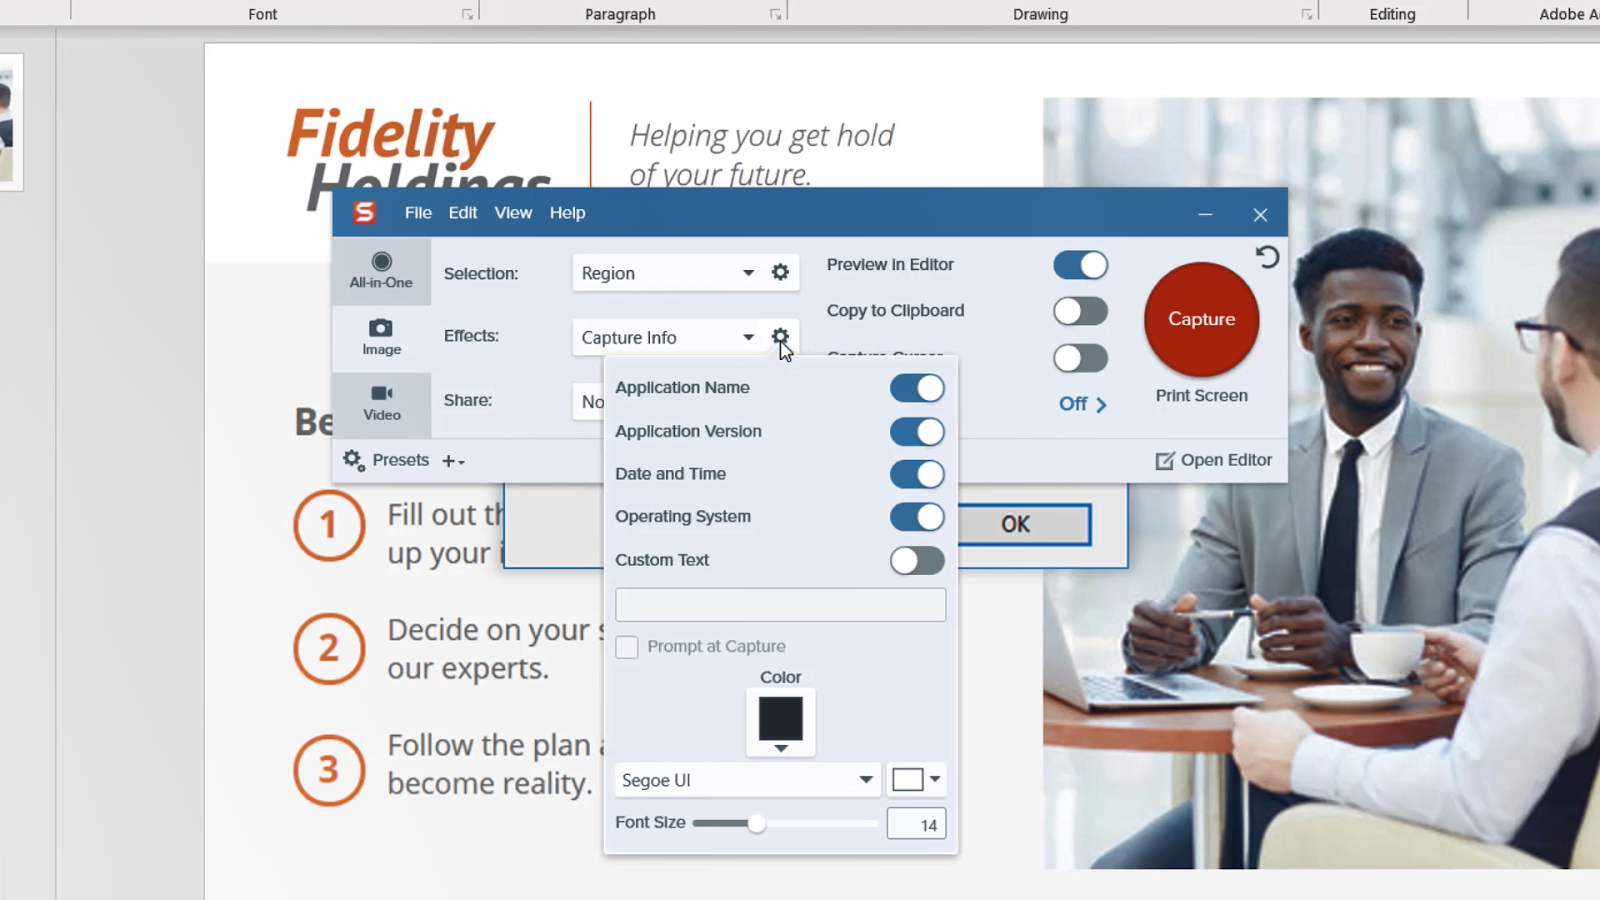
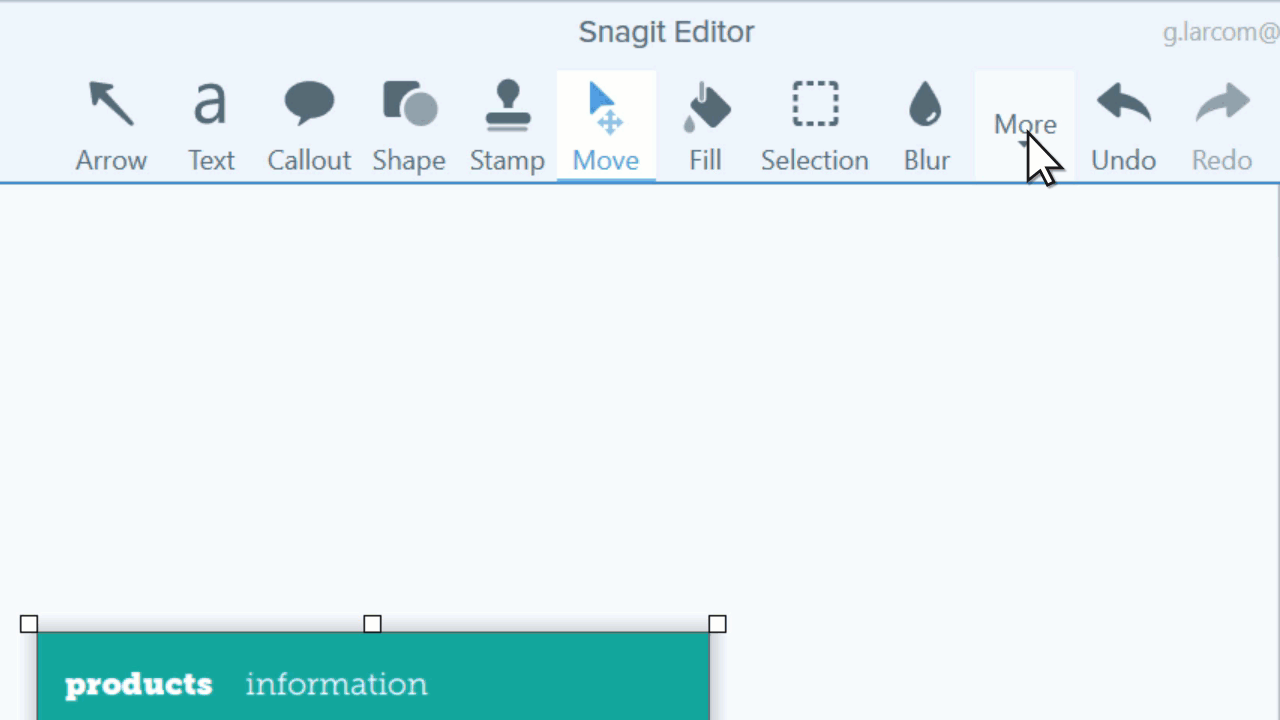
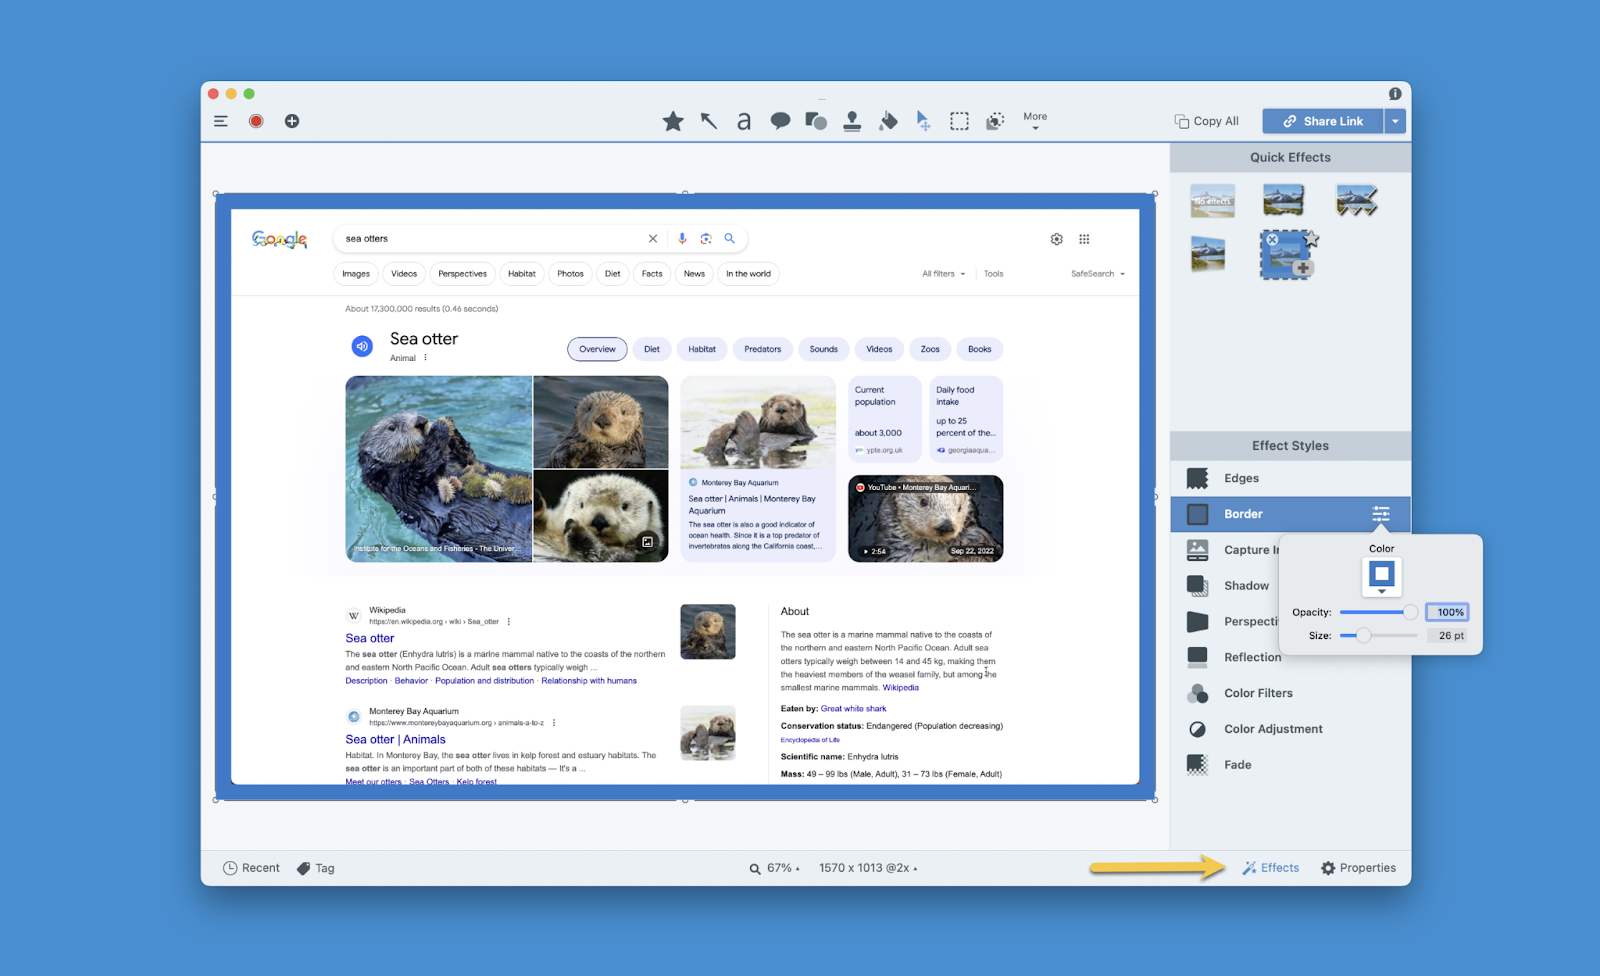
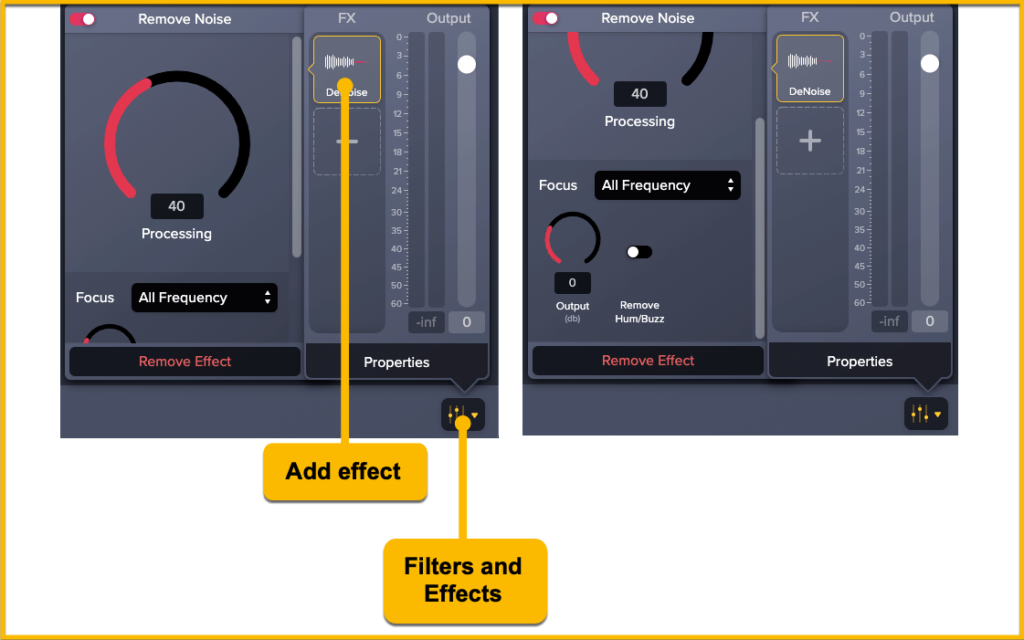
While it might take a few tweaks for images and screenshots to really get a point across, this usually means adding annotations such as arrows, shapes, and other Callouts. However, you might also need to remove or hide sensitive and unnecessary information — which is easy to do with Snagit’s Blur tool.
Snagit is full of drawing and editing tools that make it easy to ensure you’re conveying the right message to your audience. With Snagit, you can even edit the text in your screenshots in just a few simple steps.
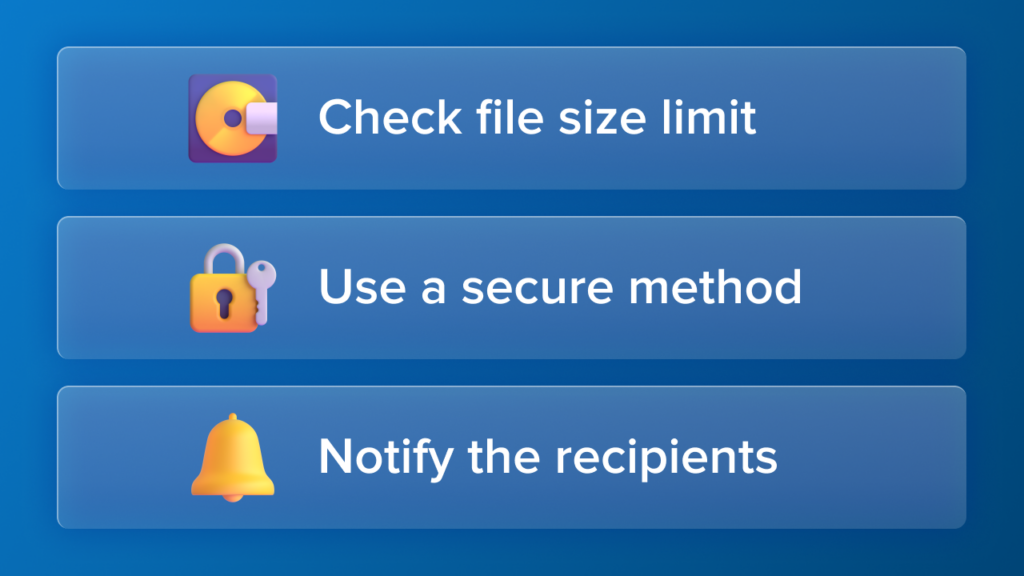
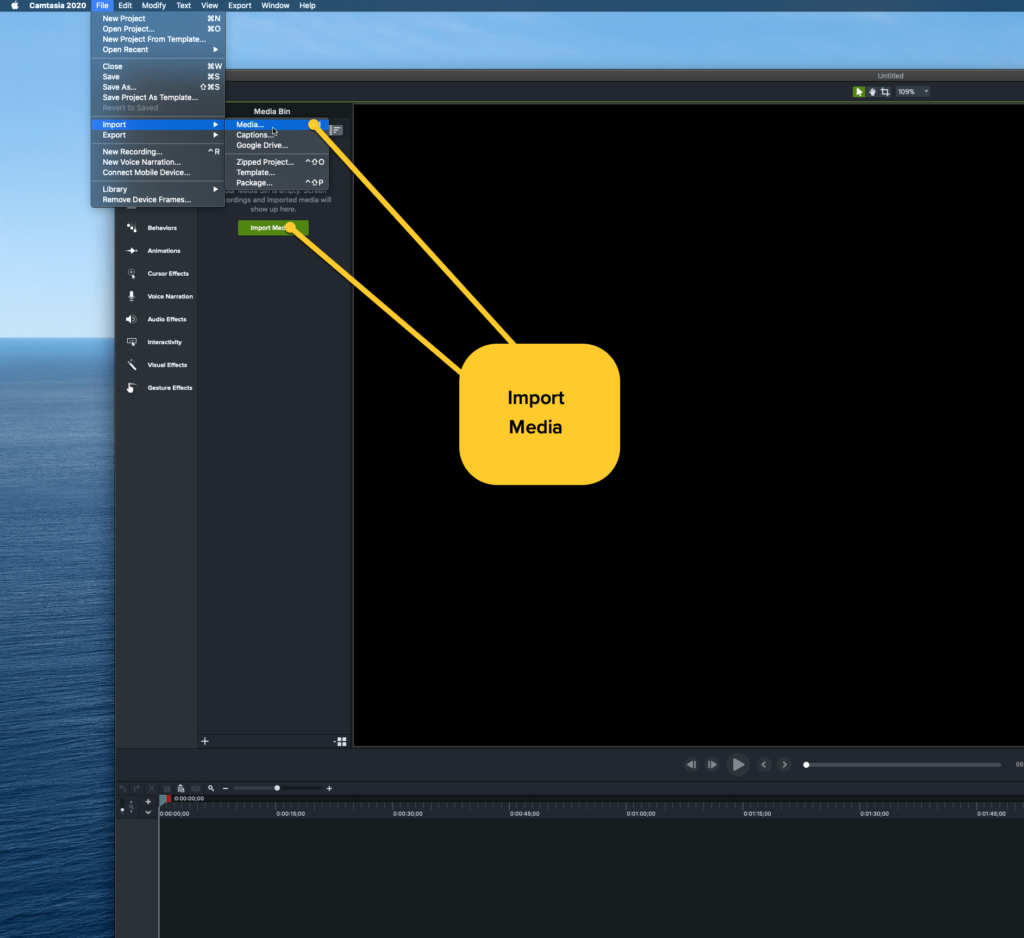
Step 6: Assemble and deliver your manual
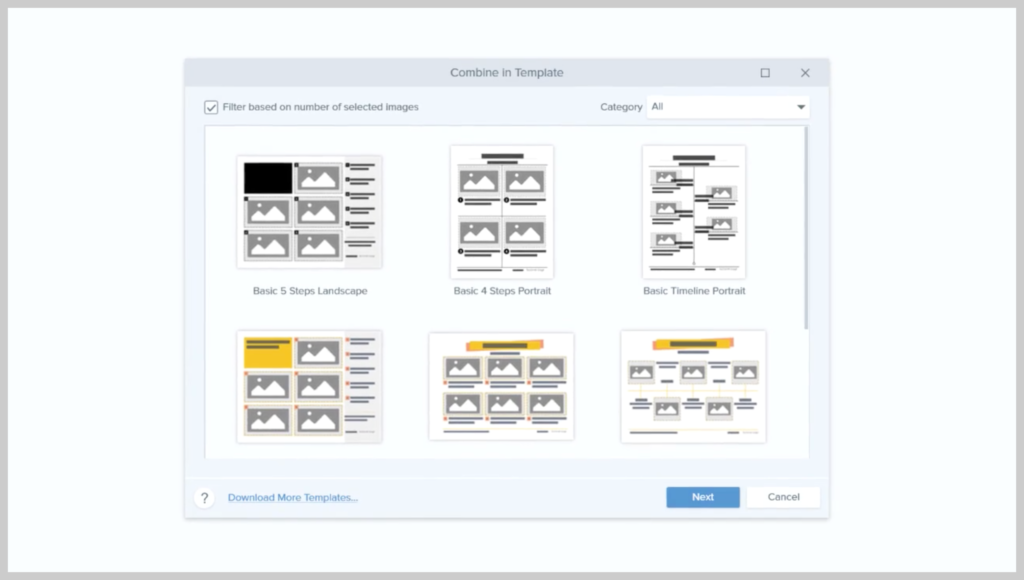
Now, this is when creating a training manual can become a little tedious. The process of adding images to a template, document, or other source can present several issues with things like formatting, image sizing, and file types — to name a few.
Fortunately, however, Snagit provides a hassle-free way to create a training manual with the magic of templates. These templates allow you to choose the images, add text, arrange the order, and make aesthetic decisions in one swift process.
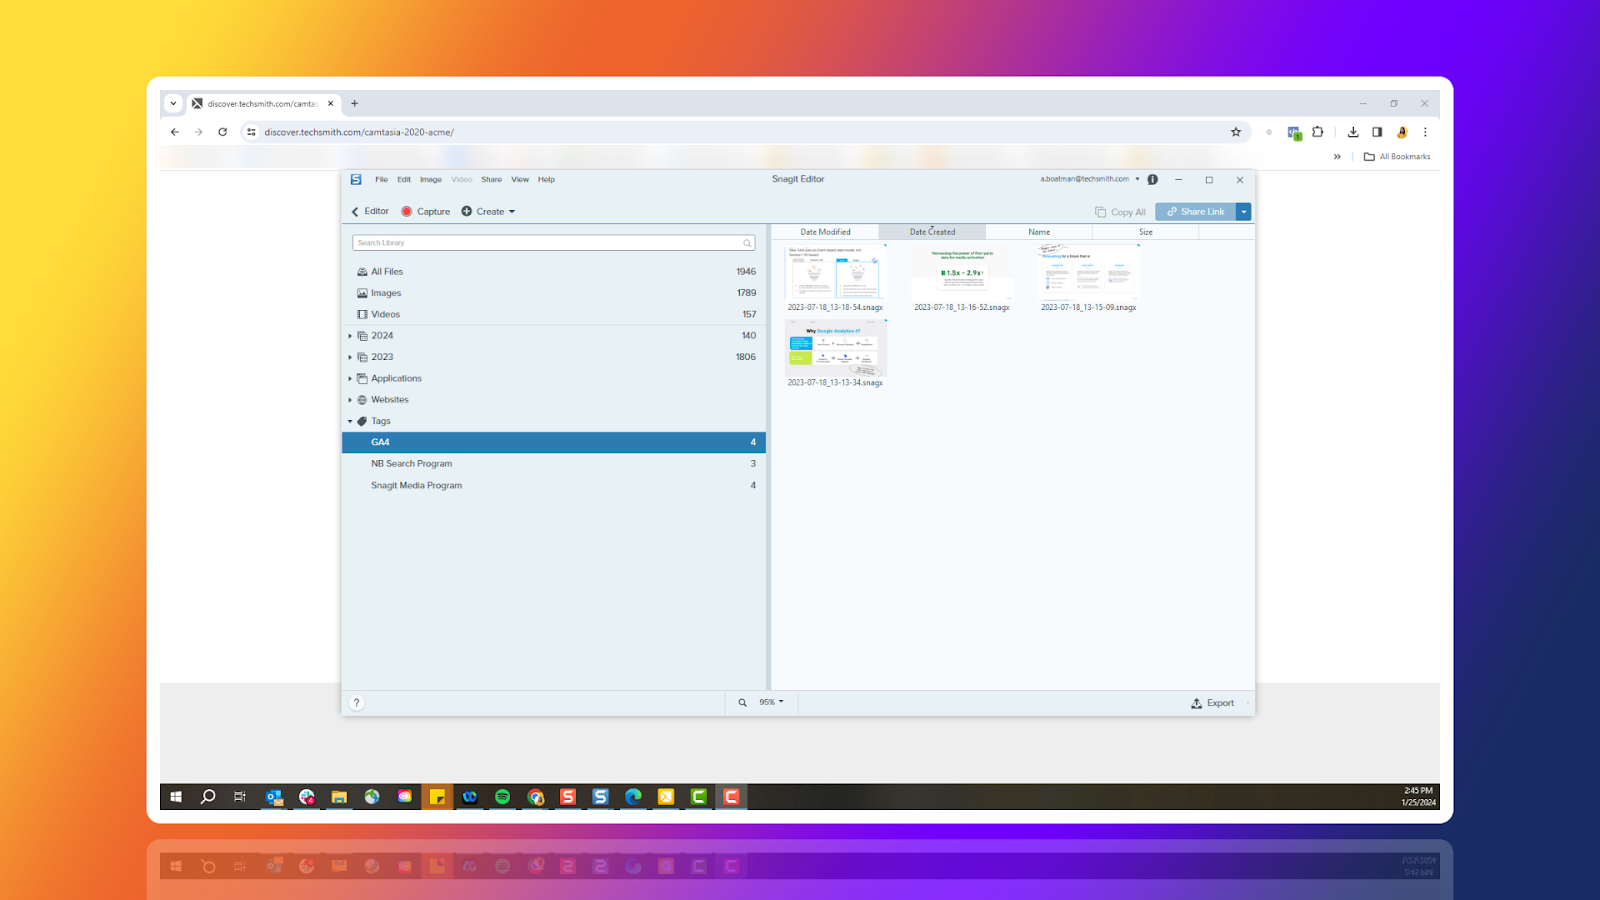
There’s a whole bunch of professional-quality templates already in Snagit, but you can also find more free and premium templates in the TechSmith Asset Library.
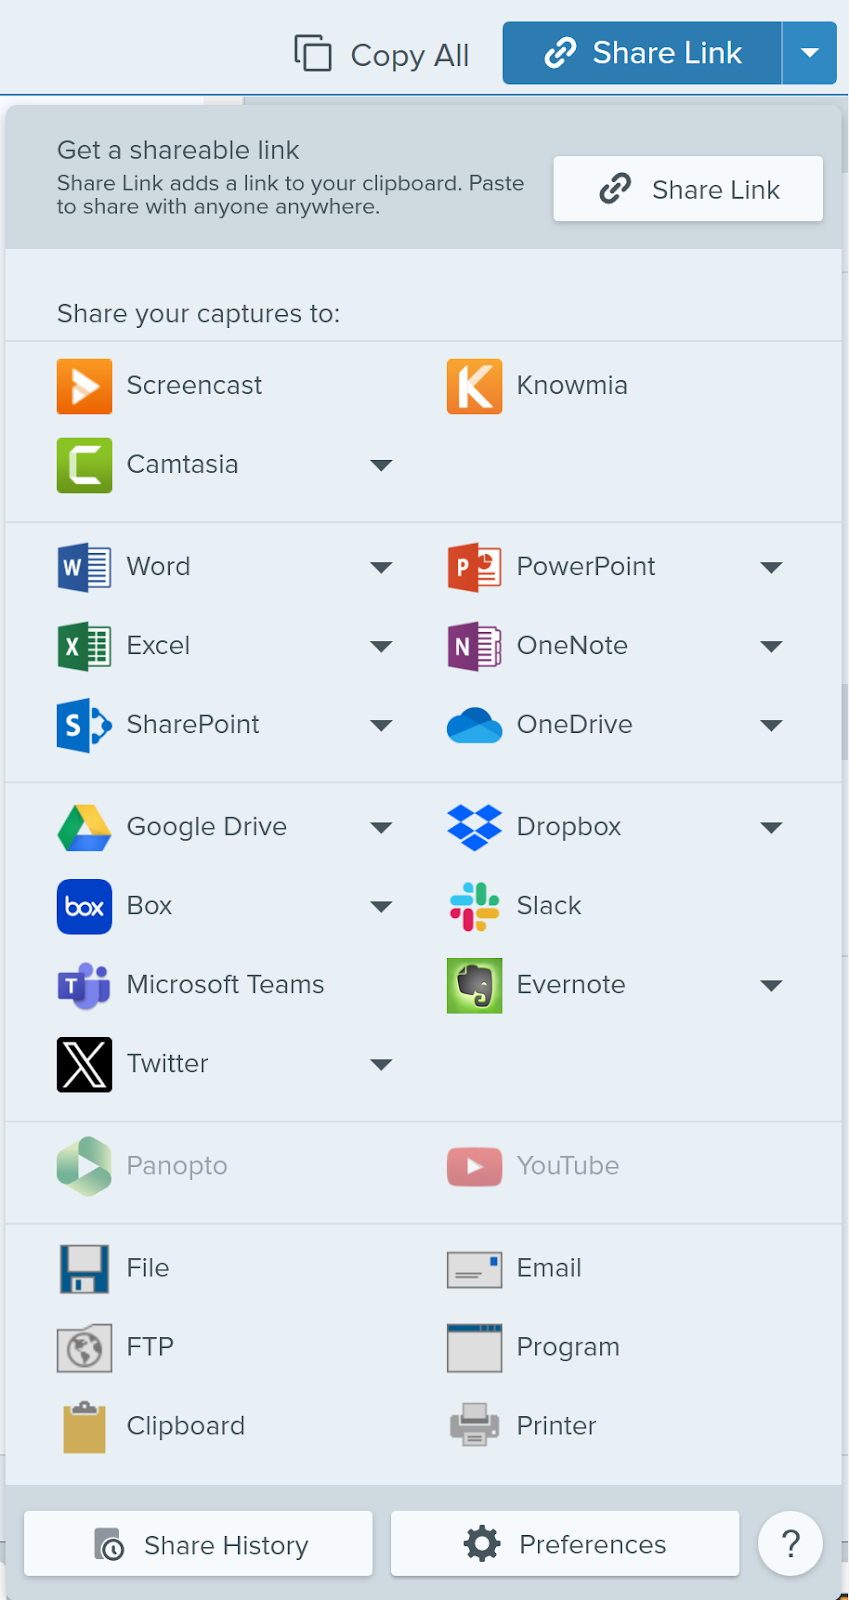
This is great because you can cover each process or task individually to create separate sections of the manual. Then you can save each one as a PDF or an image for sharing, and compile them into a complete guide!
Now, if making individual stand-alone documents doesn’t feel like the best approach for you (trust your gut) then you might consider tools like Zendesk or MadCap Flare to create a knowledge base support center or a help file document.
If you are creating an online knowledge base, you should be able to use video, image, and written content all at the same time. So, get creative and make content that covers everything your audience will need.
Easily create training manuals (Free template)
Snagit’s templates are the fastest way to create training manuals. Create step-by-step training for anything with training manual templates!
Download now!
Step 7: Track feedback and keep your content updated
The final step to creating a training manual is to welcome feedback on your manuals to measure their effectiveness and update them accordingly.
If you interact with your audience, listen to their feedback about the content you provide. Based on what they say, see if there are topics that need expanding on or ones that aren’t covered at all.
As always, systems will change, products and features will be updated, and your content will need to stay relevant. Make sure to keep source files for all your work so you can easily return to it and make updates as needed.
Conclusion on training manuals
A training manual no longer needs to be the thick, boring tome it once was. People are used to learning online, and they often prefer it over analog sources of information.
Online training manuals are also easier to access and navigate than their paper-based ancestors. They’re searchable and allow users to bookmark particular pages for easy and quick access to often-used content.
With the right tools and processes we’ve discussed, you can create great training manuals for colleagues or customers alike.
Editor’s Note: This post was originally published in July 2019 and was updated in November 2023 for accuracy and comprehensiveness.